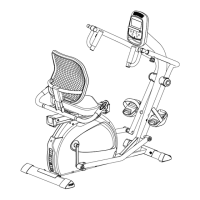
RSX1500 Seated Stepper
9
3
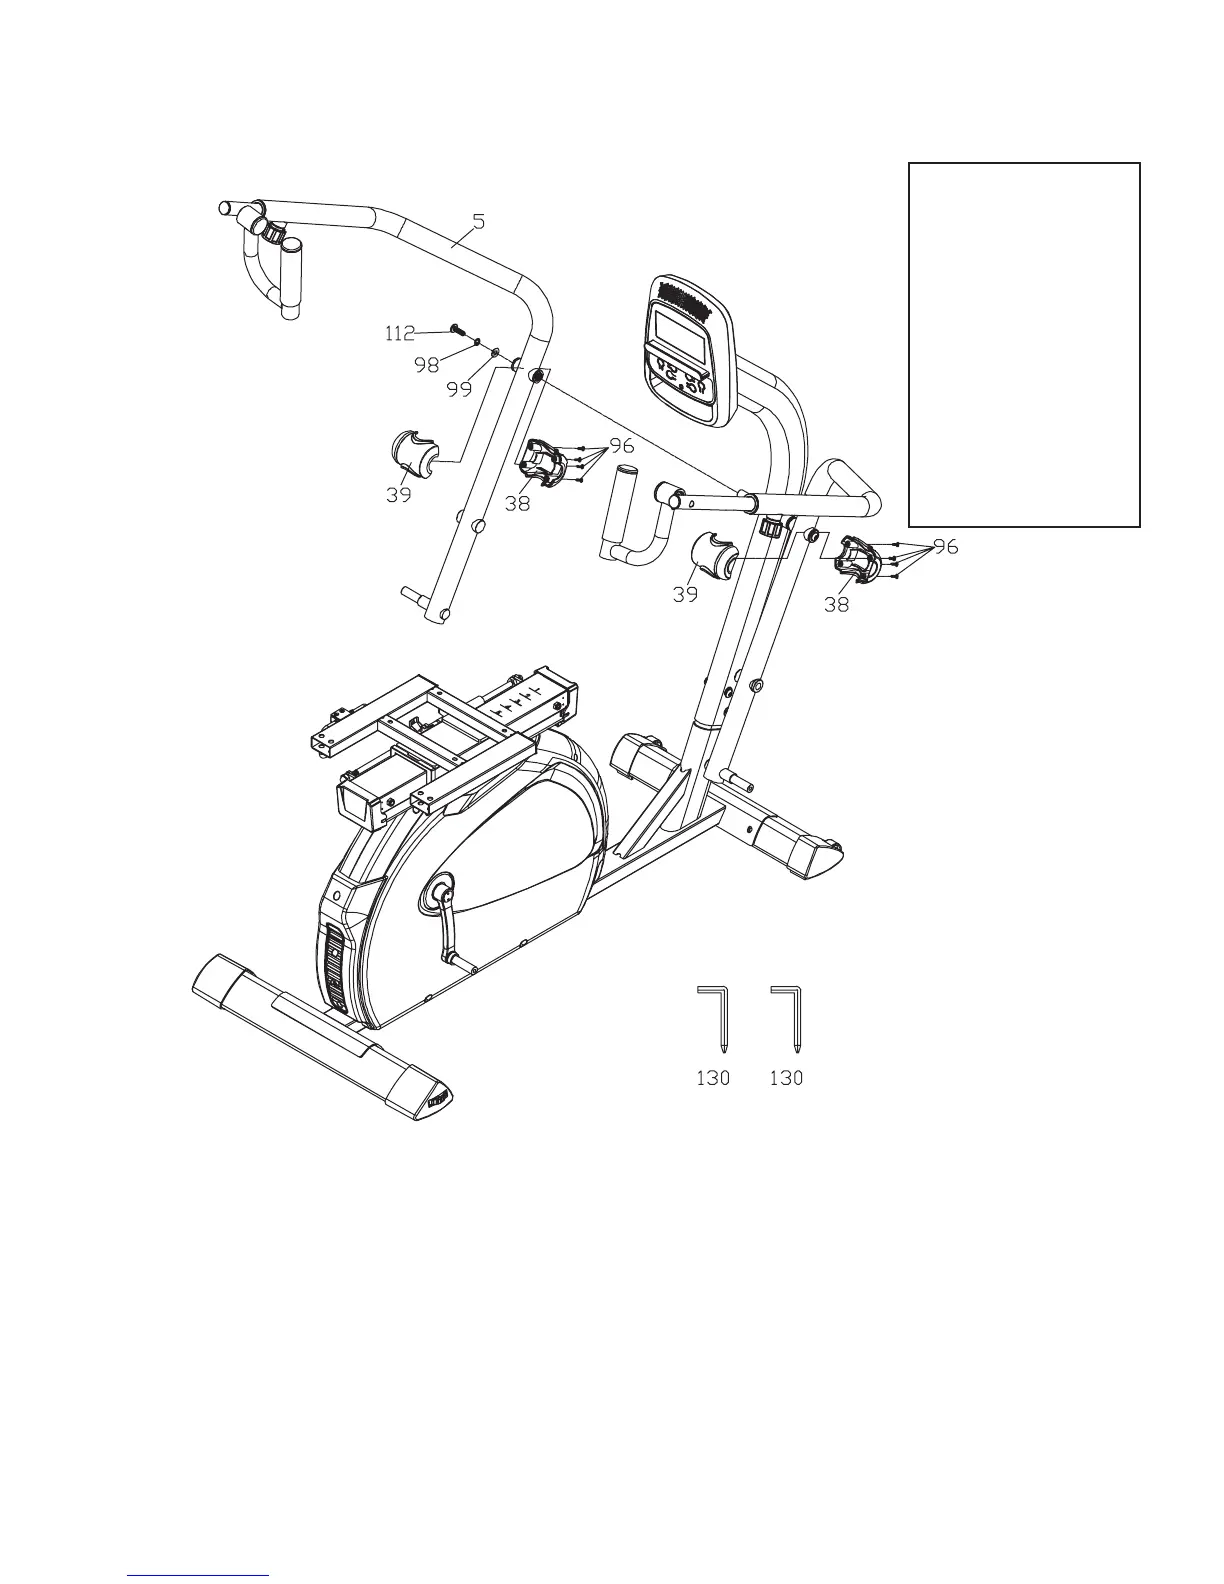
1.
2. Slide Lower Handle Bar (L) (#5) through the Handgrip Axle (#76) (Refer to assembly step 2) and
use 2 Allen Wrench & Phillips Head Screw Drivers (#130) to tighten 1 Button Head Socket Bolt
(#112) and 1 Split Washer (#98) and 1 Flat Washer (#99) and tighten each other.
3. Install Front Handle Bar Cover (#38) and Rear Handle Bar Cover (#39) on right and left Lower
Handle Bar (#6) & (#5) with 8 Sheet Metal Screws (#96) by using Allen Wrench & Phillips Head
Screw Driver (#130).
Upper Swing Arms
#130. Combination M5
Allen Wrench & Phillips
Head Screw Driver - 2 pcs
#112. 5/16”x3/4” Button
Head Socket Bolt - 1pc
#98. 5/16”x1.5T Split
Washer - 1pc
#99. 5/16”x18x1.5T Split
Washer - 1pc
#96. 4x12L Sheet Metal
Screws - 8pcs
Hardware Step 3
 Loading...