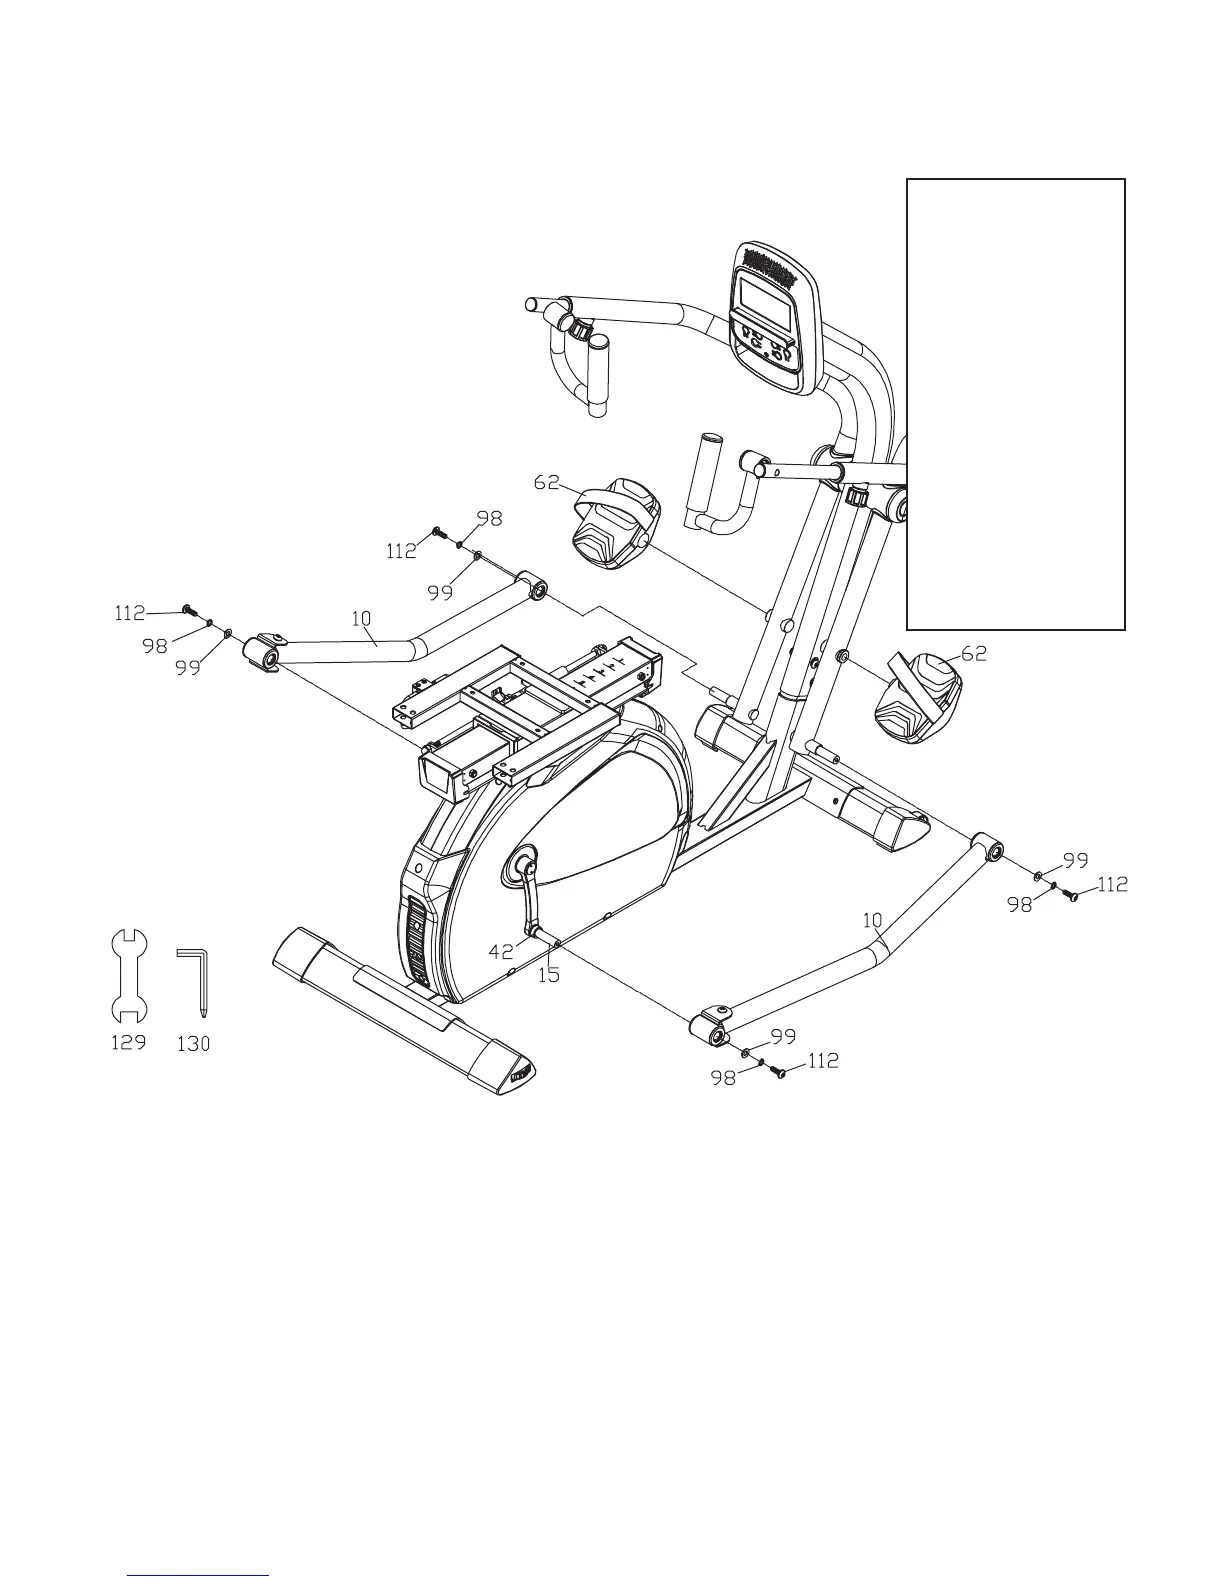
10
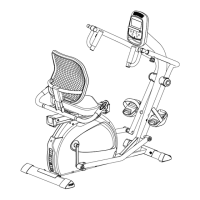
RSX1500 Seated Stepper
4
1. Make sure that the Powder metallurgy Bushings (#42) are to be mounted on the Crank Arm
(#15) before assembly.
2. Joint Pedal Bar Assembly (#10) with the crank axle and use the Allen Wrench & Phillips Head
Screw Driver (#130) to secure with 4 Button Head Socket Bolts (#112), 4 Flat Washers (#99)
and 4 Split Washers (#98).
3. Use Wrench (#129) to tighten pedal (#62) on the Lower Handle Bar.
Lower Crank Arms & Pedals
#99. 5/16” × 18 ×
1.5T_Flat Washers
- 4pcs
#98. 5/16” × 1.5T_
Split Washers -4pcs
#130. Combination
M5 Allen Wrench &
Phillips Head Screw
Driver
#112. 5/16”x3/4”
Button Head Socket
Bolts - 4pcs
#129. 14.15m/m
Wrench
Hardware Step 4
 Loading...