
C
Carolyn WilliamsAug 16, 2025
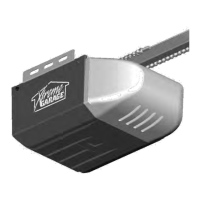
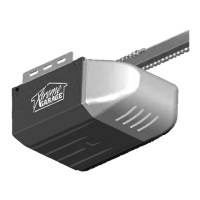
What to do if my Xtreme Garage Garage Door Opener doesn't close and the light flashes?
- LLaura HernandezAug 16, 2025
If your Xtreme Garage Garage Door Opener doesn't close and the light flashes, it might be due to an obstruction or misalignment of the Photo Eye. Check the connection and alignment of the photo eye.