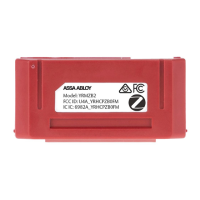
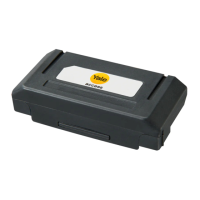
Setting Up Yale Connect Wi-Fi Bridge
Yale Connect Wi-Fi Bridge serves as a Wi-Fi bridge between our Servers and your Smart Lock
so you can lock and unlock your Smart Lock remotely, right from your phone. With Yale
Connect Wi-Fi Bridge, you can instantly let visitors into your home when you're not there.
Requirements
• Make sure your device has Wi-Fi turned on (Settings > Wi-Fi)
• Make sure your phone is connected to your home Wi-Fi network (Yale Connect Wi-Fi Bridge is
compatible with 2.4 gHZ Wi-Fi)
• The Yale Connect Wi-Fi Bridge requires an active Yale Smart Lock and needs to be installed using
a compatible phone. Please visit our phone compatibility page to ensure that your phone is
compatible.
To install your Yale Connect Wi-Fi Bridge:
For optimal performance and reliability, plug Yale Connect Wi-Fi Bridge into a power socket
that is within 15 feet on an opposite or adjacent wall from your Yale Smart Lock.
1. Wait for the flashing green light on your Yale Connect Wi-Fi Bridge. If you don’t see the flashing
green light press and hold the button on your Yale Connect Wi-Fi Bridge for 5 seconds.
2. In the Yale Access App, go to the side menu (upper left), tap Set Up New Device.
3. Choose Set Up a Connect Bridge.
4. Choose a lock with which to associate your Yale Connect Wi-Fi Bridge.
5. When prompted, plug connect Bridge into a socket near your door and then follow the in-app
instructions.