REAR BRAKE
4-38
IP
Always install new brake pads and a new brake
pad spring as a set.
▼▼▼▼▼▼▼▼▼ ▼ ▼▼▼▼▼▼▼▼▼ ▼ ▼▼▼▼ ▼ ▼▼▼▼ ▼▼▼
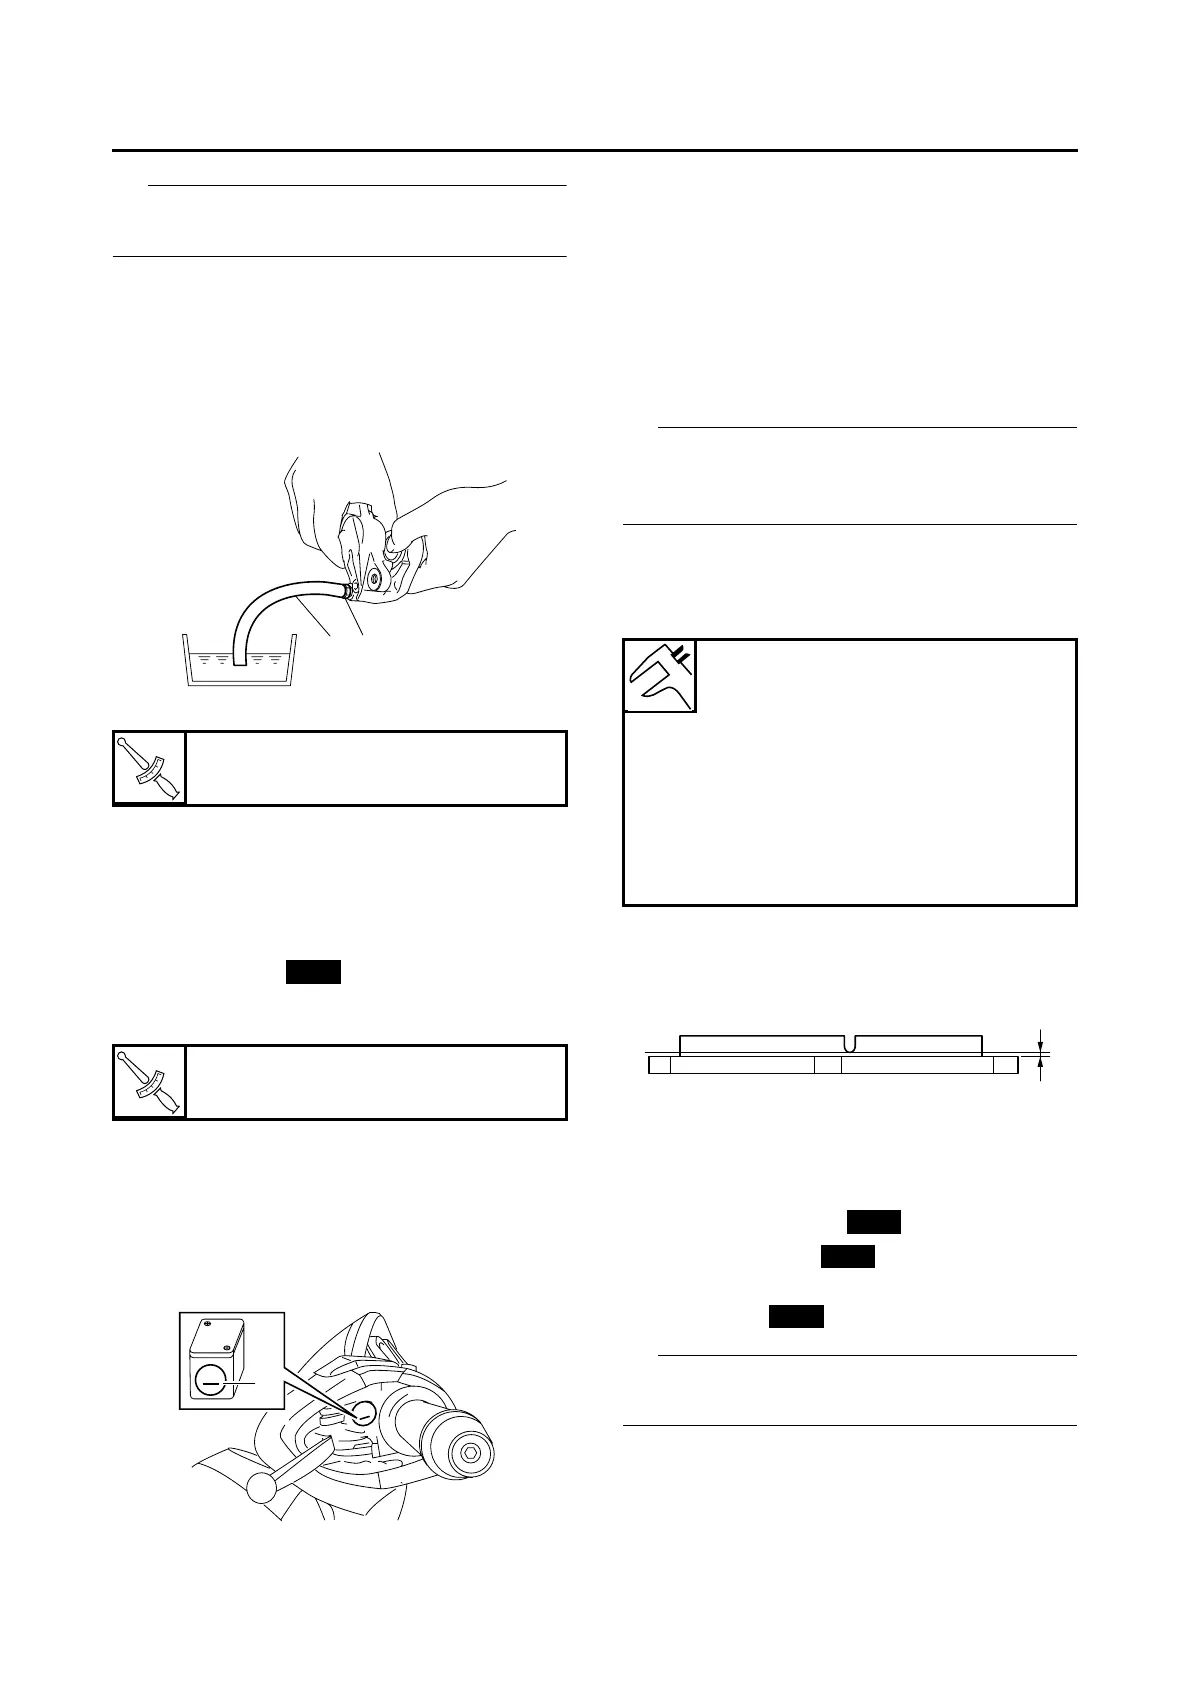
a. Connect a clear plastic hose “1” tightly to the
bleed screw “2”. Put the other end of the hose
into an open container.
b. Loosen the bleed screw and push the brake
caliper pistons into the brake caliper with your
finger.
c. Tighten the bleed screw.
d. Install new brake pad spring and new brake
pads.
▲▲▲▲▲▲▲▲▲ ▲ ▲▲▲▲▲▲▲▲▲ ▲ ▲▲▲▲ ▲ ▲▲▲▲ ▲▲▲
3. Install:
• Brake pad pin
• Brake pad clip
• Rear brake caliper
• Rear brake caliper bolts
4. Check:
• Brake fluid level
Below the minimum level mark “a” → Add the
recommended brake fluid to the proper level.
Refer to “CHECKING THE BRAKE FLUID
LEVEL” on page 3-35.
5. Check:
• Brake lever operation
Soft or spongy feeling → Bleed the brake sys-
tem.
Refer to “BLEEDING THE HYDRAULIC
BRAKE SYSTEM” on page 3-36.
EAS22580
REPLACING THE REAR BRAKE PADS
(YP250R)
IP
When replacing the brake pads, it is not neces-
sary to disconnect the brake hose or disassem-
ble the brake caliper.
1. Measure:
• Brake pad wear limit “a”
Out of specification → Replace the brake
pads as a set.
2. Install:
• Brake pad supports
• Brake pad shims
(onto the brake pads)
• Brake pads
IP
Always install new brake pads, brake pad shims,
and brake pad supports as a set.
▼▼▼▼▼▼▼▼▼ ▼ ▼▼▼▼ ▼ ▼▼▼▼ ▼ ▼▼▼▼ ▼ ▼▼▼▼ ▼▼▼
a. Connect a clear plastic hose “1” tightly to the
bleed screw “2”. Put the other end of the hose
into an open container.
T
R
.
.
Bleed screw
14 Nm (1.4 m·kgf, 10 ft·lbf)
T
R
.
.
Rear brake caliper bolt
40 Nm (4.0 m·kgf, 29 ft·lbf)
12
New
MIN
MIN
a
Brake pad lining thickness (in-
ner)
5.3 mm (0.21 in)
Limit
0.8 mm (0.03 in)
Brake pad lining thickness (out-
er)
5.3 mm (0.21 in)
Limit
0.8 mm (0.03 in)
a
New
New
New
 Loading...