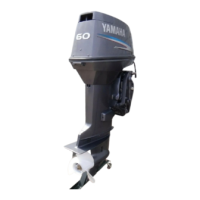
3) Remove three screws securing the shift
side cover.
4) Remove two tabs on junction unit shift
side and pull out the cable clamps.
5) Move the remote control lever between
forward and reverse positions at the
first station several times and place the
shift cam in the junction unit in neutral.
Check if the grooves on the cam and
cable end are offset each other.
Repeat the check at the second station.
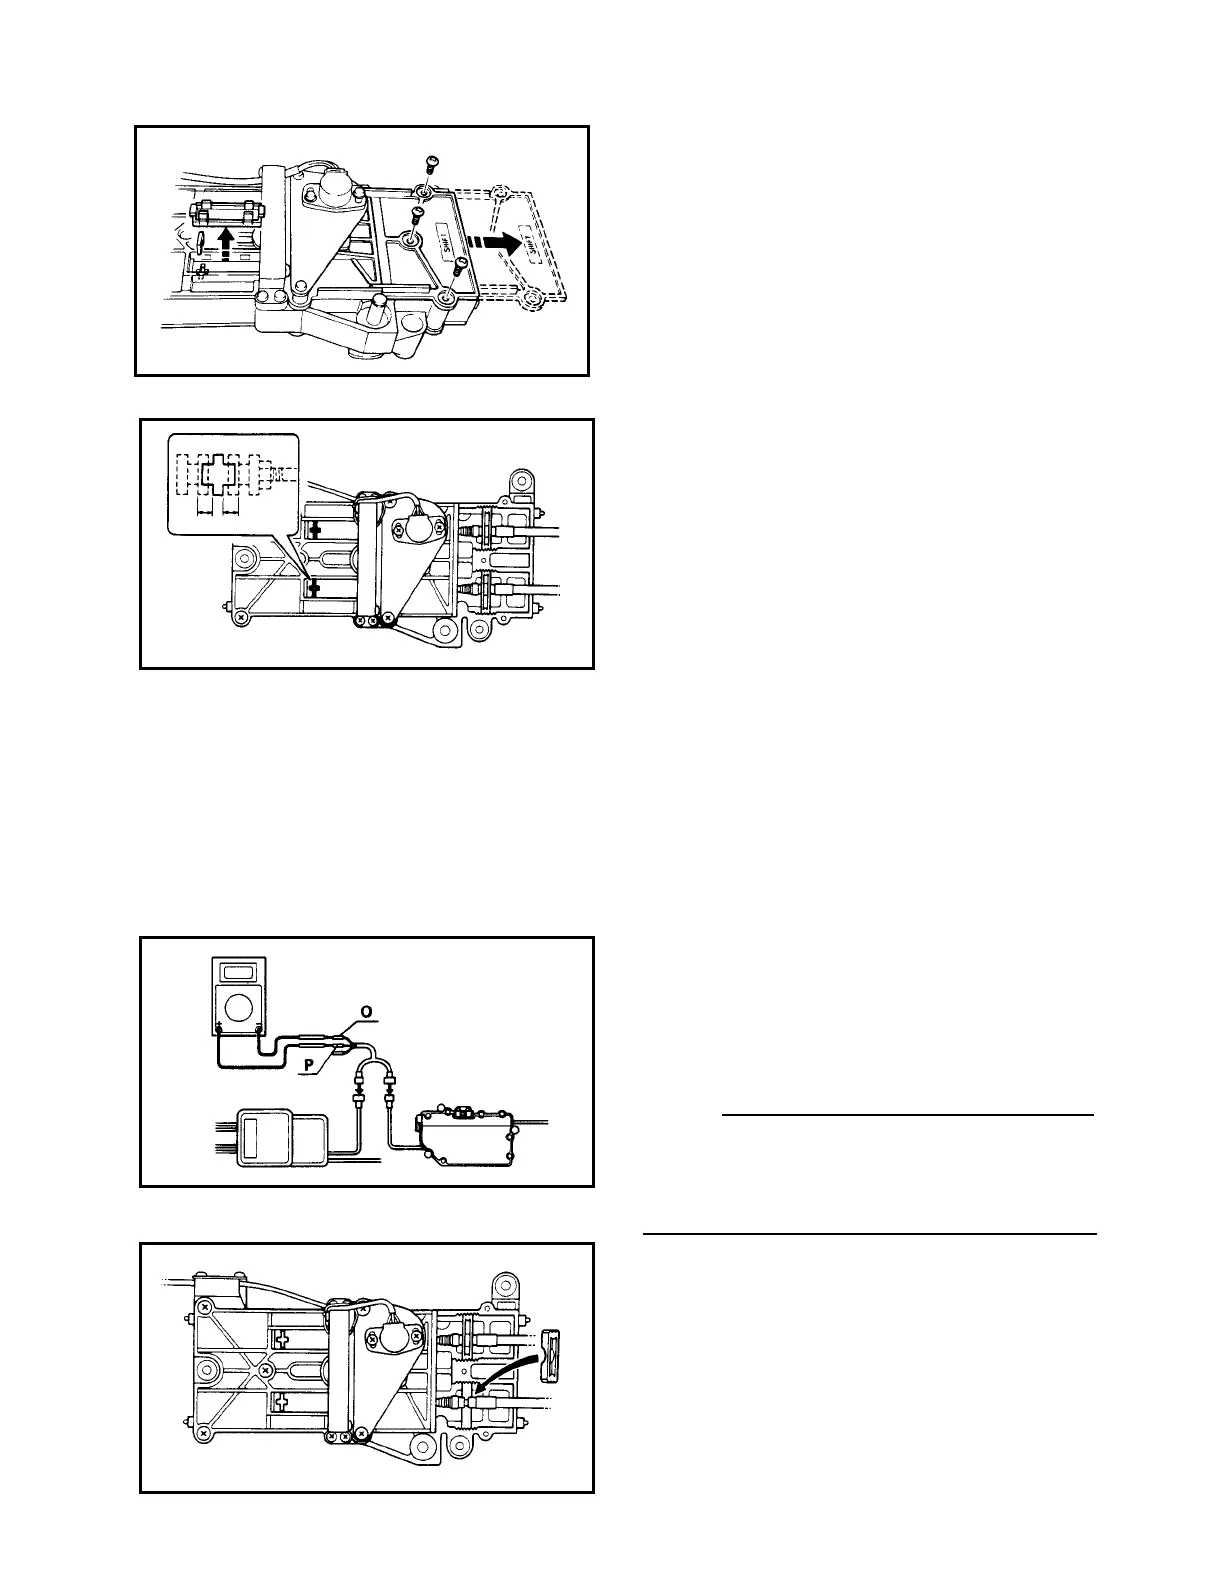
6) If the grooves are not offset, either of
the sensors may be defective.
Adjust the sensor position, or replace
the sensor if unadjustable.
If grooves are offset, use the following
steps to eliminate the offset.
7) Remove cable clamp and pull out the
shift cable.
8) Loosen the rod nut on the cable and
move the cable end so that the offset is
eliminated.
NOTE:
At neutral, the distance from the clamp
groove of the shift cable to the edge of the
cable end is 169mm (0.67 in.) when proper-
ly adjusted.
9) Run shift cable through shift rack and
fix it with the cable clamp.
10A-27
 Loading...