Do you have a question about the Yamaha Clavinova CLP-100 and is the answer not in the manual?
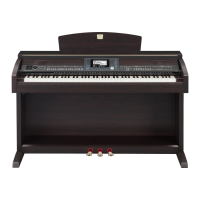
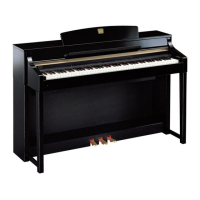
| Sound Source | AWM (Advanced Wave Memory) |
|---|---|
| Amplifier | 20W x 2 |
| Keyboard | 88 keys |
| Polyphony | 32 |
| Effects | Reverb |
| Pedals | Damper, Soft, Sostenuto |
| MIDI | MIDI In/Out |
| Headphones | Yes |
| Connections | MIDI In/Out |
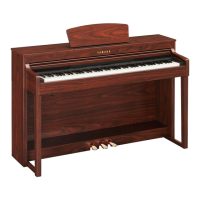
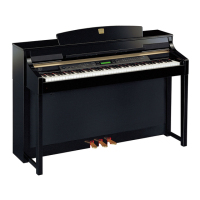
| Included Accessories | Bench |
Ensure local AC mains voltage matches the specified voltage on the name plate.
Essential precautions to prevent electrical shock, damage, fire, and other hazards.
Precautions to avoid physical injury and damage to the instrument or property.
Explains the purpose of buttons like [POWER], [MASTER VOLUME], [DEMO], etc.
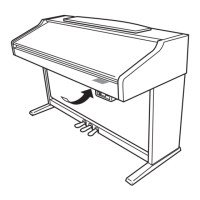
Details the function of jacks like PHONES, USB, MIDI, AUX, and LAN.
Steps for connecting the power cord and turning the instrument on.
How to set the overall volume level using the master volume slider.
How to turn left/right hand parts on/off for one-handed practice.
Detailed explanation of the function of each of the three pedals.
How to choose between HARD, MEDIUM, SOFT, or FIXED touch sensitivity.
How to transpose the keyboard pitch up or down in semitone intervals.
How to play two voices simultaneously across the entire keyboard range.
How to define the key that separates the left and right hand sections.
How to start, stop, adjust tempo, and set the time signature of the metronome.
Simple method to quickly record your performance, automatically assigned to the right part.
How to prepare the instrument for recording by engaging Record Ready mode.
Procedures for starting and stopping the recording process.
How to record the right and left hand parts independently for duets or practice.
How to change initial settings like voice, tempo, reverb, and effect after a song is recorded.
Procedures for saving user songs to USB and loading songs from USB.
Step-by-step guide for saving a selected user song to a USB storage device.
How to select a song from USB and load it into the instrument's User Song memory.
Procedure to select and delete SMF or external song files from a USB storage device.
Steps to format a USB storage device, warning about data loss.
Important warnings for connecting, using, and removing USB storage devices.
Specific precautions for using the instrument's USB terminals.
How to select and play user or external songs stored internally.
Steps and requirements for establishing an internet connection for the instrument.
Details on connecting via cable (DHCP/Static IP) or wireless LAN, and necessary settings.
Guide to creating custom internet settings via PC and loading them to the instrument.
Step-by-step instructions to load internet configuration files onto the instrument.
How to reset all panel settings and song data to default factory settings.
How to fine-tune the instrument's pitch in small increments.
How to set dual balance, detune, octave shift, and effect depth for dual voices.
Information on compatible USB devices and how to connect them to the instrument.
Steps for connecting the instrument to a computer via USB for MIDI data transfer.
How to back up panel settings and user songs to a computer using MSD.
A list of common problems and their corresponding causes and solutions.
Comprehensive list of safety instructions for using the apparatus.