
S
Samantha HodgesAug 21, 2025
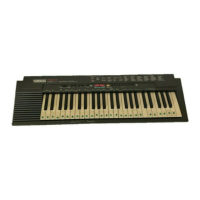
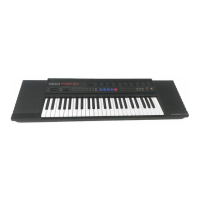
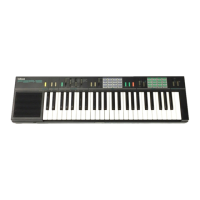
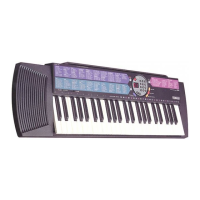
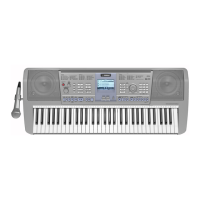
What to do if my Yamaha Electronic Keyboard volume is too soft, sound quality is poor, rhythm stops, data doesn't play, or LCD goes dark?
- WwatsonrichardAug 21, 2025
If you experience these issues, the batteries may be low or dead. Replace all six batteries with completely new ones, or use the optional AC adaptor.