GENE
RAL
INFORMATION
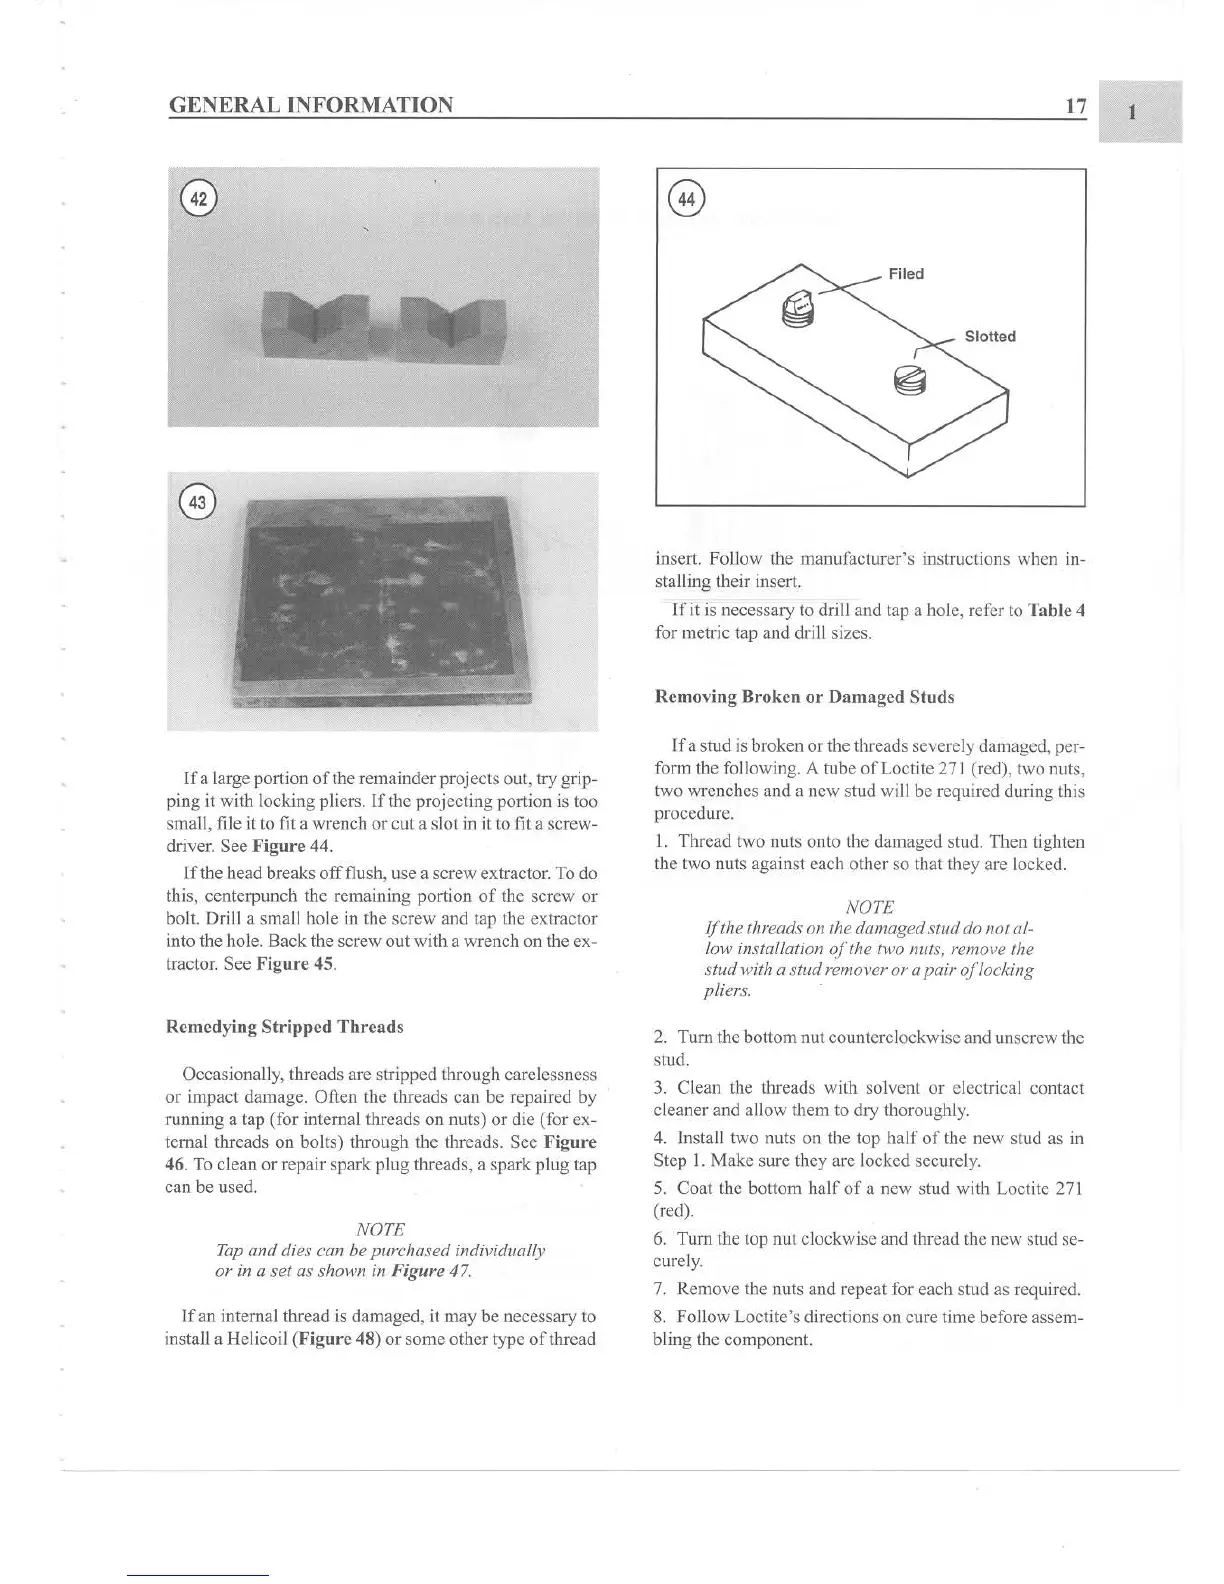
If
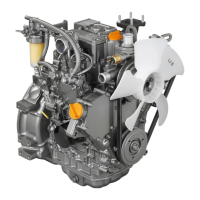
a large portion
of
the remainder projects out, try grip-
ping it
with locking pliers. If the projecting portion is too
small, file
it to fit a wrench or cut a slot in it to fit a screw-
driver. See Fi
gur
e 44.
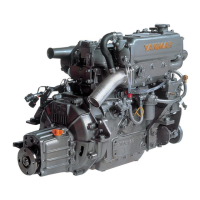
If
the head breaks
off
flush, use a screw extractor. To do
this, centerpunch the remaining portion
of
the screw or
bolt. Drill a small hole in the screw and lap the extractor
into the hole. Back the screw out with a wrench on the ex-
tractor. See Figure 45.
Remedying Stripped Thre ads
Occasionally, threads arc stripped through carelessness
or impact damage. Often the threads can be repaired by
running a tap (for internal threads on nuts) or die (for ex-
ternal threads on bolts) through the threads. Sec
Figur
e
46. To clean or repair spark plug threads, a spark plug tap
can be used.
NOTE
Tap and dies can be purchased individually
or in a
set
as shown in Figure 47.
If an internal thread is damaged, it may be necessary to
install a Helicoil (Figure 48) or some other type
of
thread
17
'-
__
Filed
Slotted
insert. Follow the manufacturer's instructions when in-
stalling their insert.
I
fi
t is necessary to drill and tap a hole, refer to Table 4
for metric tap and drill sizes.
Removing Broken
or
Damaged Studs
If
a stud is broken or the threads severely damaged, per-
form the following.
A tube
ofLoctite
271 (red), two nuts,
two wrenches and a new stud will be required during this
procedure.
I . Thread IwOnuts onto the damaged stud. Then tighten
the two nuts against each other so that they are locked .
NOTE
Ifthe
threads on the damaged stud do flatal-
low installation
of
the two nuts, remove the
stud with a stud remover or a
pair
of
locking
pliers.
2.
Tum
the bottom nut counterclockwise and unscrew the
stud.
3. Clean the threads with solvent or electrical contact
cleaner and allow them 10dry thoroughly.
4. Install two nuts on the top
half
of
the new stud as in
Step 1. Make sure they arc locked securely.
5. Coat the bottom
half
of
a new stud with Loctite 271
(red).
6. Tum the top nut clockwise and thread the new stud se-
curely.
7. Remove the nuts and repeat for each stud as required.
8. Follow Loctitc's directions on cure time before assem-
bling the component.
1