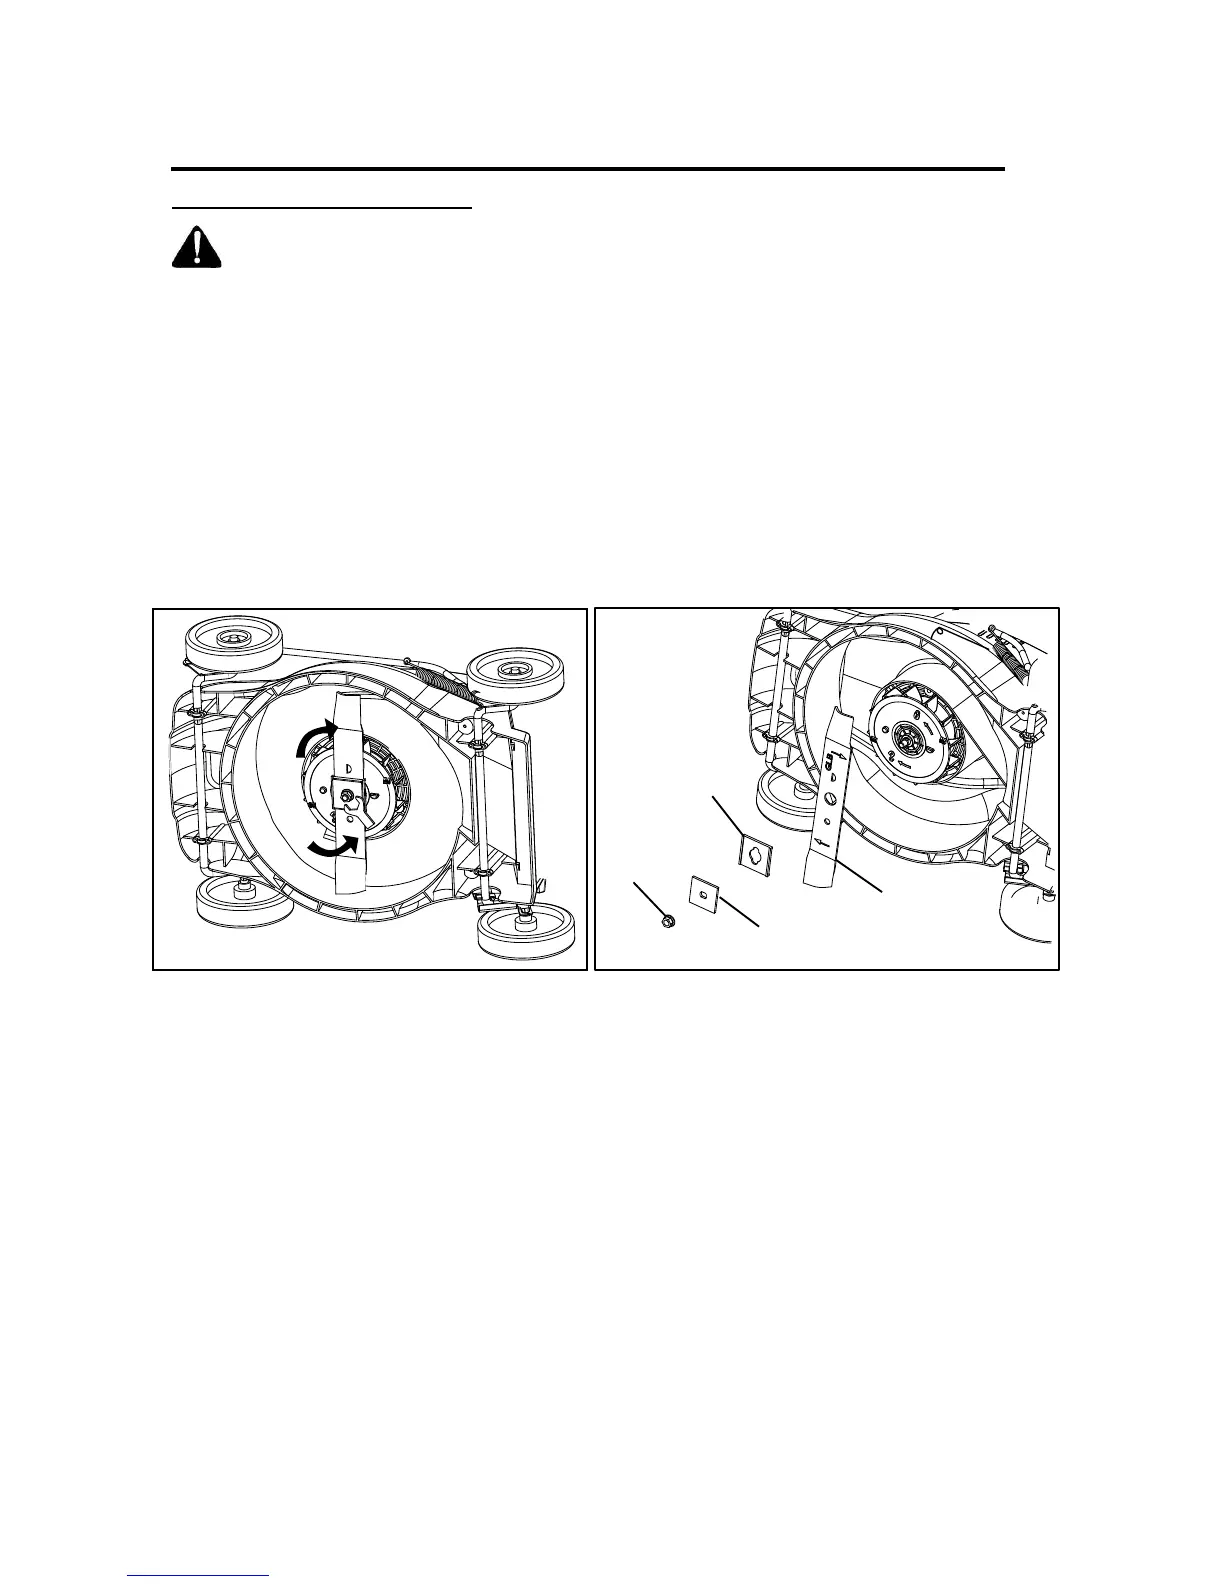
Replacing the Cutting Blade
WARNING: Always protect your hands by wearing heavy gloves and/or wrapping the cutting
edges with rags or other materials when performing any maintenance on the blades.
Use only a YARDWORKS replacement blade (60-7119-4).
1. RELEASE THE SWITCH LEVER TO TURN THE MOWER OFF, WAIT FOR THE BLADE TO COME
TO A COMPLETE STOP. UNPLUG THE MOWER.
2. While wearing leather padded gloves, wedge a block of wood between the blade and the mower
deck in order to prevent the blade from turning when the nut is being removed.
3. Using a 15-mm wrench or socket, loosen the blade nut (1) and remove the blade (4). Turn the nut
"COUNTER-CLOCKWISE" to loosen it and "CLOCKWISE" to tighten it.
4. Remove the blade nut (1), the square washer(2), the insulator washer(3), and the blade (4).
5. To re-install the blade, position the blade with the cutting edges toward the ground. Assemble the
blade nut, the square washer, and the insulator washer as shown. Using a 15-mm socket or wrench,
turn the blade nut "CLOCKWISE” in order to secure the blade.
NOTE: Be sure to replace the parts in the exact order in which they were removed. When installing
the cutting
blade, verify that it is installed with the curved ends pointing toward the mower deck, and not
toward the ground. Refer to the schematic drawing on page 21 of this Manual.
Tighten
Loosen
1
2
3
4
16
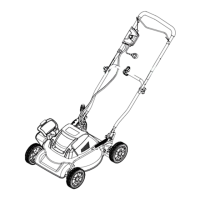
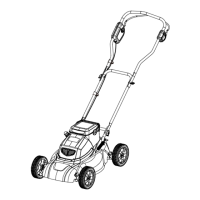
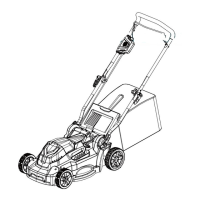
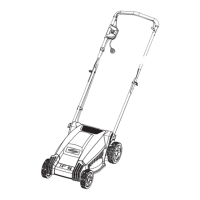
MAINTENANCE
 Loading...