YMGI, Engineered Comfort Products for A Sustainable and Efficient Green World!
YMGI: Your Modern Green Idea
30
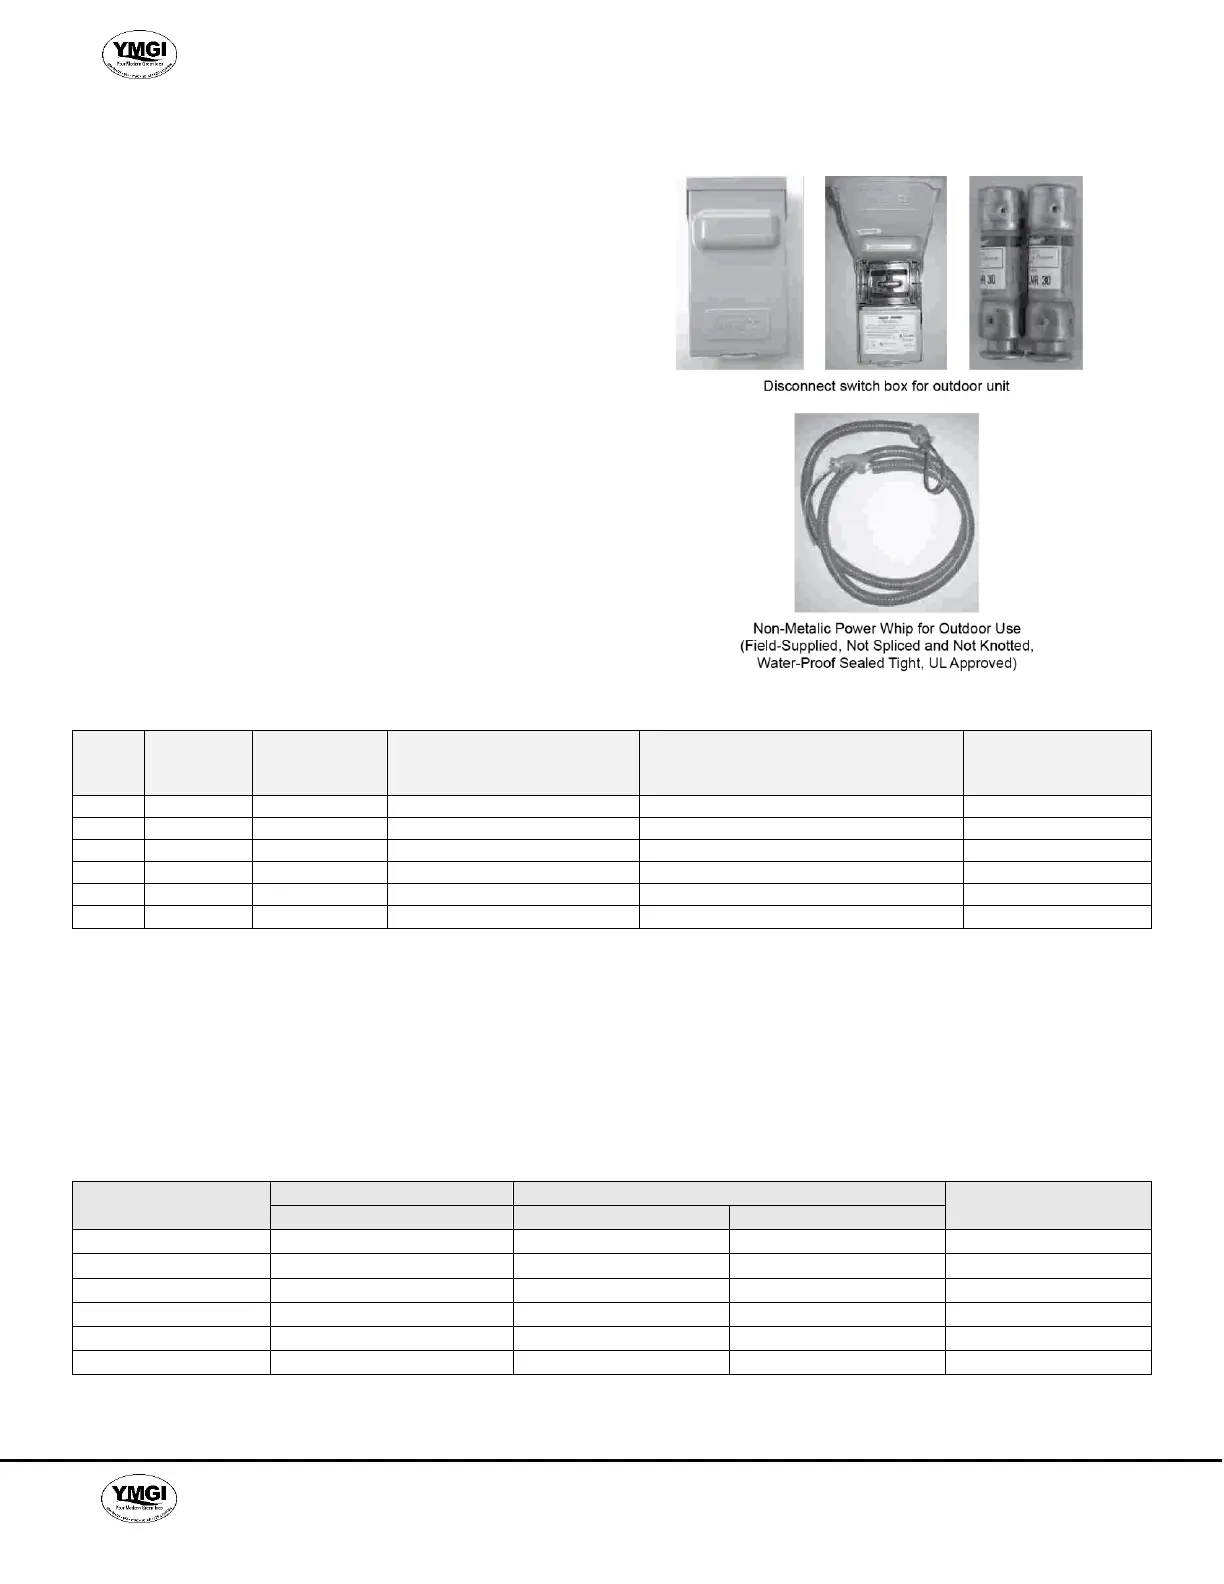
OUTDOOR WIRING: OUTDOOR-INDOOR UNIT & DISCONNECT SWITCH
BOX/CIRCUIT BREAKER/FUSE
Remove the wiring diagram cover from where the
handle for moving unit is located.
Follow the wiring diagrams on the unit or the wiring
diagram manual that comes with the indoor unit to get
familiar with the wiring and make sure everything is
correct. If there is any discrepancy, always use the
diagram that is attached to the units.
Connect wires between indoor unit and outdoor units.
Connect power wire from Outdoor unit to Indoor unit.
Connect control wires from Indoor unit to Outdoor unit.
Pass wire through certified wire pipes, harnesses and
knockouts. Enough length should be left for future
servicing. Only copper wire is allowed.
Strictly follow NEC, state, or local codes to select wires,
circuit breaker, conduits while performing installation
work.
Bring in line-voltage power input wires from circuit
breaker to line-voltage wire terminal block at outdoor
unit. Pass through certified wire pipes, harnesses and
knockouts. Enough length shall be left for future service.
Only copper wire is allowed.
PIPING AND WIRING SIZES
Min - Max
Length/
+/-Elevation
Power Wire Min.
Disconnect Switch Box to
Outdoor Unit
Power/ Control Wire Min.
Outdoor Unit to Indoor Unit
Recommended HVAC
Circuit Breaker/Fuse
AMP (to Outdoor Unit)
L1/L2/G, 115V/1/60, 12AWG
1/2/3/G, 115V/1/60Hz, 4×AWG18
L1/L2/G, 115V /1/60, 10AWG
1/2/3/G, 115V/1/60Hz, 4×AWG18
L1/L2/G, 208-230/1/60, 12AWG
1/2/3/G, 208-230V/1/60Hz, 4×AWG18
L1/L2/G, 208-230/1/60, 10AWG
1/2/3/G, 208-230V/1/60Hz, 4×AWG18
L1/L2/G, 208-230/1/60, 10AWG
1/2/3/G, 208-230V/1/60Hz, 4×AWG18
L1/L2/G, 208-230/1/60, 10AWG
1/2/3/G, 208-230V/1/60Hz, 4×AWG18
CONNECT REFRIGERANT PIPES BETWEEN THE INDOOR AND OUTDOOR UNITS
First, connect the copper tubes at indoor unit. Bend the pipes accordingly using pipe bending tools. Do NOT hand
bend the pipes, as this could kink the pipe. Extra length is required for future service.
REFRIGERANT PIPES
For a distance other than 25' between indoor and horizontal venting condensing units, refer to the following table for
copper sizes.
Refrigerant Valve and Pipe Size/Length
Line Sizes at Different Lengths
Add Ref. Ozs/ft
beyond 25'
Note: Charge refrigerant (in cooling mode) gradually, starting from 30% calculated amount. Wait for 5 minutes before system
pressure is stabilized and add more, to reach the suction pressure in the table above.
 Loading...