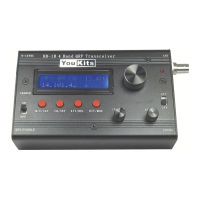
Supply 12V from the 7-pin cable, negative to "GND", positive to “+12V". Voltage ranging
from 10.5 - 13.8V works. Never connect the wrong polarity! When the power is connected,
the backlight is on. There may be nothing seen on the LCD screen at first. Don't worry.
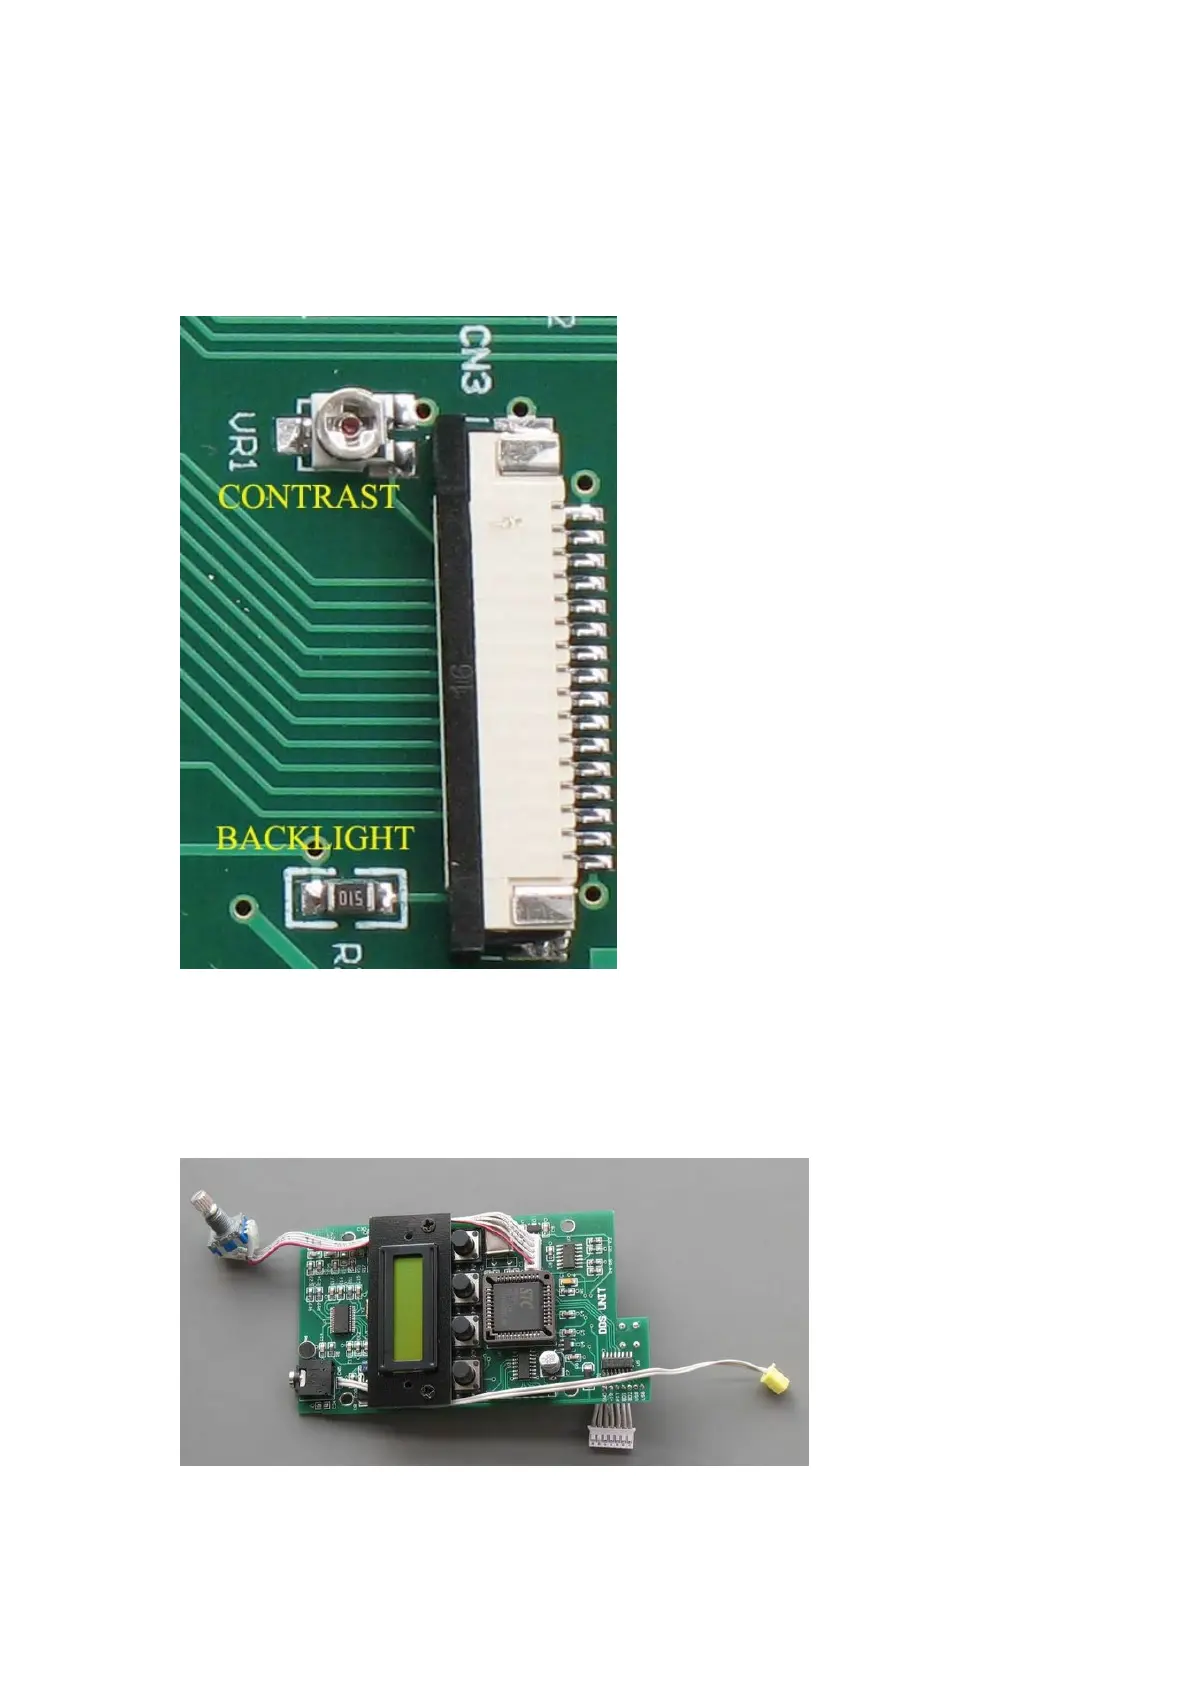
Adjust the contrast control VR1, until the display appears. The 51 ohm resister controls
backlight brightness.
Now push the LCD window through the LCD frame. Fasten the frame with 2 flat head
screws. A little glue can be applied along the contacting edges of the LCD PCB and the
frame. However, even without the glue, the LCD assembly will work fine, because the
LCD is backed by connector CN3, and there is only around 1mm clearance between CN3
and the back of the LCD.



 To Next Page