Preliminary User manual
FCC ID: M4Y-XG-300 Page 3 of 10
0-Introduction
The Z-Com XG-300 WLAN NIC is a complete wireless high speed Network Interface Card (NIC)
utilizing the Intersil PRISM GT ® chip set. It conforms to the IEEE 802.11g protocol and operates in
the 2.45 GHz ISM frequency bands.
• Fully compliant with the IEEE 802.11g WLAN standards
• FCC Certified Under Part 15 (pending) to Operate in the 2.45 Bands
• Support for 54, 48, 36, 24, 18, 12, 9, and 6 Mbps OFDM, 11 and 5.5 Mbps CCK and legacy 2 and 1
Mbps data rates
• Driver Supports Microsoft Windows ® 98/SE, ME, XP and 2000 (SR1)
1-Cardbus Installation procedure
1.1 Installing the Cardbus card into the host PC Notebook
a-Turn Host PC off, then insert Cardbus card into Cardbus slot of notebook Host PC.
CAUTION:
1-- This assembly is designed to operate with a supply voltage of 3.3V in laptop computers supporting the
CARDBUS32 standard.
2-- Do not force engagement of the card in the CARDBUS32 slot. It is mechanically designed to prevent
improper insertion.
1.2 Installing the software drivers
a-Start windows
b-When windows detects new hardware and asks for drivers, point to directory where the Z-Com driver
is located (for example floppy drive, cdrom , harddisk) to install.
c-after drivers are installed, restart windows
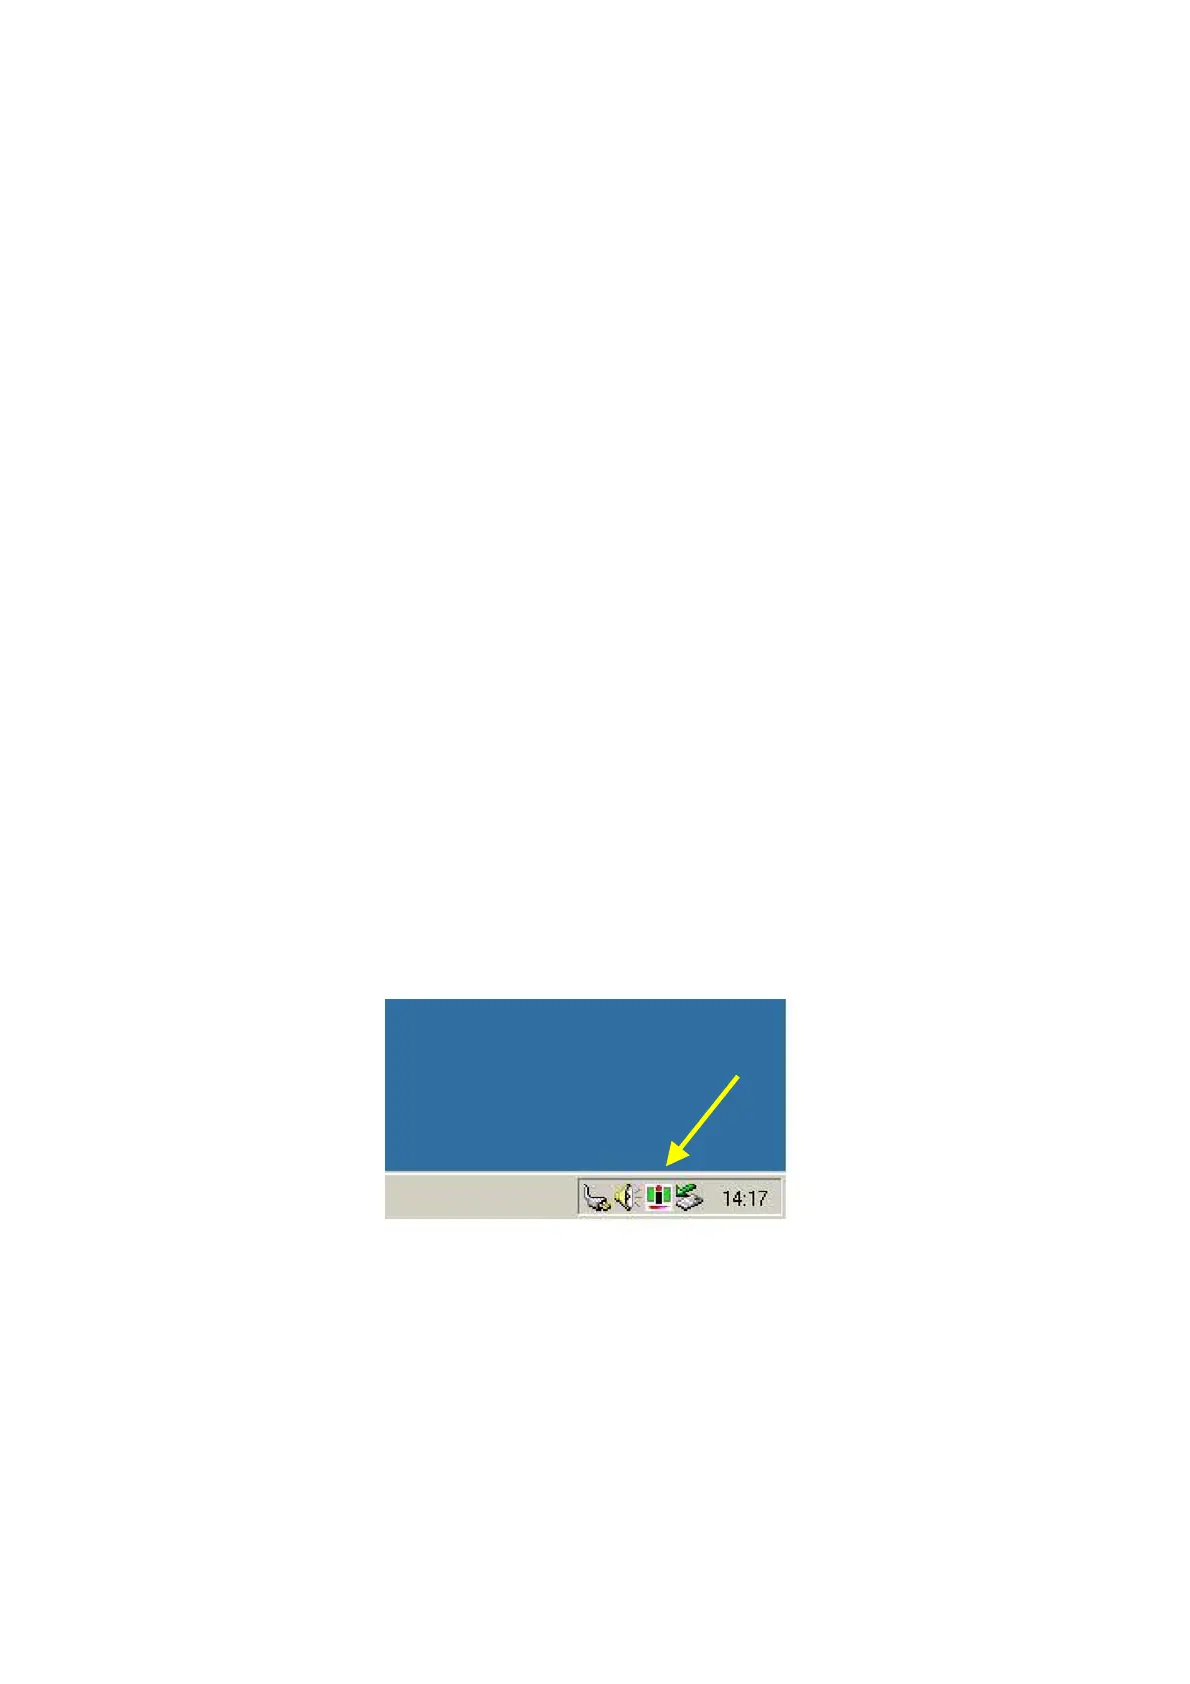
d-the Z-Com WLAN icon will appear in system tray on the bottom right of the screen (see yellow
arrow in fig. 01)
fig, 01: Z-Com WLAN icon


 To Next Page