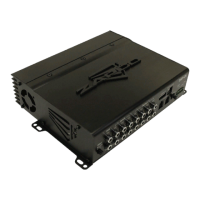
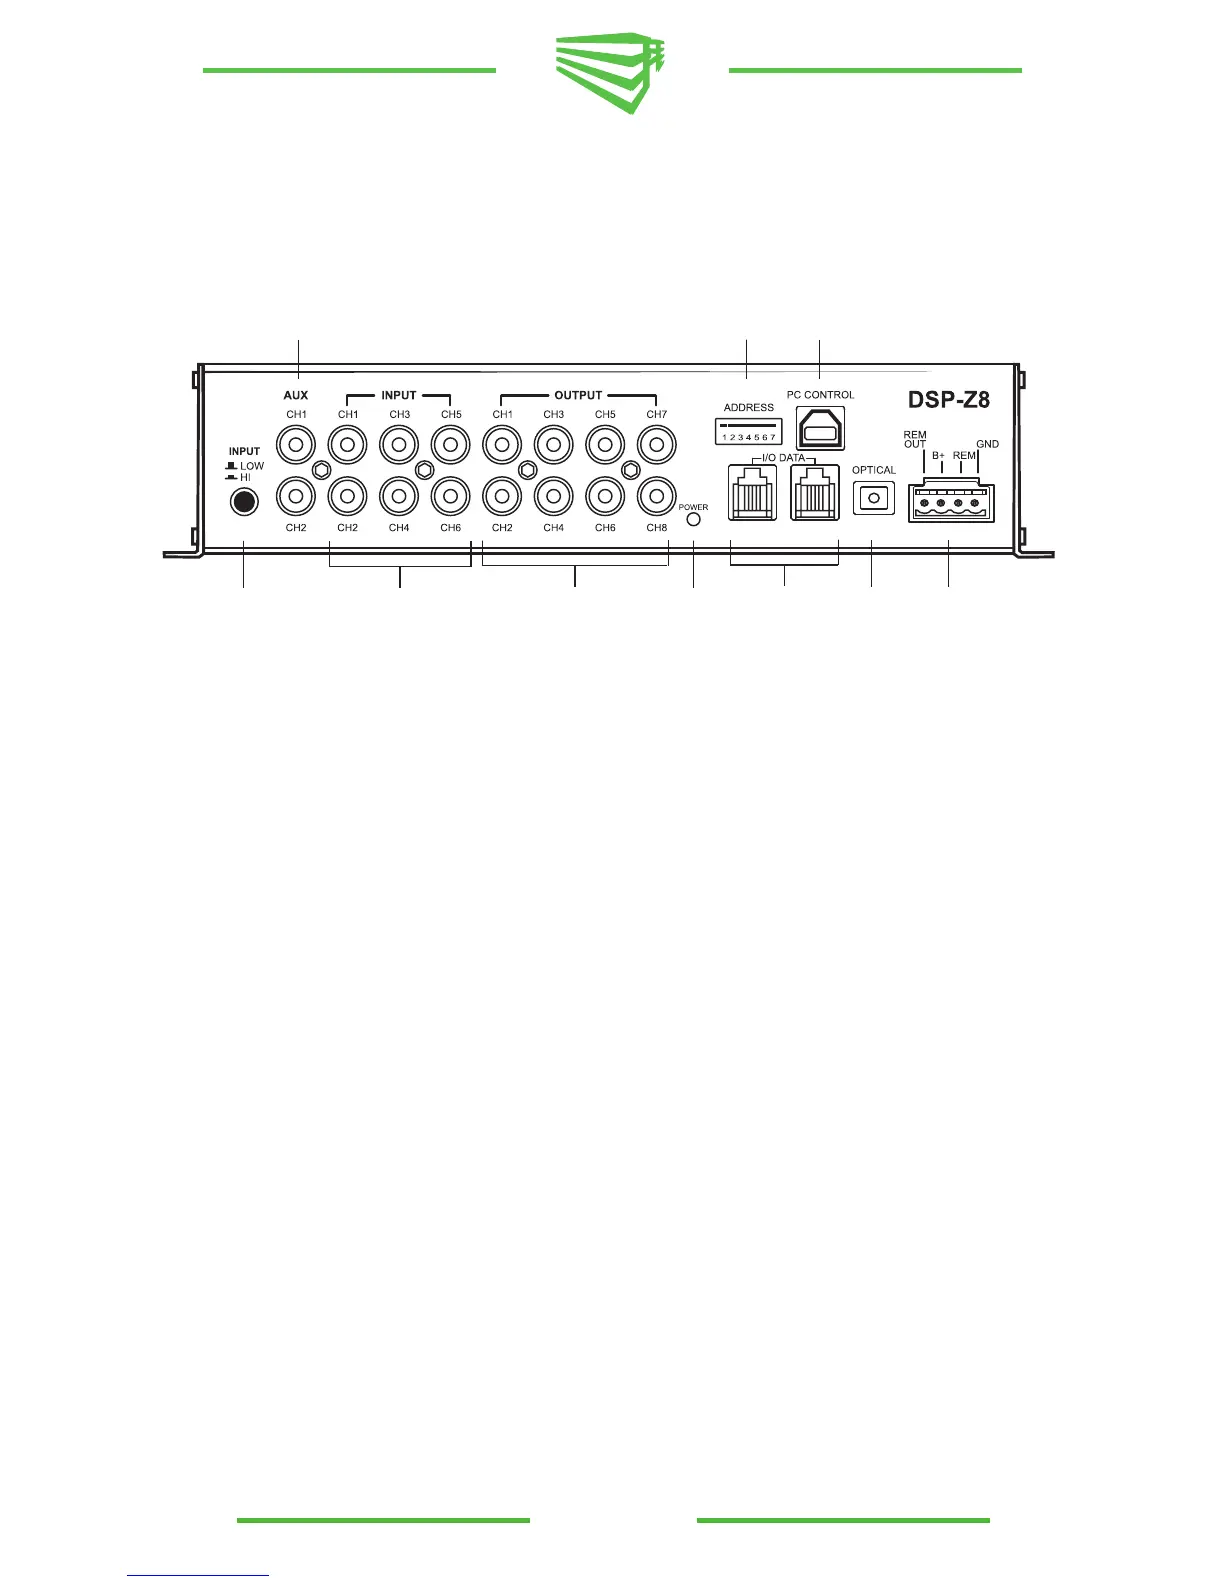
DSP-Z8 Front Pannel
All connections for the DSP-Z8 are on the front panel
1) Main RCA Inputs- Six channels of input are available through RCA connectors*.
2) RCA Outputs- 4 sets of RCA Connectors provide eight channels of output.
3) Networking DIP Switch-Six position DIP switch is used to address the unit and assign it a node on
the Zapco Digital Programming Network. (Only when used with DC-Series amplifiers)
4) USB Port- Like all Zapco DSP products, the DSP-Z8 has a USB port to interface with a PC for all DSP
programming functions. Always use the supplied USB Cable
5) Auxiliary Input- A pair of RCA connectors provide a preamp level auxiliary input
6) Data Connectors- Two RG connectors provide Data in/out for network cables and for a dash remote
7) Power Connector- 4-Pin Provides Power, Ground, +12V RemTurn On, and Aux +12 volt out **
8) Input Low / High- Choose Low level for preamp or digital input or Hi level for OEM speaker level
input
9) Optical input- Digital Input for SPDIF optical connector (TossLink cable)
10) Power-on Indicator LED
* Note: To use speaker level inputs from a factory stereo, simply attach RCA connectors to the factory speaker wires (up
to a 22v signal). Assure that the DSP or amplifier is in High Level input mode and attach the speaker wires at the RCA
receptacles.
** Note: The Zapco DC Series also has DC-offset sensing for automatic turn-on. If you use speaker level inputs from a
factory stereo the DC product will turn on automatically and also provide +12v trigger output to turn on other
components.
1
2
3
4
5
6
7
8
9
10
5
 Loading...