Mounting Method
Bracket Method
Attach bracket to mounting surface placing no. 10 sheet metal or
machine screws through the bracket slots. Attach the bracket to the
equalizer using the enclosed 1/4” socket-head screws and nylon
shoulder washers. Once the equalizer is swiveled to the desired angle
(the SEQ may be mounted with the bracket either above or below it)
tighten the socket-head screws using a 3/16” allen wrench.
Warning: Using screws that are too long will seriously damage
components on the circuit board and will void the warranty!
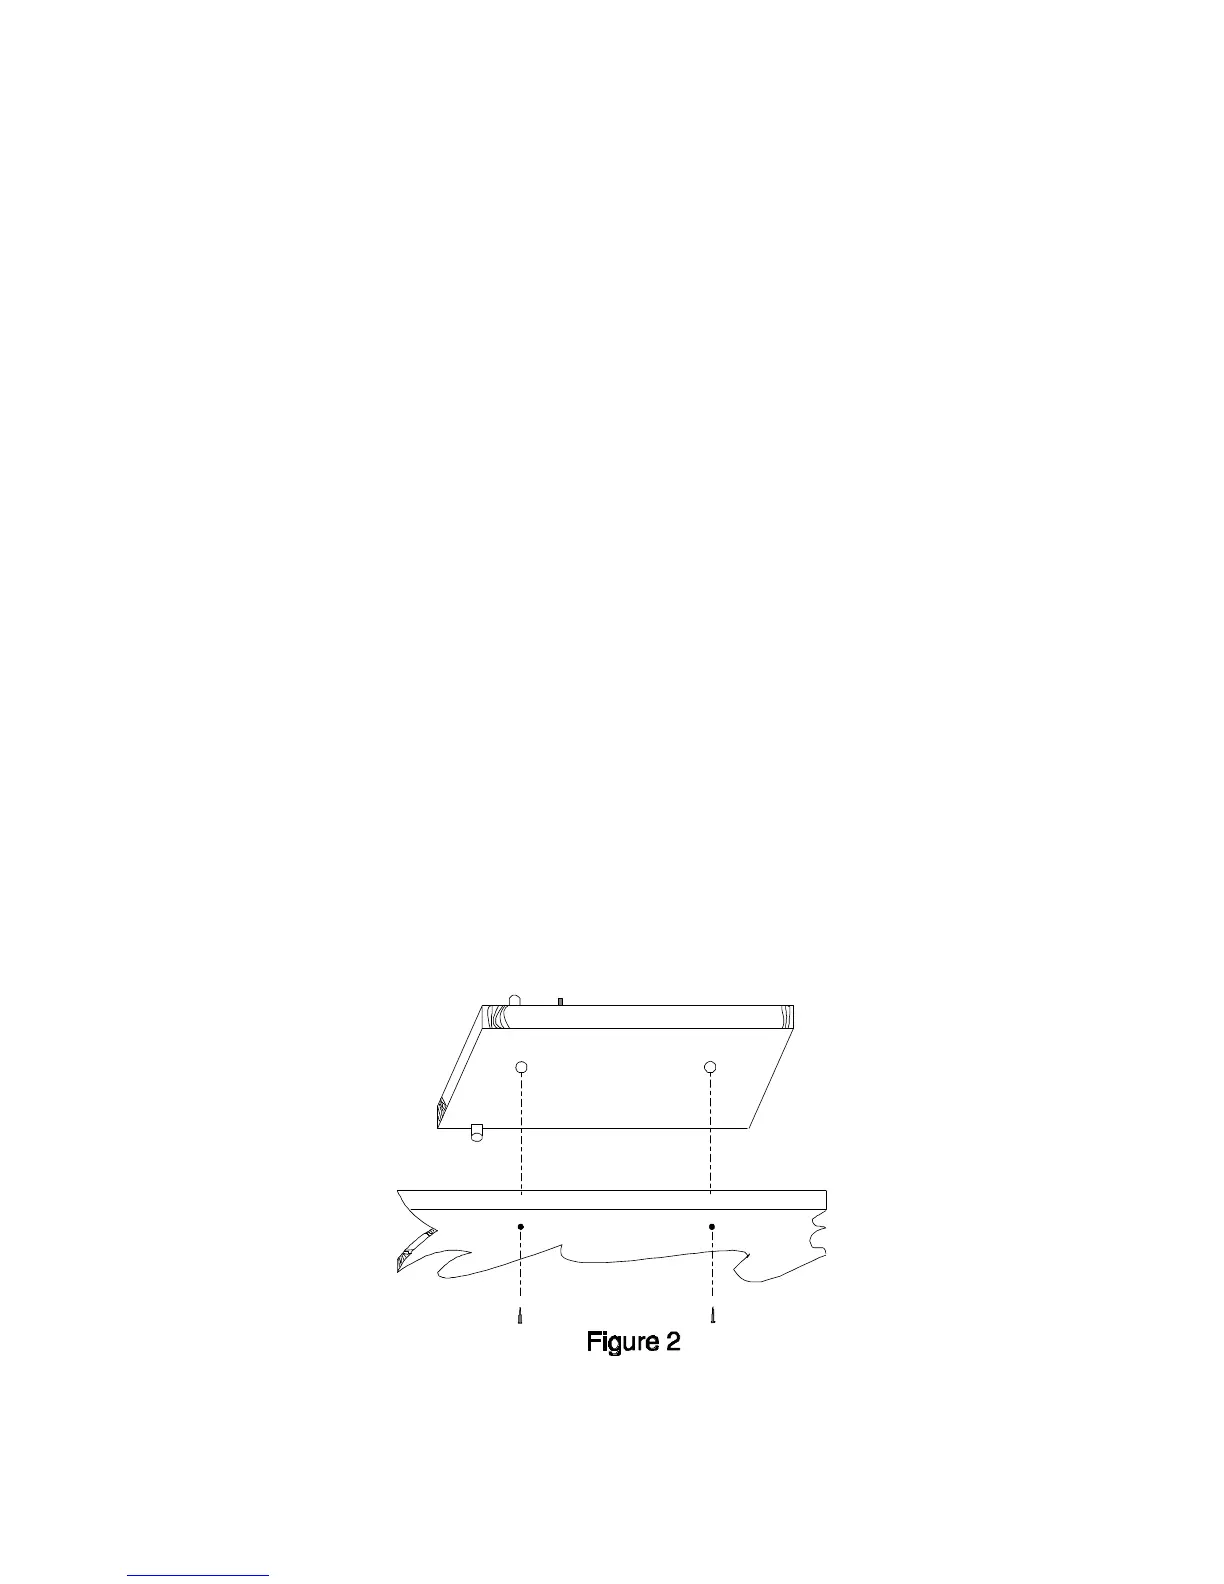
Low Profile Mounting Method
Low profile mounting provides 1-5/8” maximum height above the
mounting surface. The SEQ has two holes in the back for low-profile
mounting. The connector sticks out of the back therefore, three holes
must be drilled, two for mounting screws (13/64” or 7/32”) and one for
the connector (at least 5/8” in diameter).
If the installer has access, one simple way of low profile mounting, is to
use 10-32 machine screws (included) threaded into the SEQ from the
rear. (Screws should not be extended into the SEQ further than 1”) (see
fig. 2). The mounting surface with the 13/64” or 7/32” holes will clear a
10-32 screw. Drill 5/8” or larger for the connector.
8