To learn more, please visit us at ZappBug.com 13
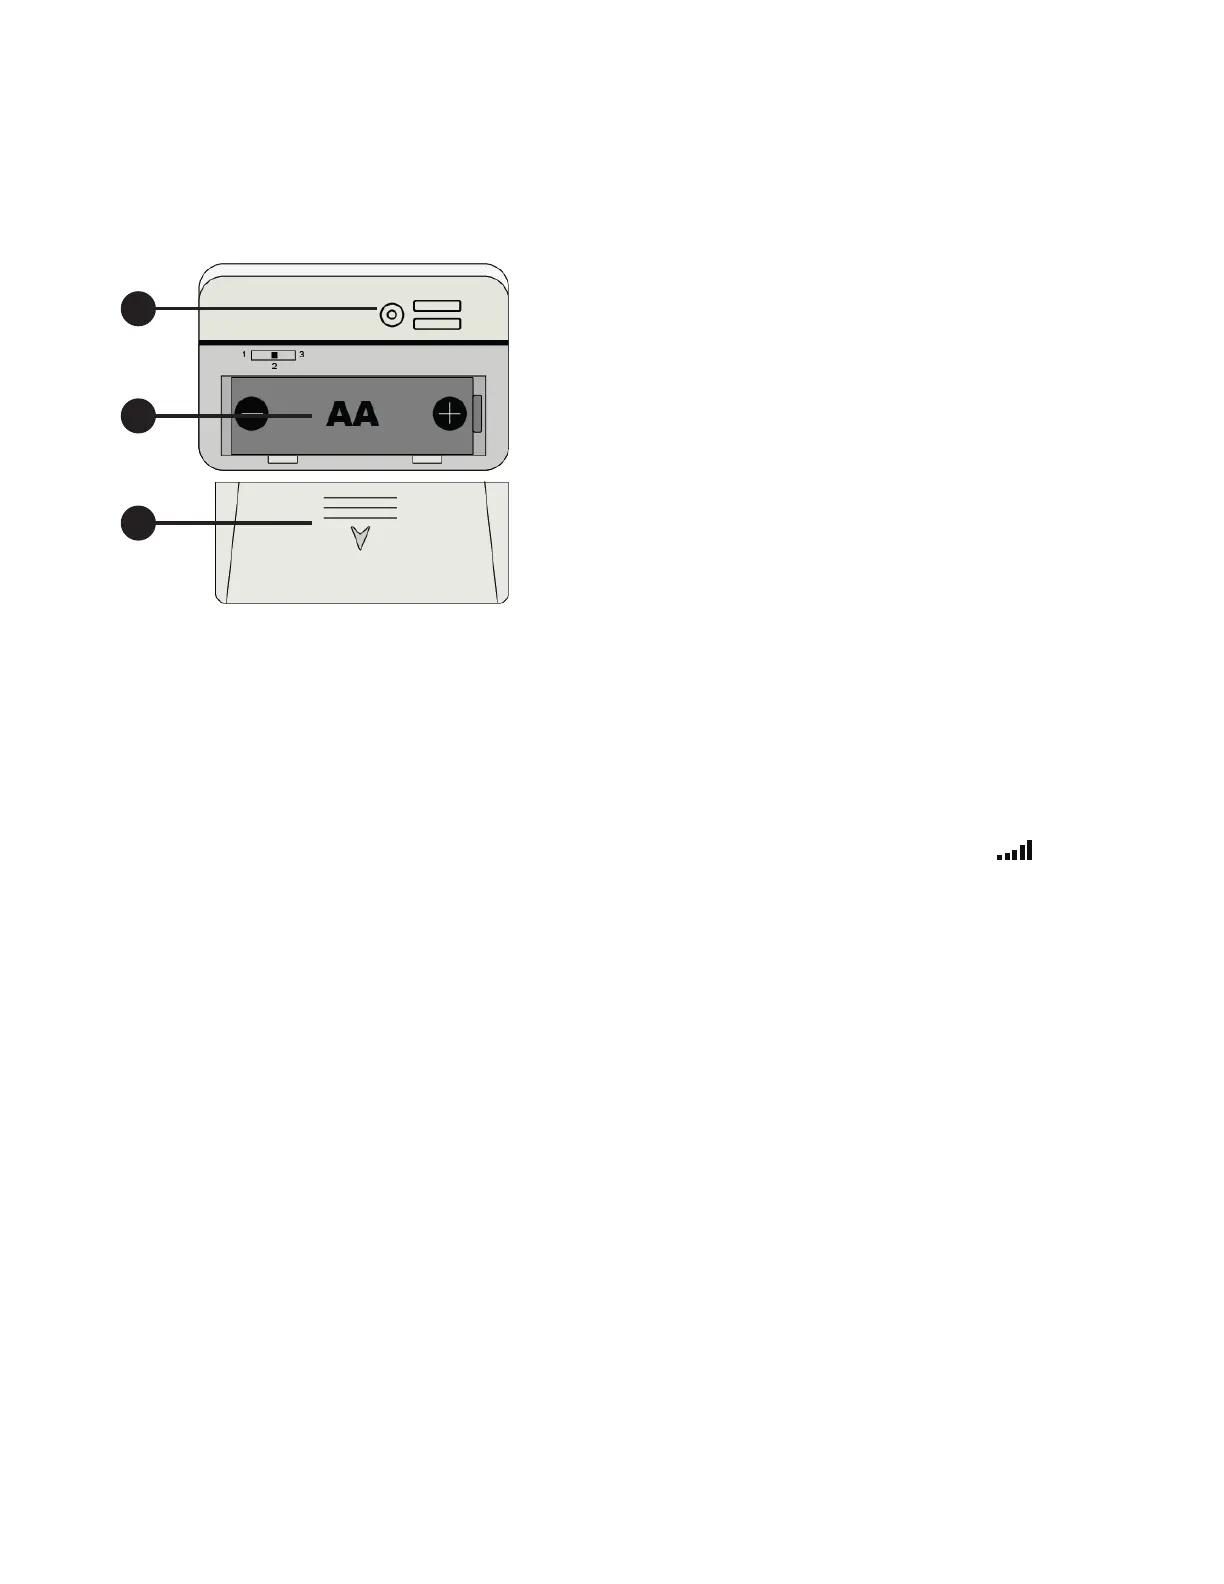
Thermometer Probe Set Up
1
2
3
1. Wireless Transmitter LED
2. AA Battery
3. Battery Door
Thermometer Probe
Use & Operation (continued)
Remove the battery door on the back of the thermometer probe by sliding the
door down and insert one AA battery.
1. After inserting the battery, the remote sensor LED indicator will light for 4
seconds, and then ash once per minute, thereafter. Each time it ashes, the
sensor is transmitting data.
2. Close the battery door.
on the thermometer base station. See Figure 2.
3. Place the wireless thermometer probe in the deepest, most insulated part of
the item being treated. Allow the ZappBug Oven 2
to run for 60 minutes or
longer after the temperature reaches 120°F.
4. If you are not present while the unit is running, we advise setting the timers to
8 hours, however this is generally more time than required for the ZappBug
Oven 2
to reach 120°F and maintain it for one hour.
5. If the base station does not update, view troubleshooting tips on page 18.
While in search mode, the reception icon will ash