5
1-800-892-3986 IS19172-I2
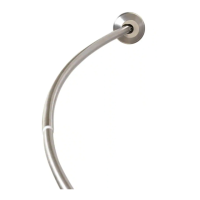
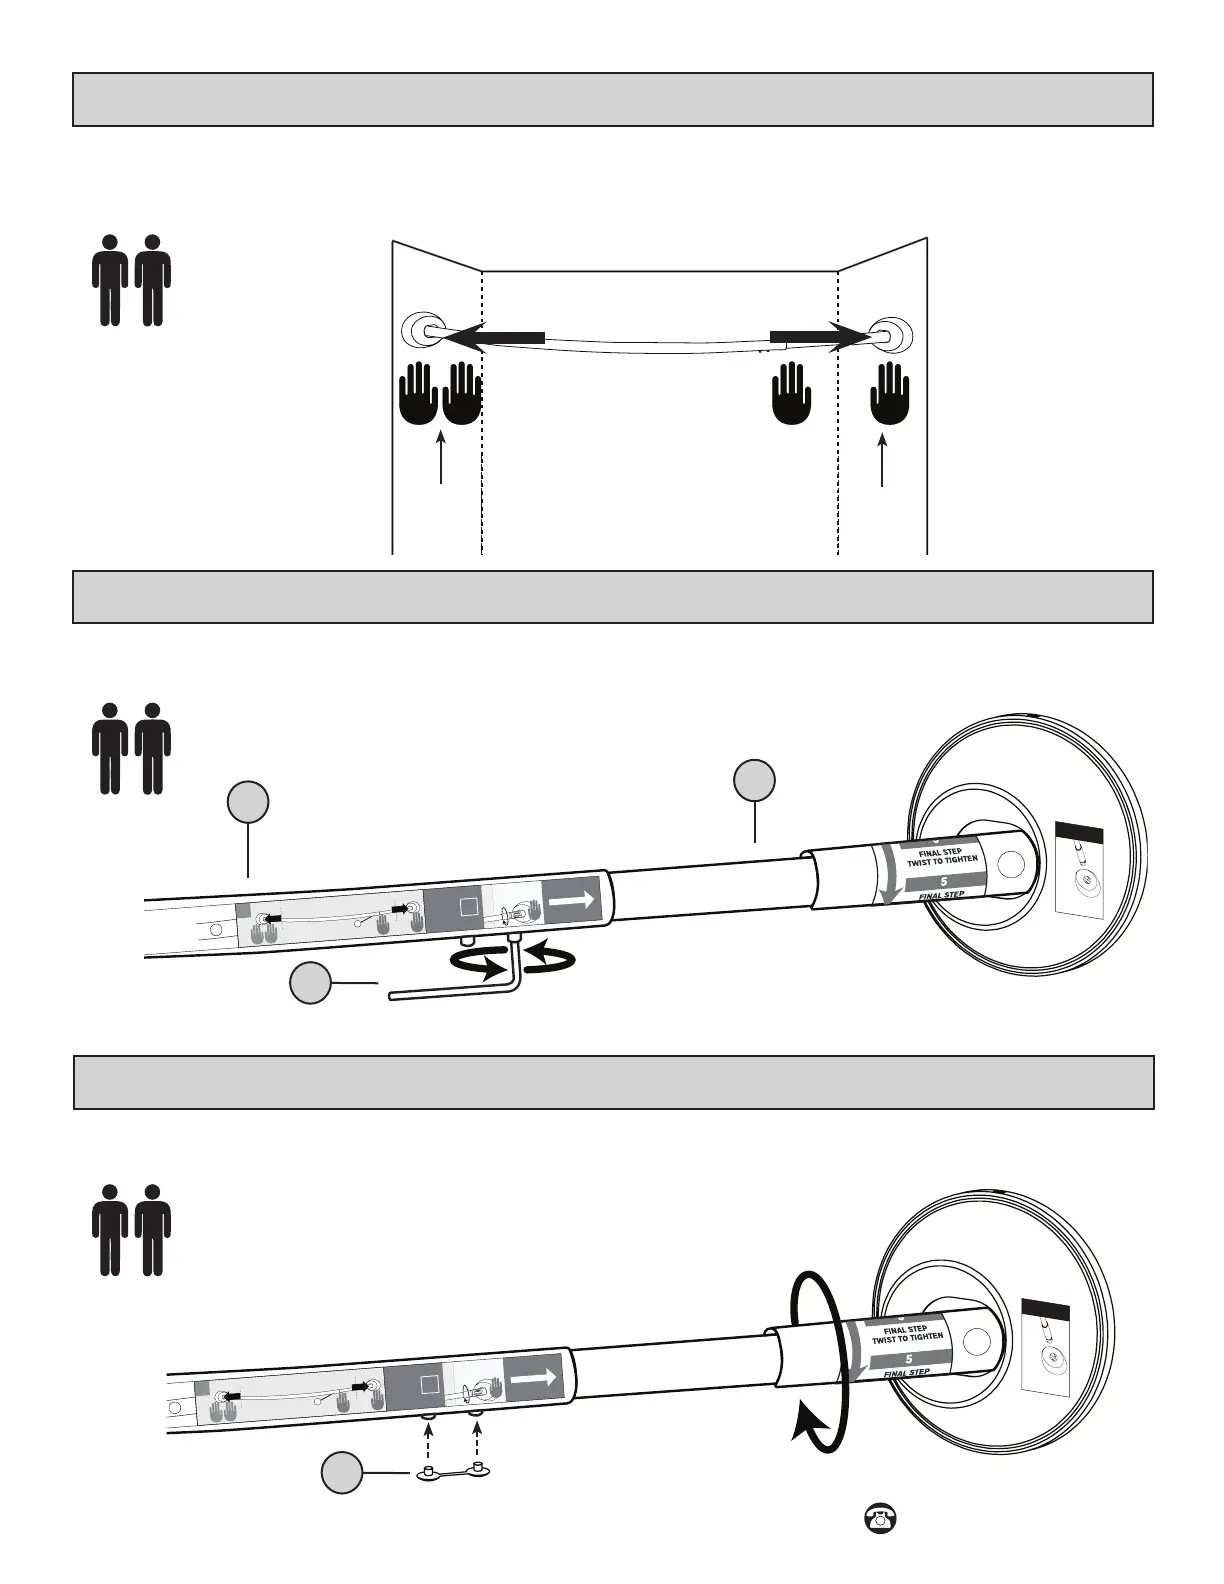
Step 4A - Tension Installation
• NOTE: The rod should be installed with the set screws (F) on the bottom side and the curve facing out of the tub.
• PERSON 1: While facing the tub hold the left mounting bracket (A) and rmly press against the left wall.
• PERSON 2: Hold the right mounting bracket (B) and rmly press against the right wall.
RECOMMEND
Step 4B - Tension Installation
• NOTE: Make sure the rod is level and adjust if needed.
• PERSON 2: Secure the length of the rod by fully tightening the screws (F) with the allen wrench (E).
B
B
PUSH
PUSH
4
Person 2 tightens
end of rod B.
5
FINAL
STEP
Person 1
(LEFT)
Person 2
(RIGHT)
Extend rod fully and apply outward pressure.
Person 2 (RIGHT) tightens screws fully.
F
Tighten screws
on bottom.
TOP B
B
PUSH AGA
INST
F LOO
R
A
B
E
RECOMMEND
PERSON 1
(LEFT)
PERSON 2
(RIGHT)
PUSH
PUSH
• Twist the adjuster so the rod tightens rmly against the wall.
• After tightening the rod fully, insert the set screw cap (G) into the screws on the underside of rod.
RECOMMEND
Step 5 - Tension Installation
B
B
PUSH
PUSH
4
Person 2 tightens
end of rod B.
5
FINAL
STEP
Person 1
(LEFT)
Person 2
(RIGHT)
Extend rod fully and apply outward pressure.
Person 2 (RIGHT) tightens screws fully.
F
Tighten screws
on bottom.
TOP B
B
PUSH AGA
INST
F LOO
R
G
 Loading...