9
1-800-892-3986 IS19172-I2
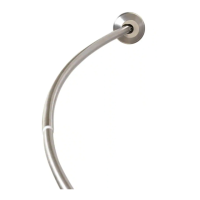
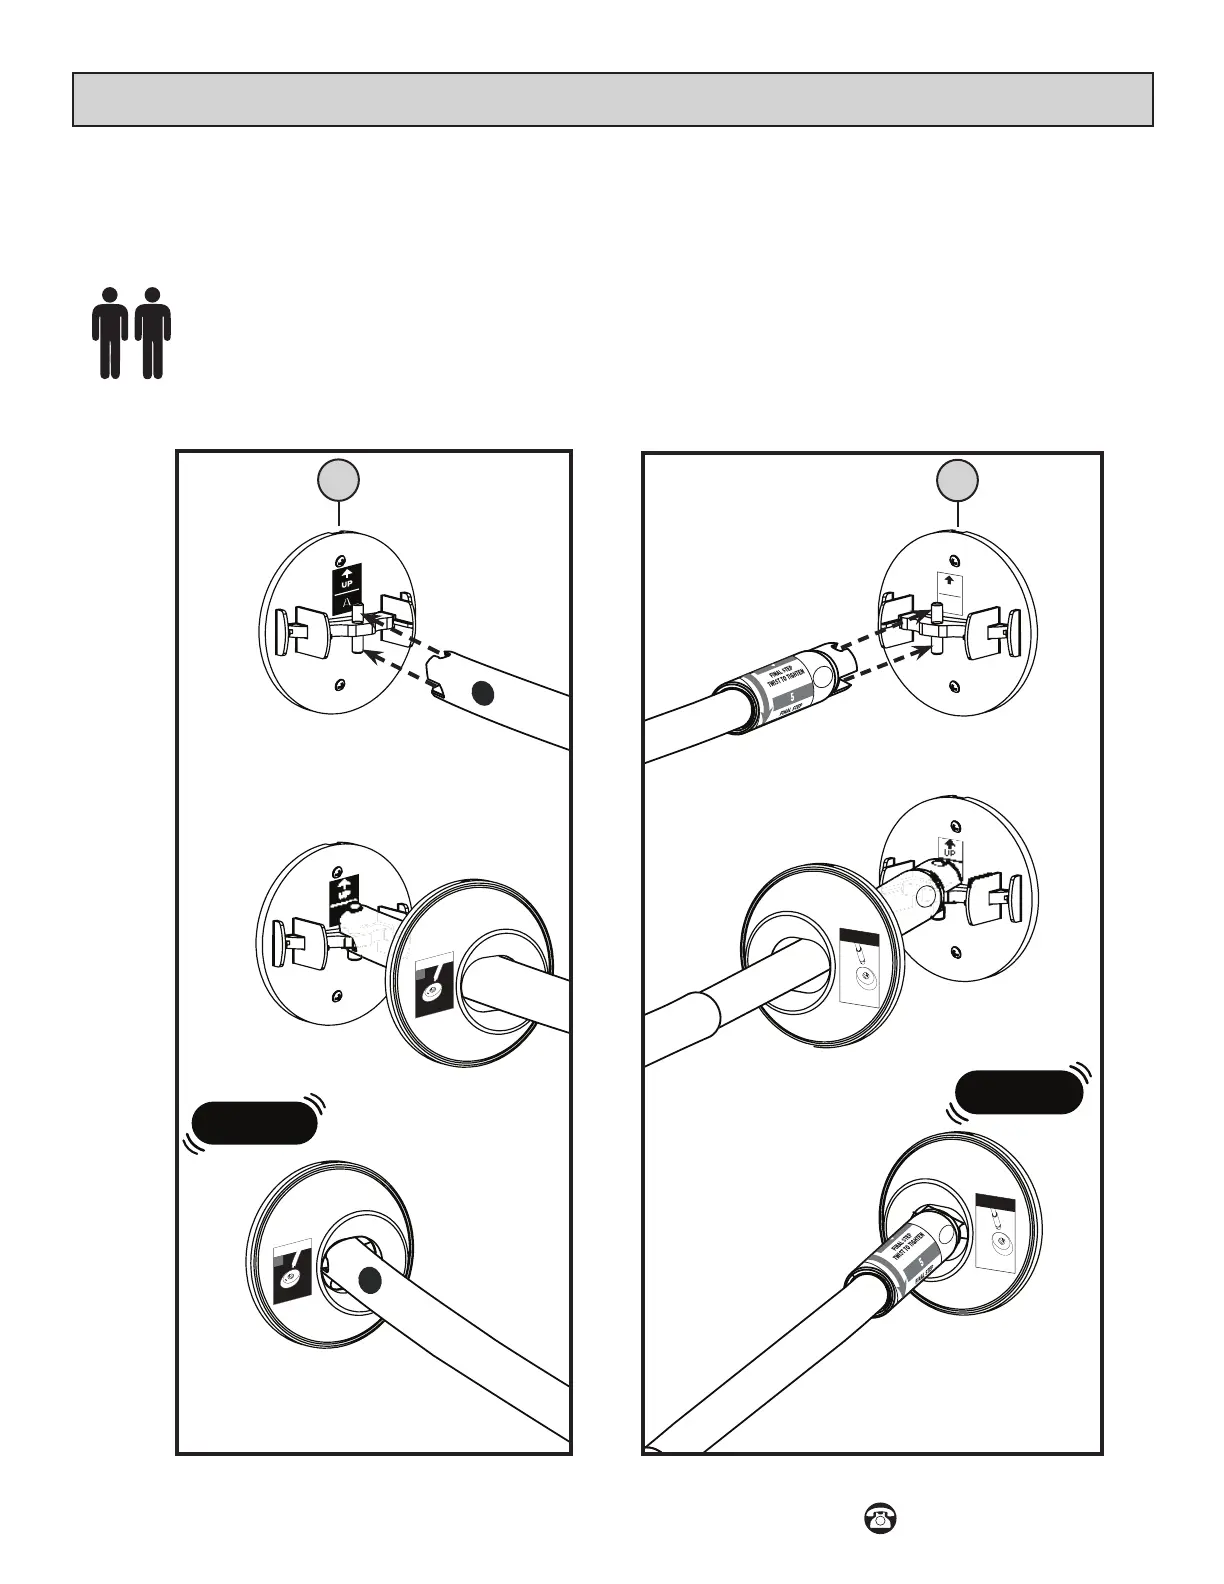
LEFT SIDE (A)
Step 5 - Permanent Installation
• Locate the rod and mounting bracket labeled (A). Follow the ‘UP’ position mark on the mounting bracket.
• Following the directional stickers UP ARROW, connect rod (A) to mounting bracket (A). Pressrmly until the
rod and mounting bracket CLICK together.
• Push end cap (A) into place. Follow the ‘UP’ position mark.
• Repeat these steps to connect the rod and mounting bracket labeled (B).
RECOMMEND
RIGHT SIDE (B)
CLICK
A
FL
O
O
R
A
A
TOP A
A
1
P
U
SH AGAINS T
FLO
O
R
A
TOP A
A
1
P
USH AGAINS T
FL
O
O
R
TOP B
B
PUSH AGA
INST
F LOO
R
TOP B
B
PUSH AGA
INST
F LOO
R
B
A
 Loading...