H0538700.B - EN - 2015-09
3
1. Informaon before installing
1.1 General delivery terms and condions
All equipment, even postage and packing paid, travels at the risks and perils of the recipient. Wrien reserves should be
made on the transporter’s delivery documents if damage during transport is discovered by the recipient (conrmed by
registered leer to the transporter within 48 hours).
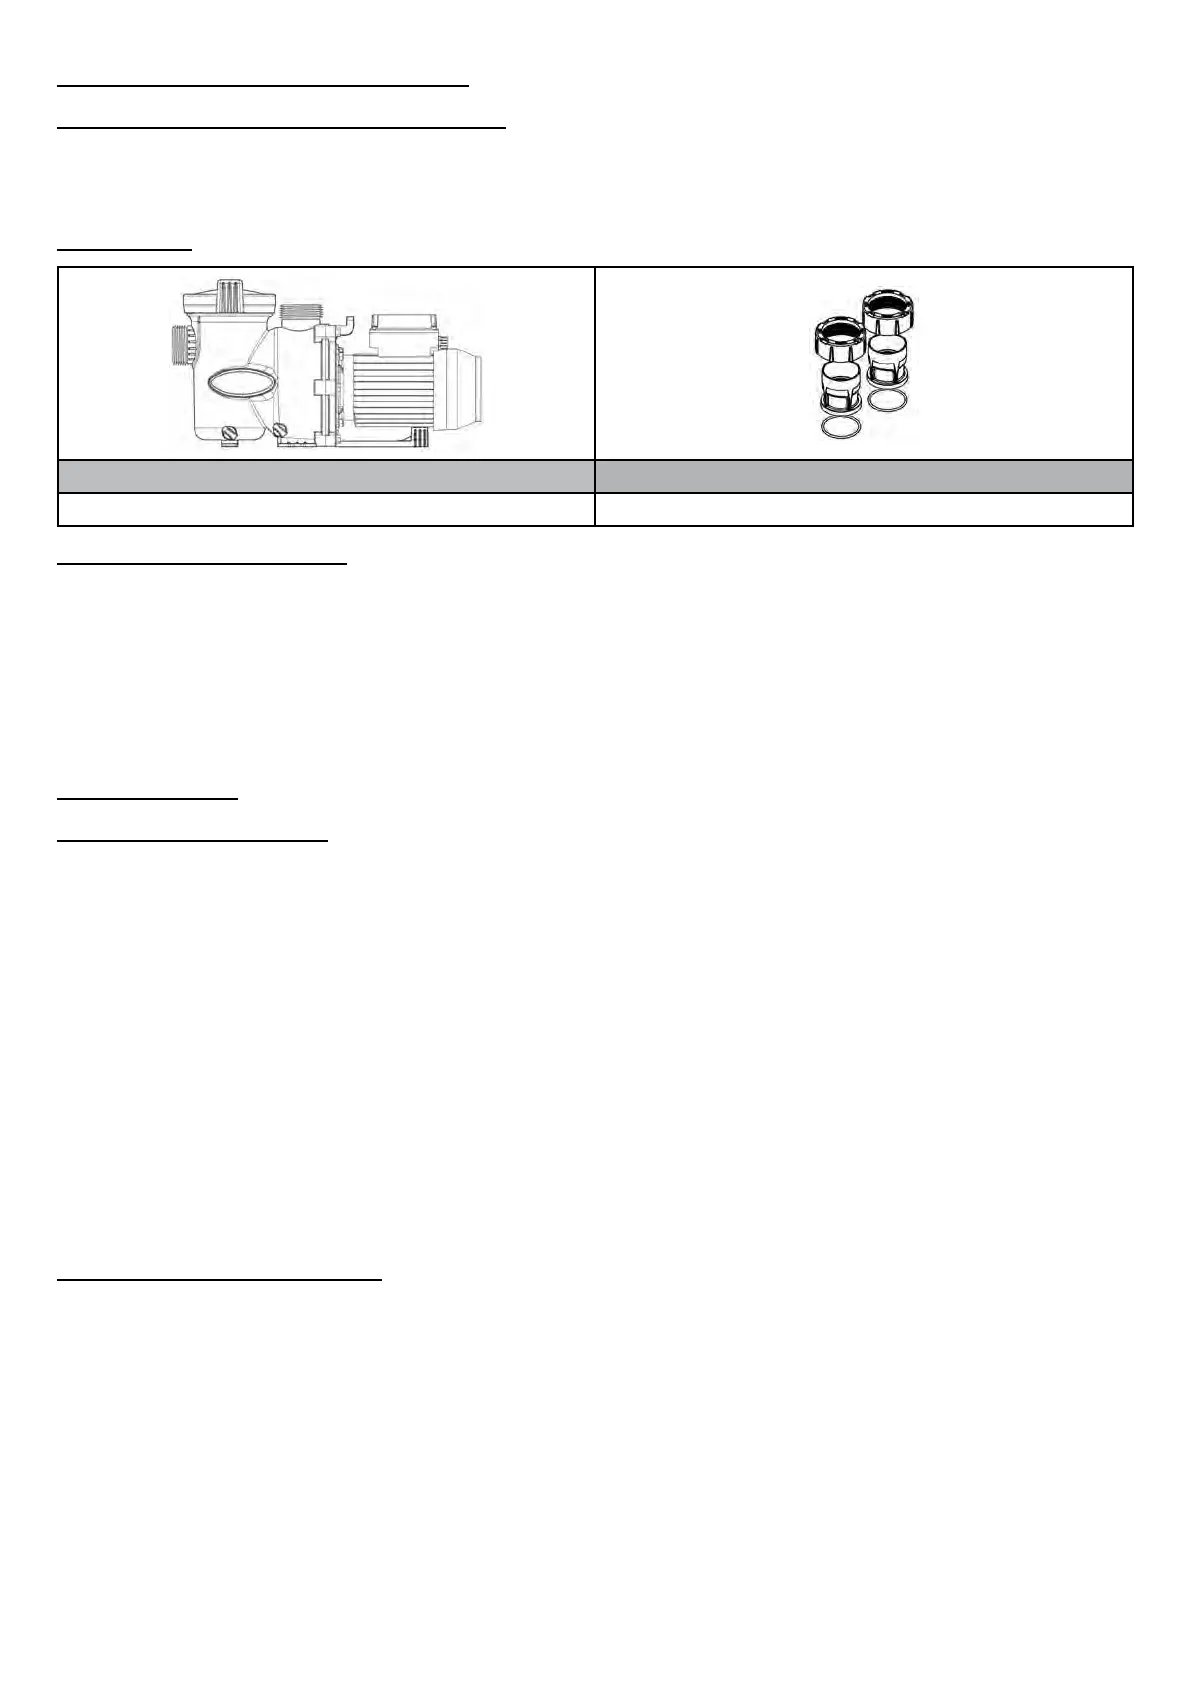
1.2 Contents
FloPro™ e3 Ø63/50 mm union couplings
x1 x2
1.3 Technical specicaons
• Power supplied: 1.0 HP - 750 W
• Mains power supply: 230 Vac - 50 Hz
• Operaon from 1000 to 2850 rpm (set in ranges of 50 rpm)
• Number of programmable speeds: 3
• Maximum rate at 8 metres from a water column: 18 m³/h
• Operang temperatures: from 2 to 50°C air and 2 to 35°C water
• Protecon index: IPX5
2. Installaon
2.1 Selecng the locaon
• The pump must be installed:
- before the lter, a heang and/or water treatment system,
- at a minimum distance of 3.5 metres from the edge of the pool, to avoid any water being sprayed onto the equipment.
Some standards allow for other distances. Refer to the regulaons in eect in the country of installaon.
- ideally 30 cm below the water level,
- out of an area subject to ooding, or on a base with drainage,
- in a venlated space to enable it to cool down.
• The pump must not be installed:
- in an area subject to splashing or rain.
- more than 1 m above the water level.
- near a heat source or ammable gas.
• Fit a non-return valve if the lter is installed above the water level.
• Fit sucon and discharge isolaon valves if the pump is installed below the water level.
• Easy access is required for maintenance work on the equipment.
• Use as few elbow joints as possible.
2.2 Posioning the equipment
• Place on a stable, solid (e.g. concrete oor) and level surface.
• If necessary, use the bases (2 types of base, not supplied, available as an opon) to raise the pump to the level of the
exisng pipes.
• Screw the pump to the ground using the adapted foundaon bolt.


 To Next Page