87 / 109
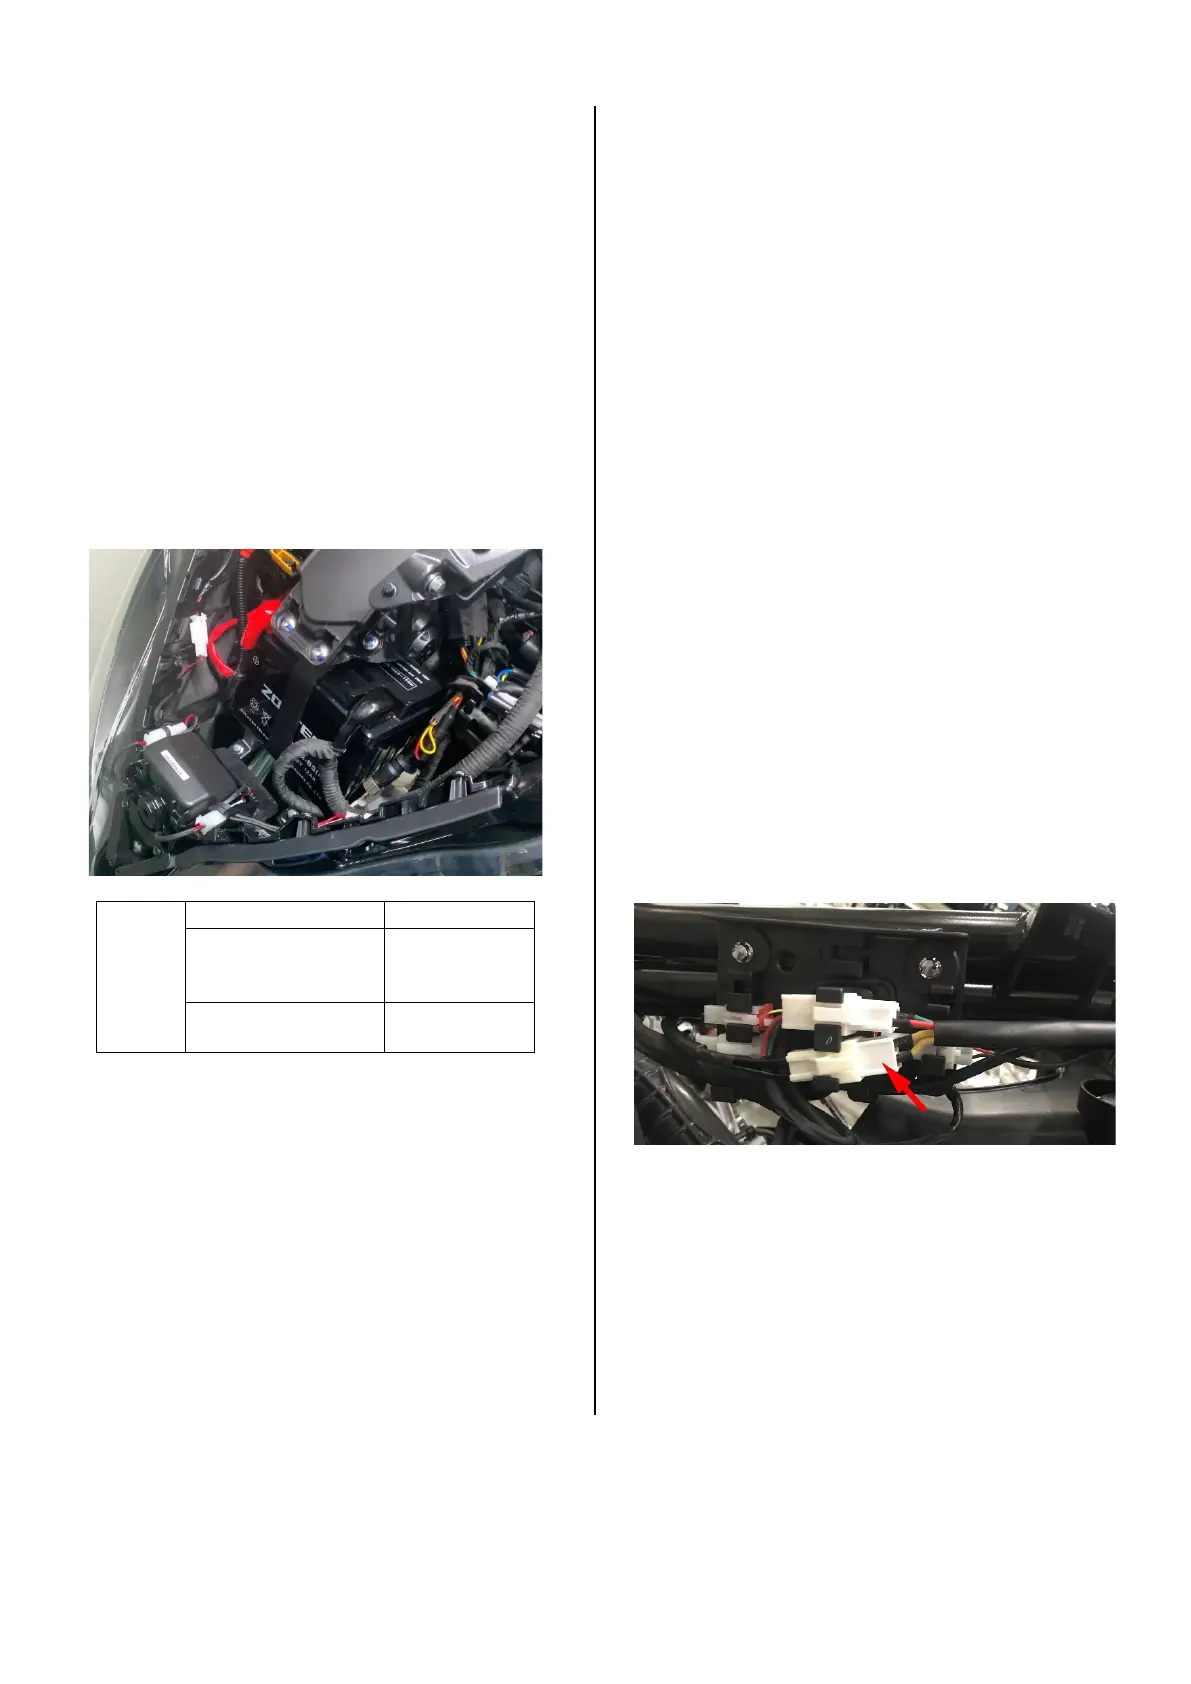
Battery disassembly
1. Disassembly
Caution:
●The whole motorcycle must be powered off before
disassembling the battery.
●The negative pole must be removed first, and then the
positive pole. The opposite is true when installing.
●The positive and negative electrode protective caps must
be covered when reinstalling.
●After removing the battery, reset the meter time and
reset the EFI system.
2.. heck
Open theSeat , remove the battery cover and remove the
protective caps of the positive and negative electrodes, and
use a multimeter to measure the battery voltage. Note that
the motorcycle should be turned off before measuring the
voltage.
Voltage
Full voltage
13.1~13.3V
Charging voltage
required for
unloaded car
≤12.8V
Charging voltage
required for loading
≤12V
Caution:
●The battery that has just been charged should be placed
for about 30 minutes before measuring. The voltage of the
battery that has just been charged will fluctuate.
3.. harging
If the battery cannot be started due to insufficient
power, it can be charged with the charger provided with
the car. Open the right storage box cover and remove the
cover to see the DC charging port that comes with PKE. The
battery can be charged after unplugging the PKE fuse. For
specific steps, please refer to the section "Checking the
battery voltage" in the chapter "Inspection of sound, light,
and electrical devices" in the chapter "Maintenance", or the
instructions delivered with the car.
Charging system check
1. Leakage test
a. Turn off the motorcycle and cut off the power supply,
and remove the negative wire of the battery.
b. Adjust the multimeter to the current position. Connect
the black test lead to the negative terminal of the battery
and the red test lead to the removed negative wire. Pay
attention to first adjust the current to the high gear, and
then gradually reduce to the appropriate gear.
c. Measure whether the leakage current is below 0.3mA.
If it exceeds the standard value, check whether the circuit
has a short circuit.
2.. heck the charging voltage
Caution:
●Before testing, make sure the battery is in good condition.
●Do not disconnects the battery or any electrical devices
before the whole motorcycle is powered off.
a. First warm up the engine to normal operating
temperature, and then turn off the engine.
b. Connect the red test lead of the multimeter to the
positive electrode of the battery and the black test lead to
the negative electrode directly. Adjust the multimeter to
the 20V DC voltage range. Turn on the high beam of the
headlights and start the engine. Measure the charging
voltage when the engine speed is 5000 rpm.
standard:
Battery voltage<Charging voltage<15.5V
3.. nspection of magneto stator charging coil
a. Remove the storage box, find the yellow 3P plug of the
rectifier above the frame tube on the left side of the rear of
the frame and unplug it.
b. Check whether the plug is loose or corroded.
c. Use the resistance profile of a multimeter to measure
the resistance of any two wires of the black 3P plug. The
standard is 0.55~0.85Ω (25℃/77°F).
d. After unplugging the yellow 3P plug, measure the red
positive wire and green negative wire with a multimeter,
and the battery voltage should be measured. Use the
buzzer file of the multimeter to check whether the green
negative wire and the ground wire (the ground wire can be
found in any stud directly connected to the frame) are
always conducting.
 Loading...