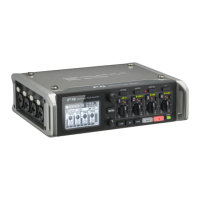
2. Use and to select “Timecode”, and press .
This reopens the Home Screen.
“Searching” will appear on the display as the unit starts searching for a device to connect.
HINT
• Searching can be canceled by pressing any button.
• If searching has been canceled, it can be restarted by selecting “Pair with the device” on the “Timecode”
screen.
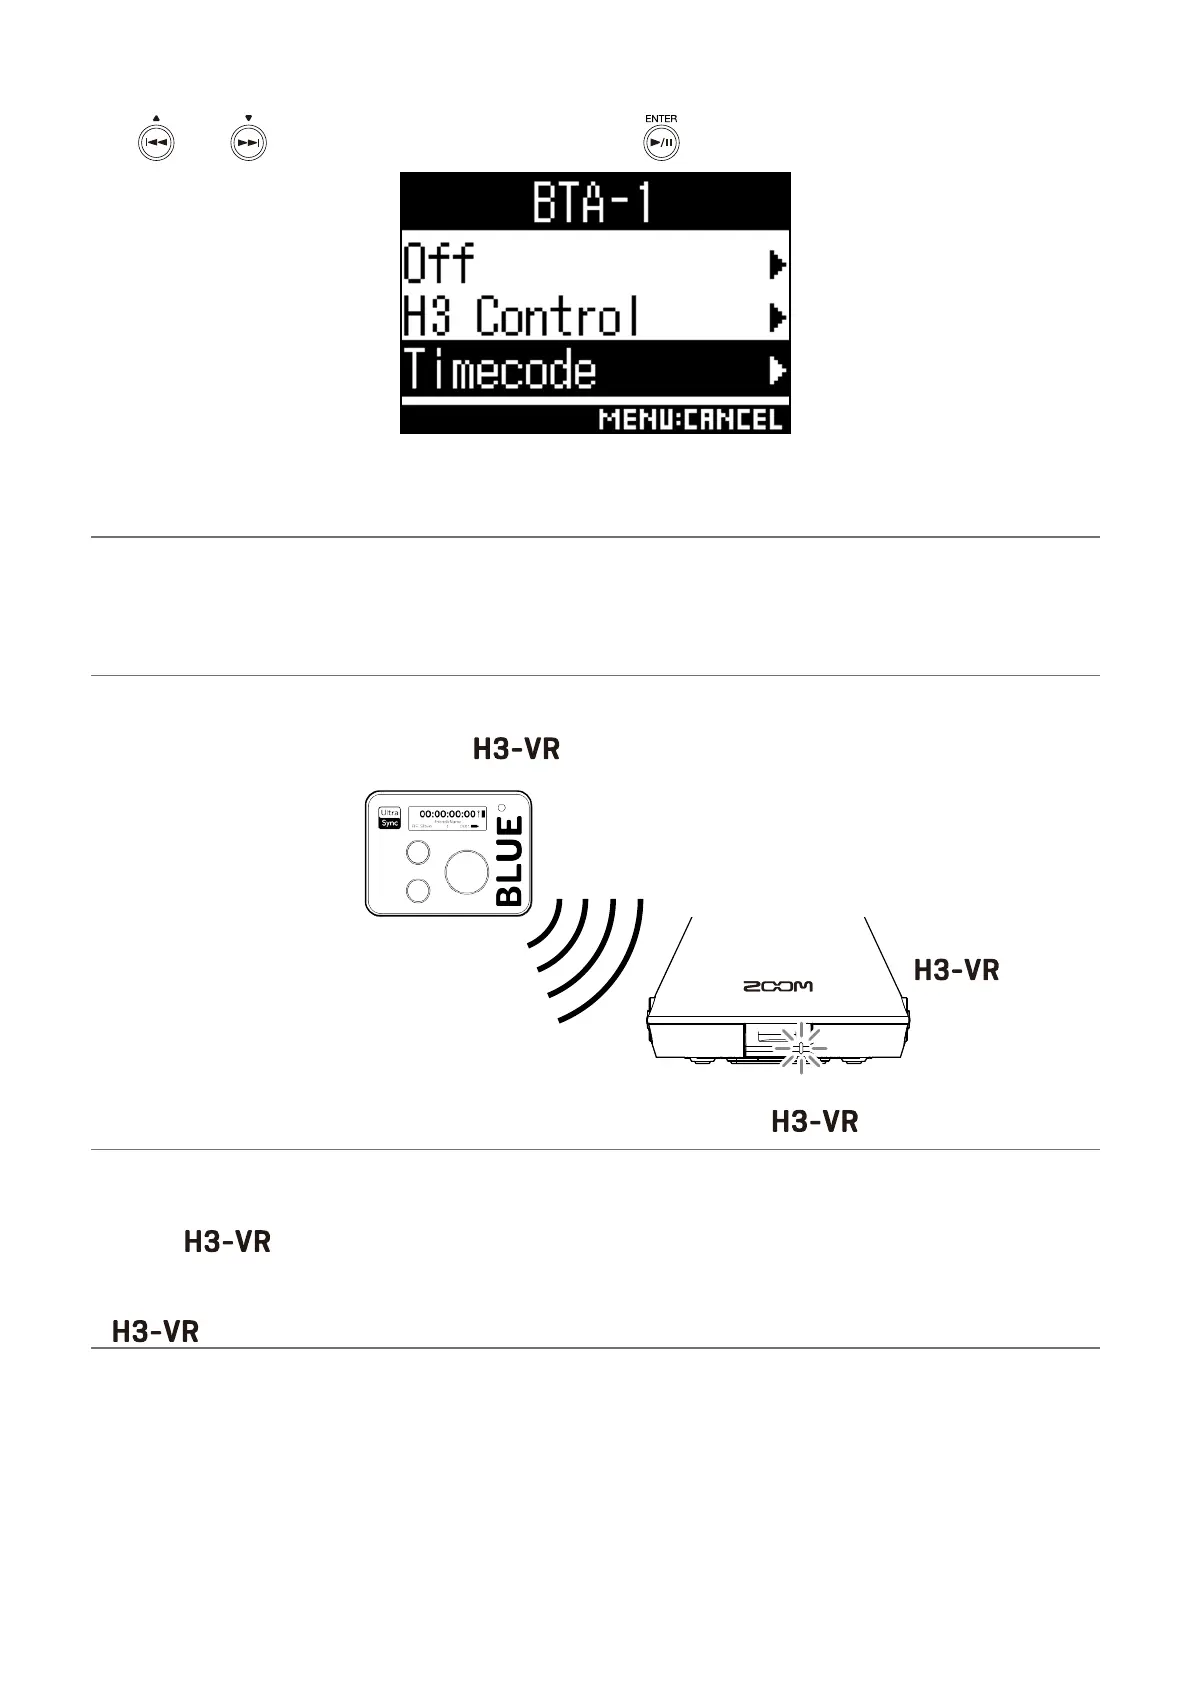
3. On the UltraSync BLUE, select the as the device to connect.
UltraSync BLUE Timecode
When pairing (registration) completes, “Connected” will appear on the display.
HINT
• See the UltraSync BLUE operation manual for information about how to select the device to connect.
• Use the and the UltraSync BLUE as close together as possible to make communication more
reliable.
• Even if communication with the UltraSync BLUE is interrupted during recording, timecode counted by the
will be written to the recording le.
4

 Loading...