3. Measurement Procedure
Preparation
• Place the load plate fully and horizontally on the flat test surface.
• Place the loading device on the load plate.
• Connect the electronic measuring device to the load plate via the measuring cable.
You can find the detailed operating instructions online at: www.zorn-instruments.com
Performing the Measurement
• Switch on the electronic measuring
device with the <On/Off> key.
• For devices with GPS module: After 30
seconds, the GPS receiver is logged in
and the coordinates are displayed.
• When an SD card is inserted, your
measurement results are saved
automatically and only on the SD card.
You can also perform your measure-
ments without an SD card. In this case,
the measurement results are saved on
the internal memory (flash).
• According to the test specification, a
total of six measuring impacts must be
performed: three impacts for preloa-
ding and three impacts for the measu-
rement.
• Unlock the transport safety lock.
• Start the measurement using the <OK>
key. The currently set test mode
appears (e.g. 300 mm/ 10 kg).
• Lift the drop weight and latch it into the
notching device at the upper stop.
• Align the guide rod of the loading
device vertically. Use the level as a
guide (depending on the model,
either at the top of the handle or
directly on the notching device).
• When the beep sounds and the
display prompts you to do so, unlatch
the drop weight and let it hit the
spring element. After the first impact,
catch the drop weight again at the
catch handle and latch it again.
• First perform the three impacts for
preload, then perform the three
impacts for measurement.
• After the last impact, there is a
double beep. Put down the drop
weight.
• Lock the transport safety lock.
• The display shows the three measu-
red settlement amplitudes.
• Press the <OK> key to end the
measurement.
Display of the measurement results
• You can read the date, time, average settlement, s/v value and the E
vd
value.
• You can use the <Mode> key to call up the settlement curves on the display.
• The display also shows the sequential number of the data set.
• Press the <OK> key again to start a new measurement.
• Note: You can cancel any measurement with the <On/Off> key. Then the measure-
ment will not be saved.
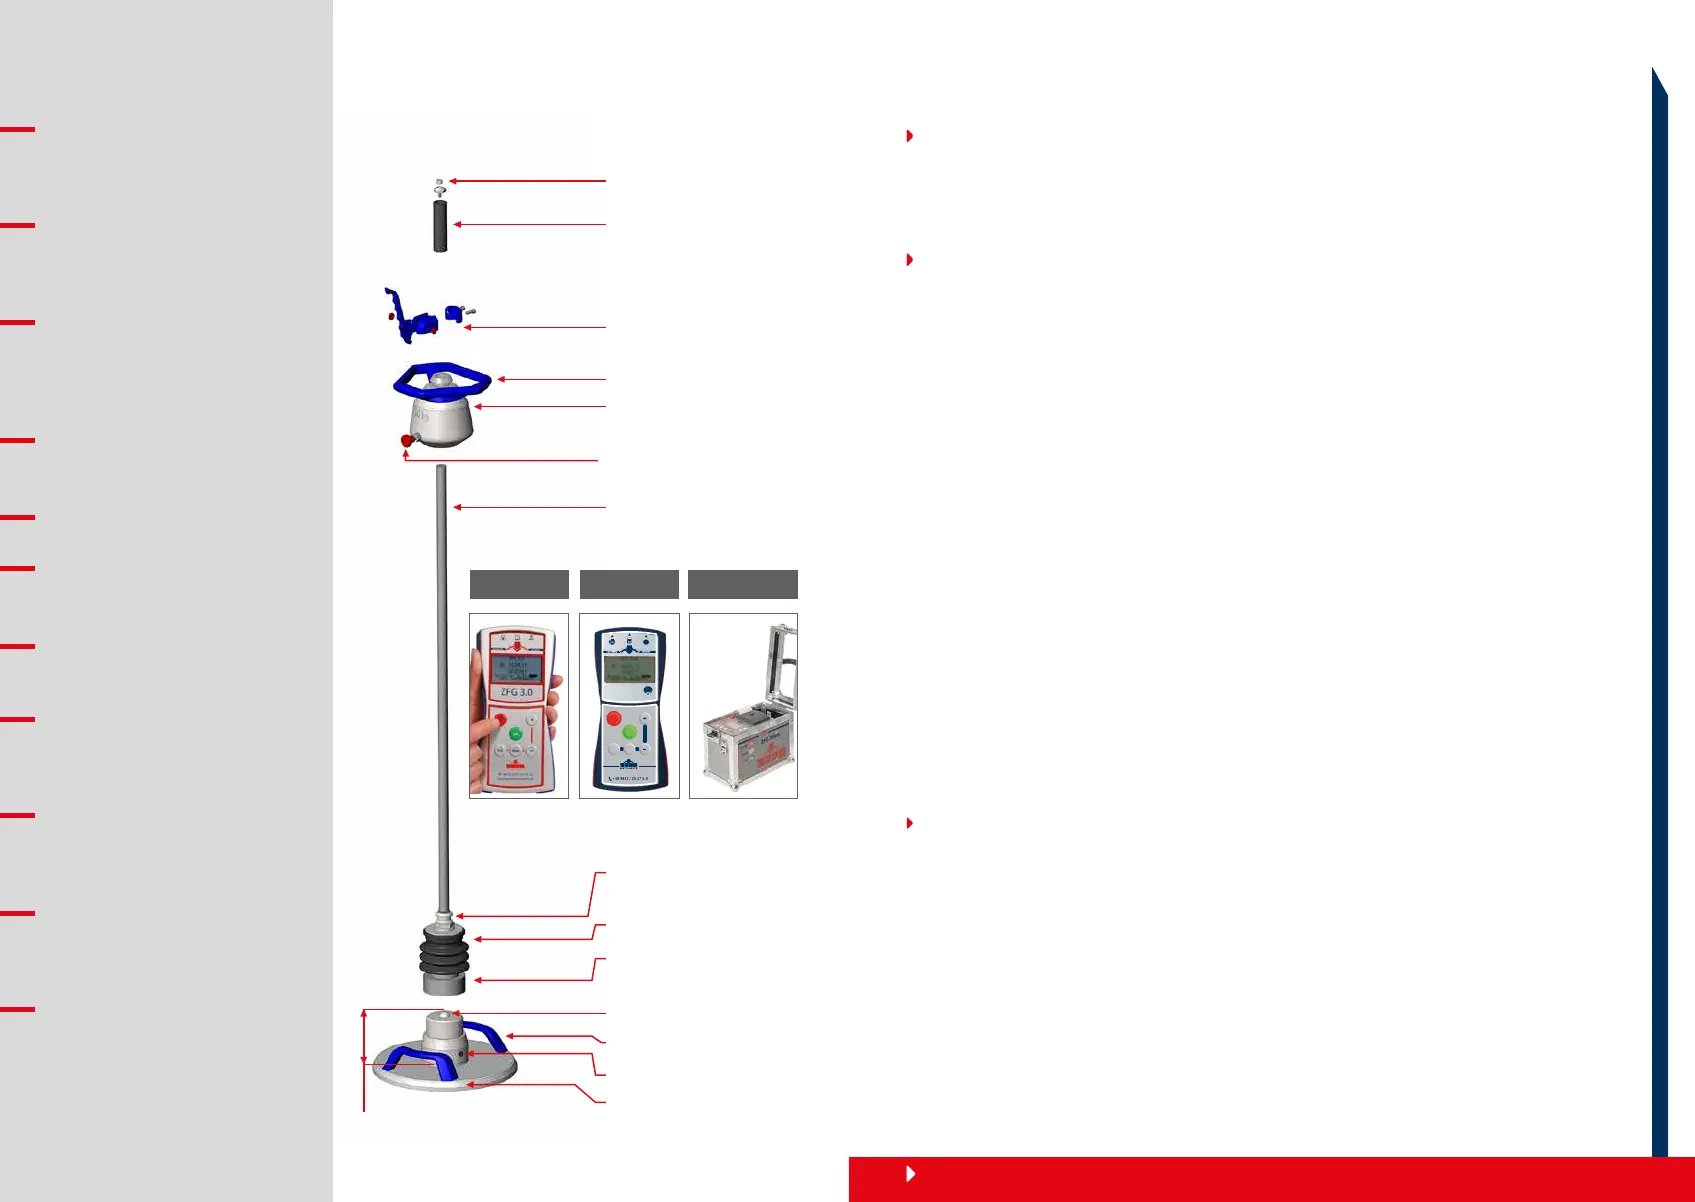
Drop Weight
Lever for Transport
Safety Lock
Spring Element in
Bellows
Tilt Protection
Centering Cone
Carrying Handle
Sensor Connector
Catch Handle
Handle
Level
Head Limit Stop
with Release
Mechanism
Guide Rod
Catch for Transport
Safety Lock
Bearing Plate
Mounting Pin with Sensor
ZFG 3.0 ZFG 3.1
ZFG 3000
1. Safety Instructions
To prevent accidents and
damage to the device, secure
the device when transporting
with the transport safety lock!
Check your Light Weight
Deflectometer for damage
before each use and only use it
if it is not damaged.
Only plug in the measuring
cable when the drop weight is
on the ground and the electro-
nic measuring device is
switched off.
Do not touch under the drop
weight when it is latched on
top!
Wearing protective work shoes
is recommended.
During the measuring process,
make sure that the transport
safety lock is removed.
To avoid injuries, only grip the
drop weight device by the
triangular catch handle!
If the Light Weight Deflectome-
ter is not in use, the drop
weight must be at the lower
end of the guide rod.
Use only recommended batte-
ries or original rechargeable
batteries for the electronic
measuring device.
Protect the printer at all times
from external influences such
as moisture and soiling, e.g.
sand and dust.
Only use the supplied charger
to recharge the ZFG 3000 or
the printer for the ZFG 3.0 or
ZFG 3.1.
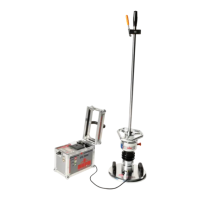
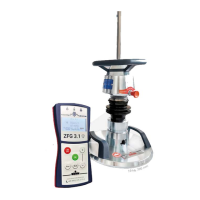
2. Light Weight Deflectometer | Details
ZFG
Print Mode
ON
OFF
OK
ZFG 3.1
www.zorn-instruments.de
 Loading...