8
Getting Started
Charging
1. Use included power adapter to charge.
2. Insert a suitable plug to power adaptor if necessary.
3. Plug the USB-C cable into one of the USB ports on the ZONE to begin charging.
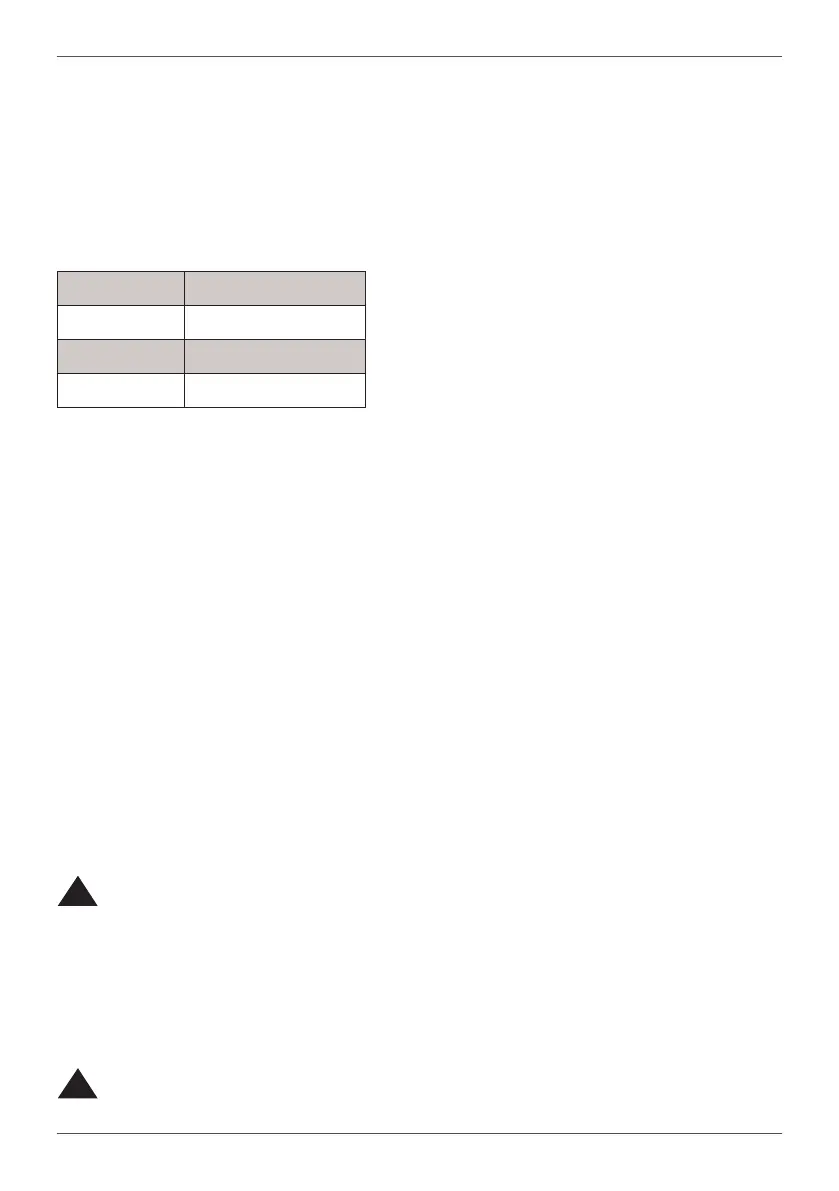
Battery Indicator
The three LEDs on top displays the current battery level, as well as charging status when charging.
3 Solid Lights above 66% battery
2 Solid Lights above 33% battery
1 Solid Light 33% battery or below
Flashing LED Low Battery
When Charging, the rightmost LED of the current battery level will ash until battery is full (3 Solid
lights.)
Starting For The First Time
1. Power on ZONE by pressing the power button. Wait for a moment for the setup screen to appear.
2. Choose your region and language preferences from the setup screen.
3. Review the license agreement carefully and select "Accept."
4. Follow onscreen instructions to congure the following basic items:
•
Personalization
•
Internet
•
Settings
•
Microsoft Account
5. Once nished, the device will go into the Windows desktop environment.
6. An installation popup for the ONE LAUNCHER program may appear. Press "Okay" to download and
install it.
WiFi Setup
To connect to a WiFi network on your ZONE:
1. Open the Action Center from the taskbar.
2. Enable WiFi by clicking/tapping the WiFi icon.
3. Choose an access point from the list of available WiFi connections.
4. Click "Connect" to establish network connection.
NOTE
!
You may need to enter a security key for the WiFi connection.
Bluetooth Setup
To enable data transfers, you must pair your ZONE with other Bluetooth devices. Follow these steps:
1. Open Settings from the start menu.
2. Select "Bluetooth Devices."
3. Click on "Add device" to search for Bluetooth devices.
4. Choose a device from the list to pair it with your ZONE.
NOTE
!
1. Some devices may need to be placed in pairing mode before the ZONE can detect
them.
2. Some Bluetooth devices may require you to enter a pairing code.
 Loading...