04
ASSEMBLY
Before Assembling
Assembly Instructions
The very first step is to inspect and tighten the valve as per the following steps. Please understand that although our factory
inflates each piece of equipment for more than 24 hours to ensure it is in good condition before sending the item out, the valve
may still get loose in transit, which is out of our control. For your safety, please inspect and tighten the valve each time
before using the SUP.
Please follow the guidelines below before the assembly.
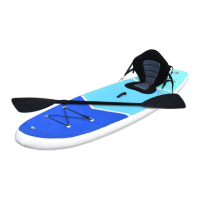
We will introduce the steps to inflate the paddle board, assemble the accessories and seat (if there is), as well as the method to
lock your Zupapa® inflatable SUP.
1. Check and confirm you have all the listed parts according to the chapter Parts List. If you need any replacement(s), feel free to
reach out to Zupapa® Customer Happiness Executives with the ORDER NUMBER, PART NUMBER, REQUIRED QUANTITY for each
part, and photos (or video clips if applicable)
2. Inspect and tighten the valve in the way introduced in Step 1 of the Assembly Instructions.
3. Install the Foot Bar before inflating the paddle board
9
STEP 1 – INSPECT THE VALVE


 To Next Page