48 CHAPTER 4: CONFIGURING THE SWITCH FROM THE WEB INTERFACE
1 Enter a set of VLANs or select all VLANs to add to the
rename list, then click Select.
2 From the list of selected VLANs, choose a VLAN to
rename. Enter a new VLAN name and click Apply.
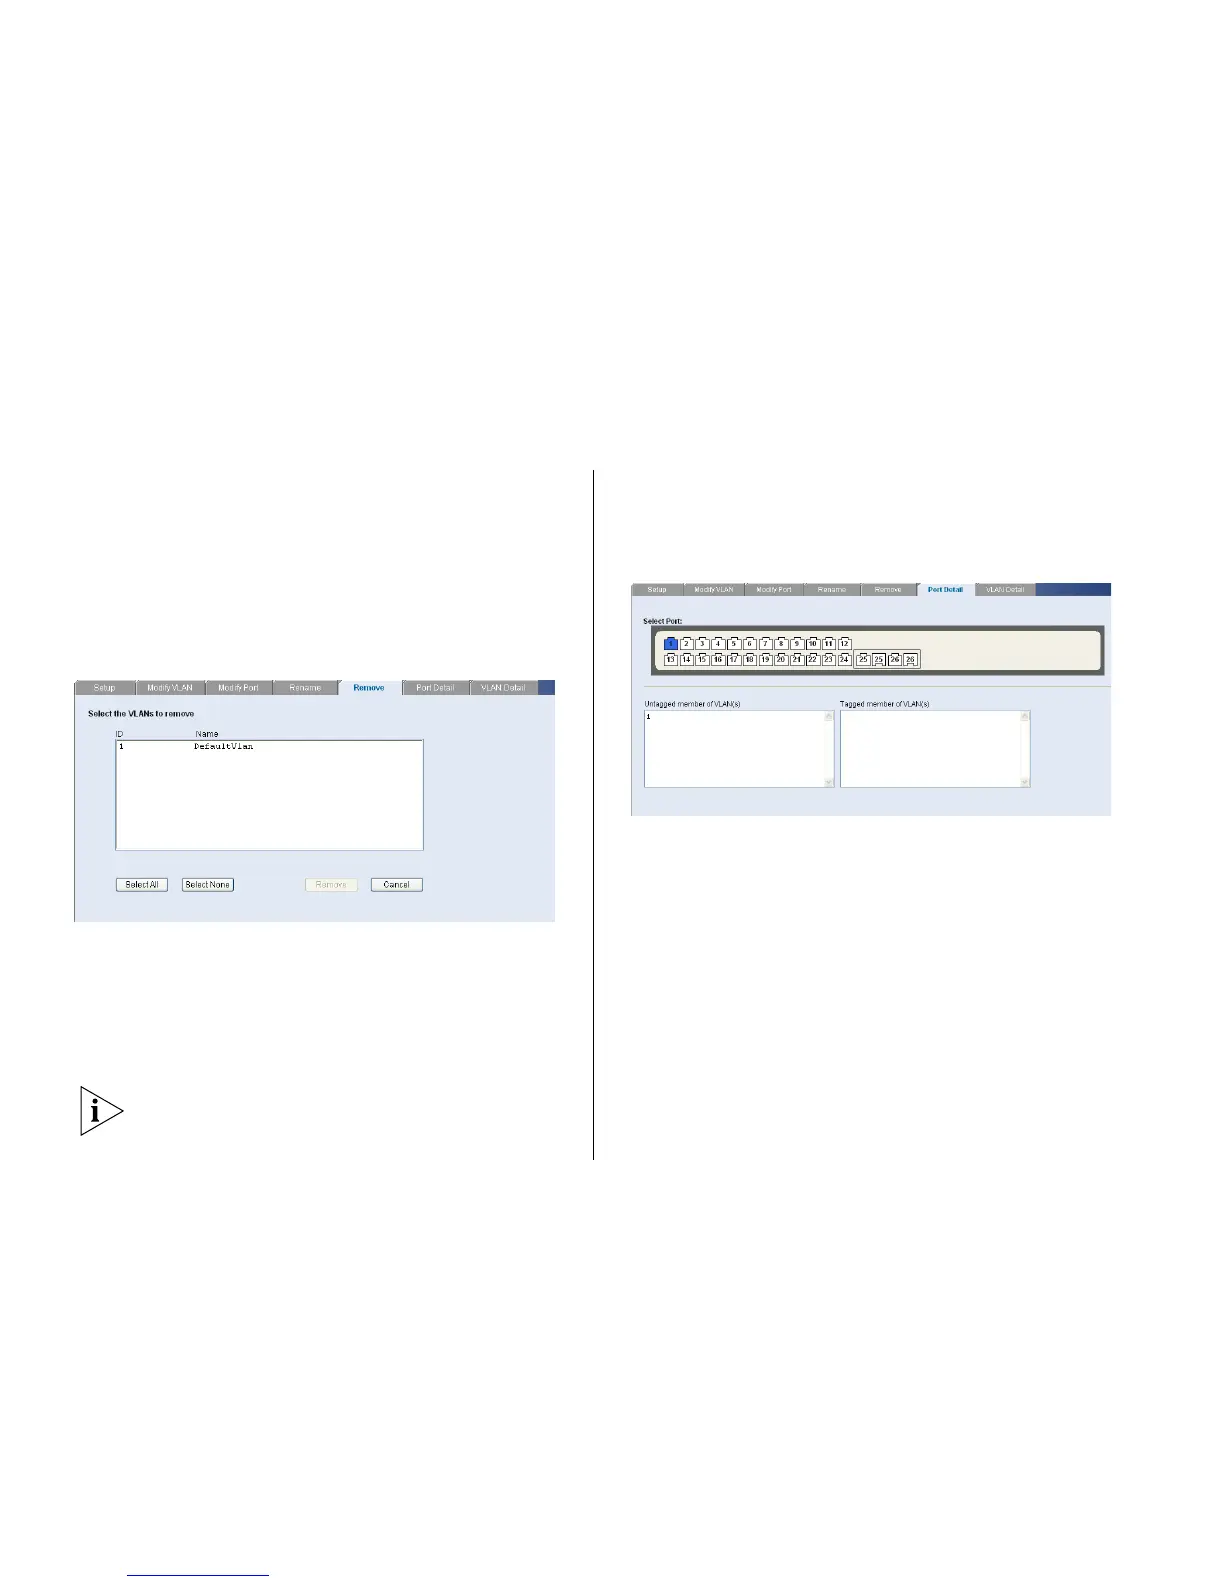
Remove
Use the Remove screen to remove a VLAN.
Figure 35 Remove Screen
1 Enter a set of VLANs or select all VLANs to add to the
remove list, then click Select.
2 From the list of selected VLANs choose a VLAN to
remove, or click the Select All button to select all the
VLANs. Click Remove to remove the VLAN.
To delete a VLAN, all port members must first be
removed from the VLAN.
Port Detail
Choose a port to display the tagged and untagged
VLAN memberships it is associated with.
Figure 36 Port Detail Screen