3
CONFIGURING THE SWITCH 7750
The following sections of this chapter describe how to configure and boot the
Switch 7750:
■ Configuring the Switch 7750 and a Local Terminal
■ Setting Terminal Parameters
■ Booting the Switch 7750
Configuring the
Switch 7750 and a
Local Terminal
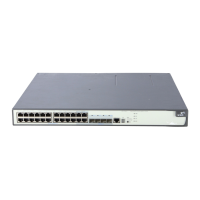
Configure the local terminal and Switch 7750, using Figure 36 as a reference. The
terminal (a PC in this example) is connected to the switch console port using a
console cable.
Figure 36 Connecting the Switch 7750 to a PC
1 Plug the DB-9 or DB-25 female plug of the console cable into the serial port of the
PC or the terminal where the switch will be configured.
2 Connect the RJ-45 connector of the console cable to the console port of the
switch.
Setting Terminal
Parameters
To set terminal parameters and open a HyperTerminal session:
1 Start the PC and select Start > Programs > Accessories > Communications >
HyperTerminal.
The Connection Description dialog box displays, as shown in Figure 37.
Switch
Console cable