22 CHAPTER 2: INSTALLING THE SWITCH
Rack-Mounting the
Switch
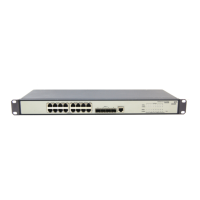
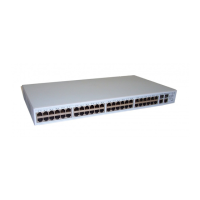
Switch 4210 26-Port models are rack-mountable in a standard 19-inch rack.
Switch 4210 9- and 18-Port models are not as wide as the 19-inch model and are
intended for desktop or shelf installation.
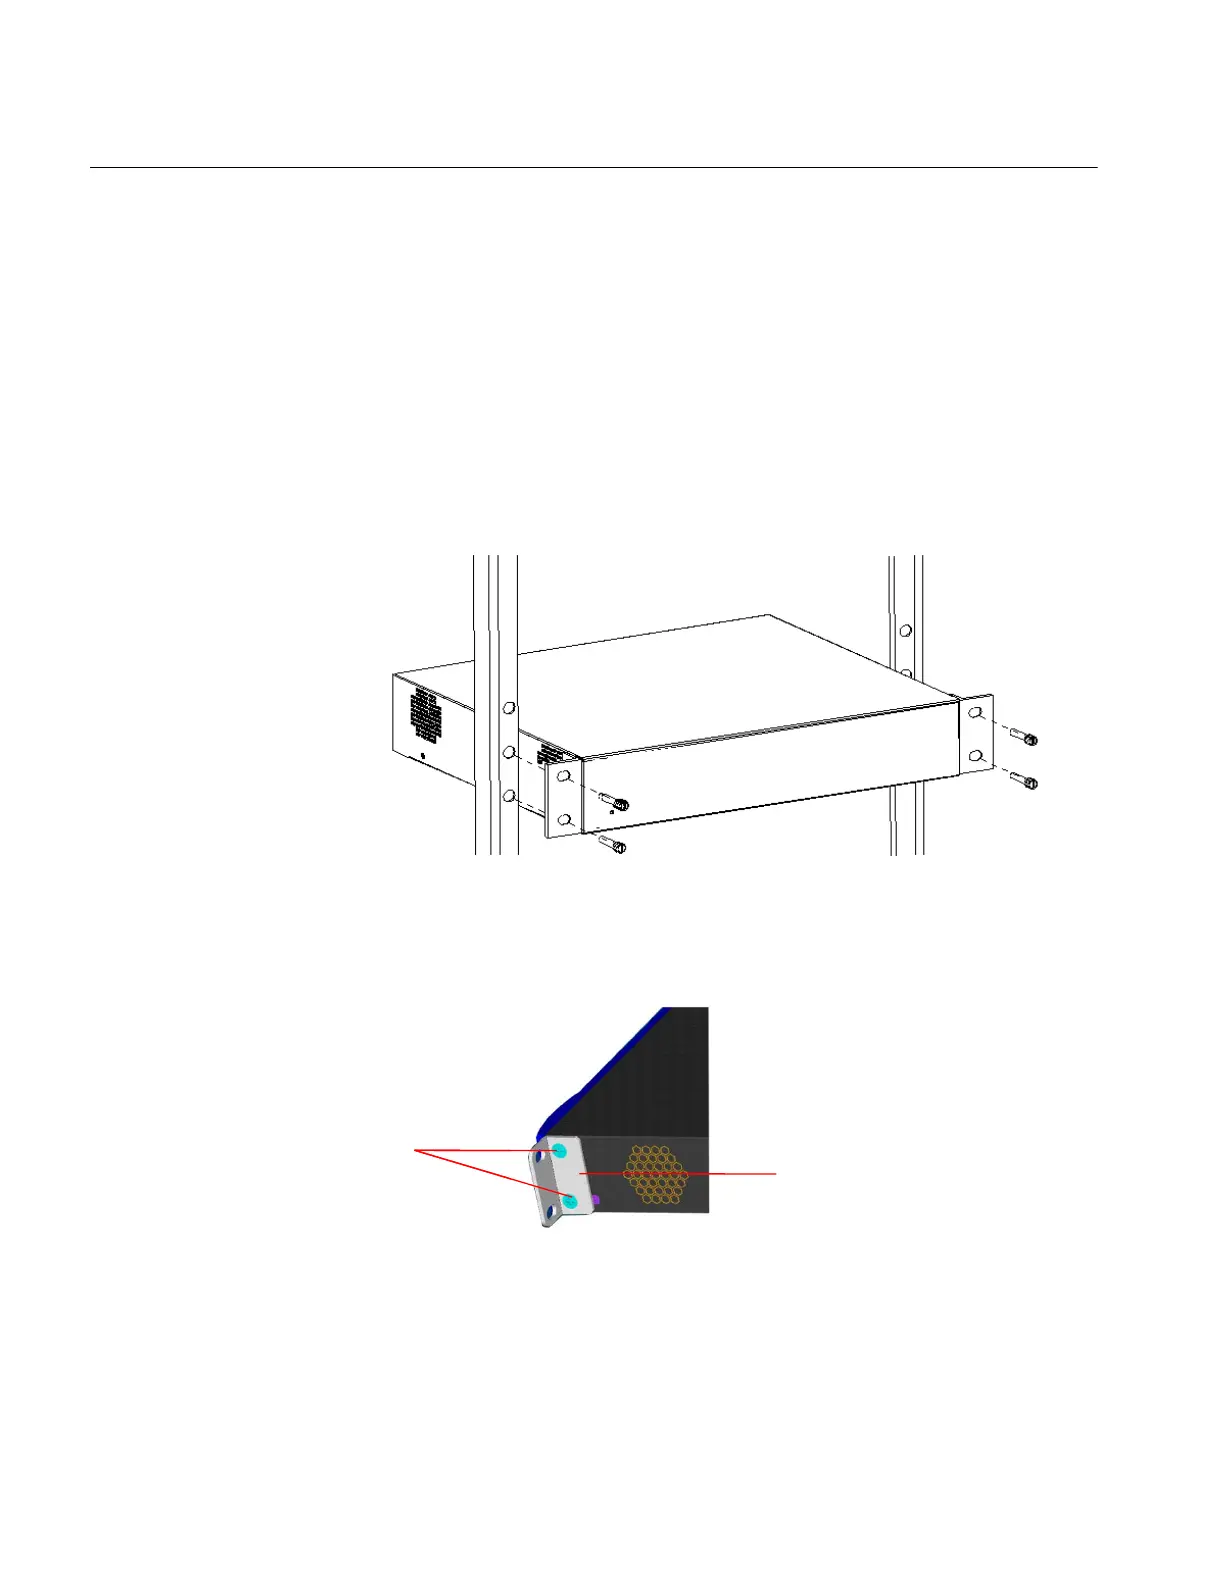
Follow the steps below to mount a 26-Port model unit in a standard 19-inch rack:
1 Check that the rack is sturdy and properly grounded. Attach the rack-mount
brackets to the front or rear panel of the chassis with screws.
2 Place the switch on a shelf in the rack and slide it to a proper position along the
guide rails, reserving a suitable clearance between the device and the guide rails.
3 Fix the brackets to the rack posts with screws, making sure that the device is
securely attached.
Figure 16 Installing the switch in a 19-inch rack
Mounting the front
bracket
Mount the front bracket as shown in Figure 17 and Figure 18.
Figure 17 Mount the front bracket to the device
Front
bracket
Screw
Front
bracket
Screw
 Loading...