66 CHAPTER 5: CONFIGURING THE ROUTER
■ WPS-PBC
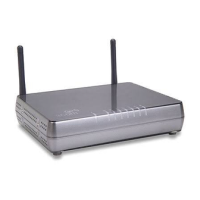
1 Press the WPS button located on the rear of the Router. Note that this
setup process will only be active for 2 minutes. Follow the instruction of
your WLAN NIC to set up the WPS.
The WPS LED shows the status of the WPS function. It has a number of
modes to help monitor the status of clients connecting to the Router
using the WPS protocol. The status is shown by three different flashing
rates: slow, medium and quick and when light constantly.
When the WPS button is pressed, or WPS is initiated using the PIN
method in the web interface, the WPS LED will flash at a medium rate for
up to 2 minutes to indicate that a WPS connection can be made. When a
connection attempt is underway, the LED will flash slowly.
If the connection has been successful, the WPS LED will remain
illuminated for 5 minutes. If the connection attempt has failed, the WPS
LED will flash rapidly for 5 minutes. You can re-try the connection by
pressing the WPS button, when the connection process will re-start.
If you want to add a further client to the Router, you do not need to wait
for the 5 minute period to end. You can press the WPS button (or use the
PIN method via the web interface) as soon as the first client is successfully
connected.
Note: The WPS function will be enabled for 2 minutes once WPS is
enabled either by pressing the button or by starting the PIN mode via the
web interface. This time will end before 2 minutes if a client has
successfully connected. Only one client should be connected to the
Router using WPS at any one time. Attempting to connect two or more
clients at once may result in connection failures.