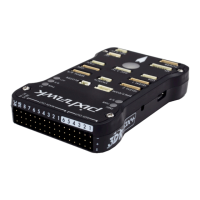
PARTS
1 Pixhawk
2 Buzzer
3 Safety switch
4 Micro-SD card and adapter
5 Micro-USB cable
6 Six-wire cable x2
7 Power module
8 I
2
C splitter module
9 Four-position I
2
C splitter cable
10 Three-wire servo cable
11 Mounting foam
1 2 3 4 5 7
8
11
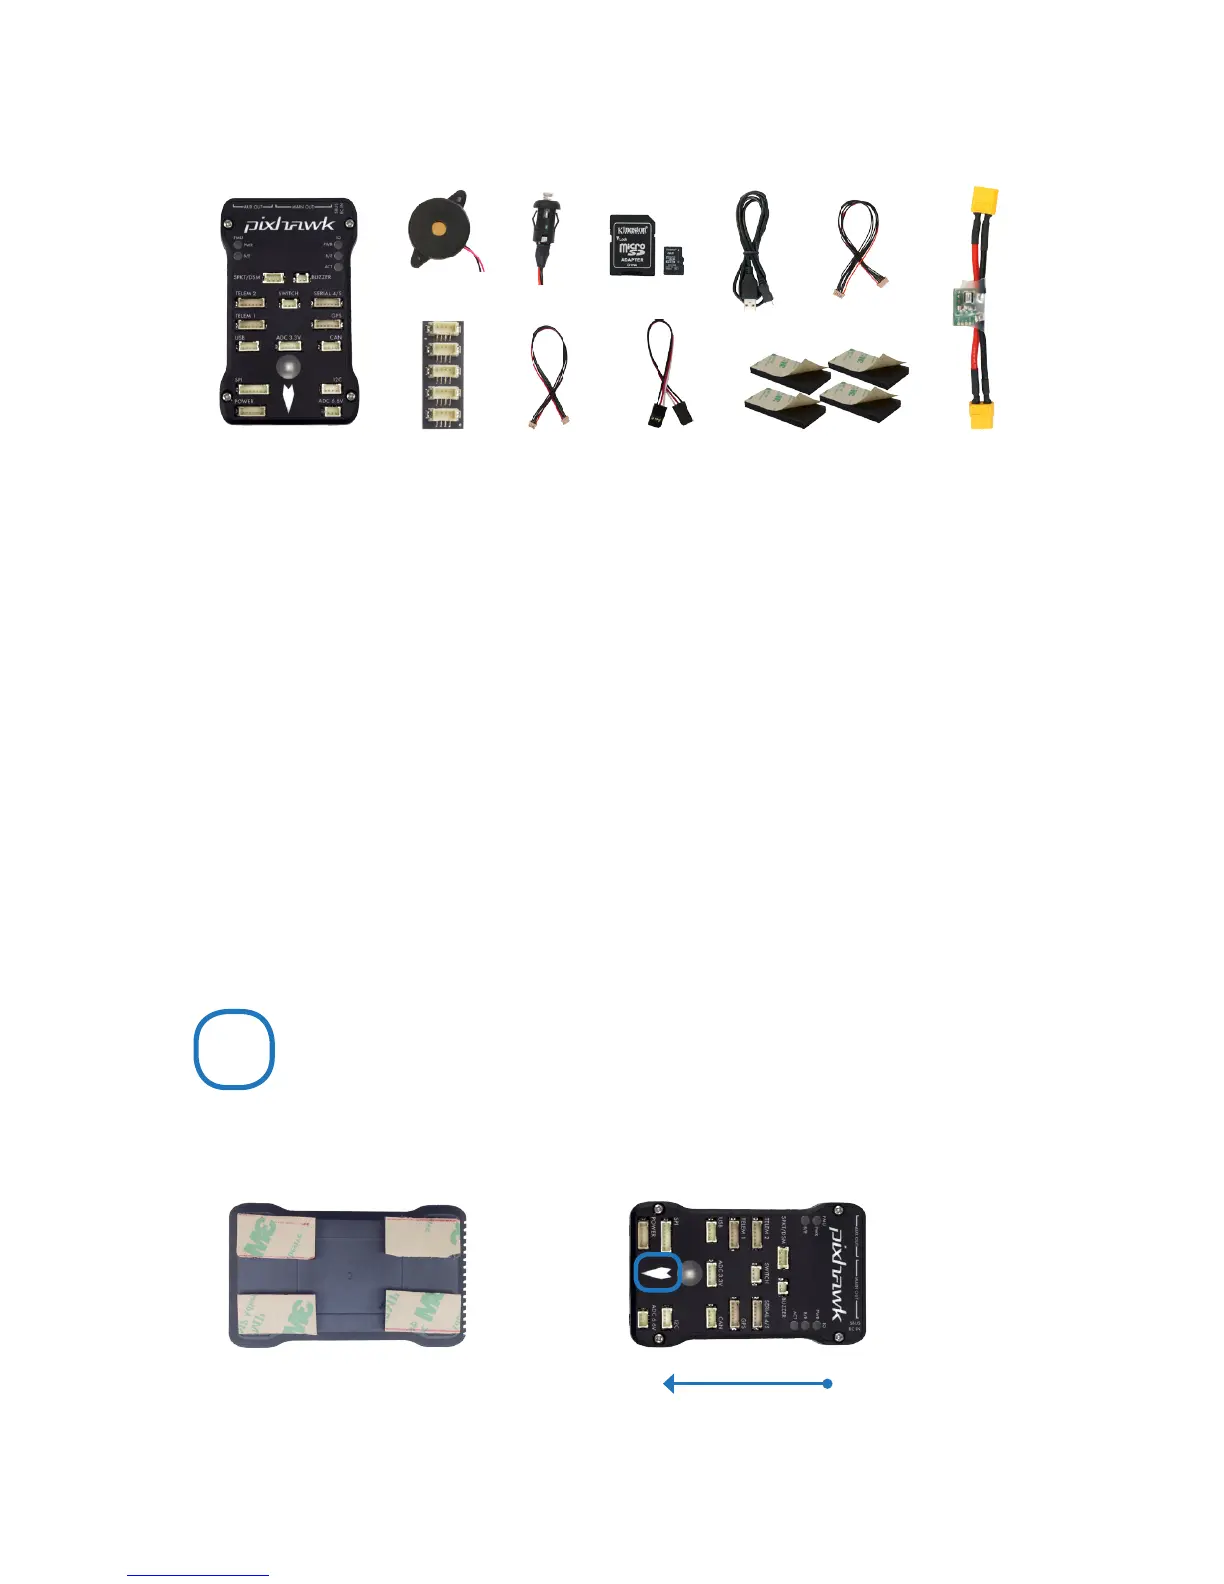
MOUNT
Use the provided foam to mount Pixhawk as close as possible to your vehicle’s center of gravity.
Make sure to orient the board with the arrow pointing forward.
Vehicle front
Attach the foam squares to the
corners of the board.
GETTING STARTED
With the help of APM firmware, Pixhawk turns any
RC plane, copter, or rover into a full-featured personal
drone. Once you have a fully-assembled frame, follow
this guide to install Pixhawk.
6
9
10
1 Mount
2 Connect
3 Load firmware
4 Calibrate
1