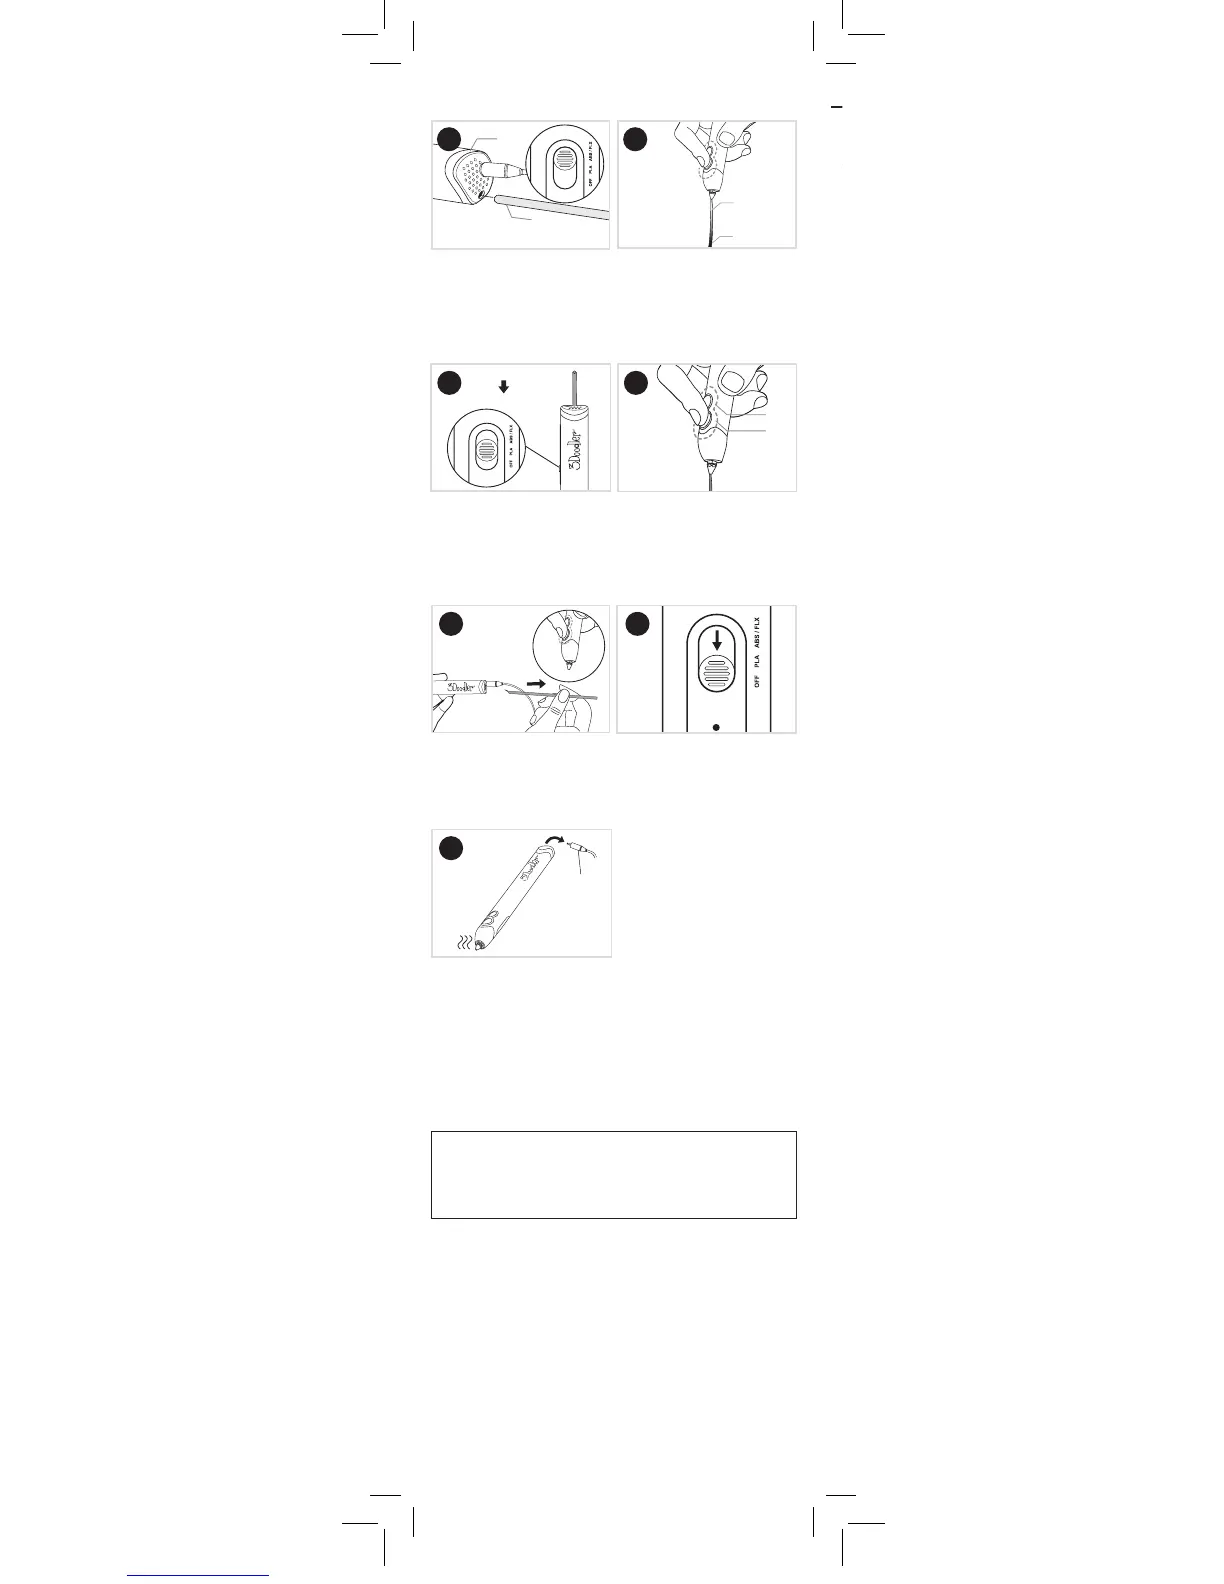
Step 7: Let’s Switch to PLA Plastic!
With Pen on ABS / FLX, load a
new strand of PLA Plastic into
Plastic Loading Port. Use a
dierent color to the ABS you
were using before.
PLA Plastic
ABS Plastic
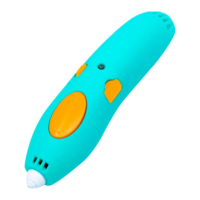
The color of the Plastic will
change once the PLA starts
extruding. It will appear mixed
at rst. STOP extrusion by
pushing either button once.
SLOW
FAST
Light to RED
Light to GREEN
Click FAST or SLOW once to
continue extruding the PLA
Plastic and Doodle as you wish.
Switch Pen to PLA setting. Wait
for Light to turn GREEN.
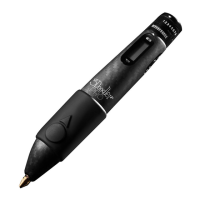
Step 8: Power Down
Remove all Plastic from the
Pen using the Reverse feature
(double click any Speed
Button). Friendly reminder to
snip those ends!
Move the Control Switch
to OFF.
Allow your 3Doodler Create+
to cool completely
before storing.
We recommend powering down and giving your 3Doodler
Create+ a 30 minutes break after every 2 hours of
continuous use.
After 5 minutes of inactivity, the 3Doodler Create+’s heating
system will automatically power down. You will need to press one
of the Speed Buttons OR toggle the Control Switch OFF and then
ON again to continue use.
NOTE:
SECTION 3: TROUBLESHOOTING
Tools (Provided in Box)
Before showing you how to troubleshoot issues
with your 3Doodler Create+, we want to introduce
you to three handy tools provided in your box:
Mini Screwdriver
Keep this handy
for removing the
Maintenance Cover.
Keep this handy
for removing the
Maintenance Cover
or rotating the
Temperature Adjuster
(See the3doodler.com/
temperature)
With those introductions over, it’s time to look
at the dierent issues that may arise with your
3Doodler Create+ and steps to get back
to Doodling.