19
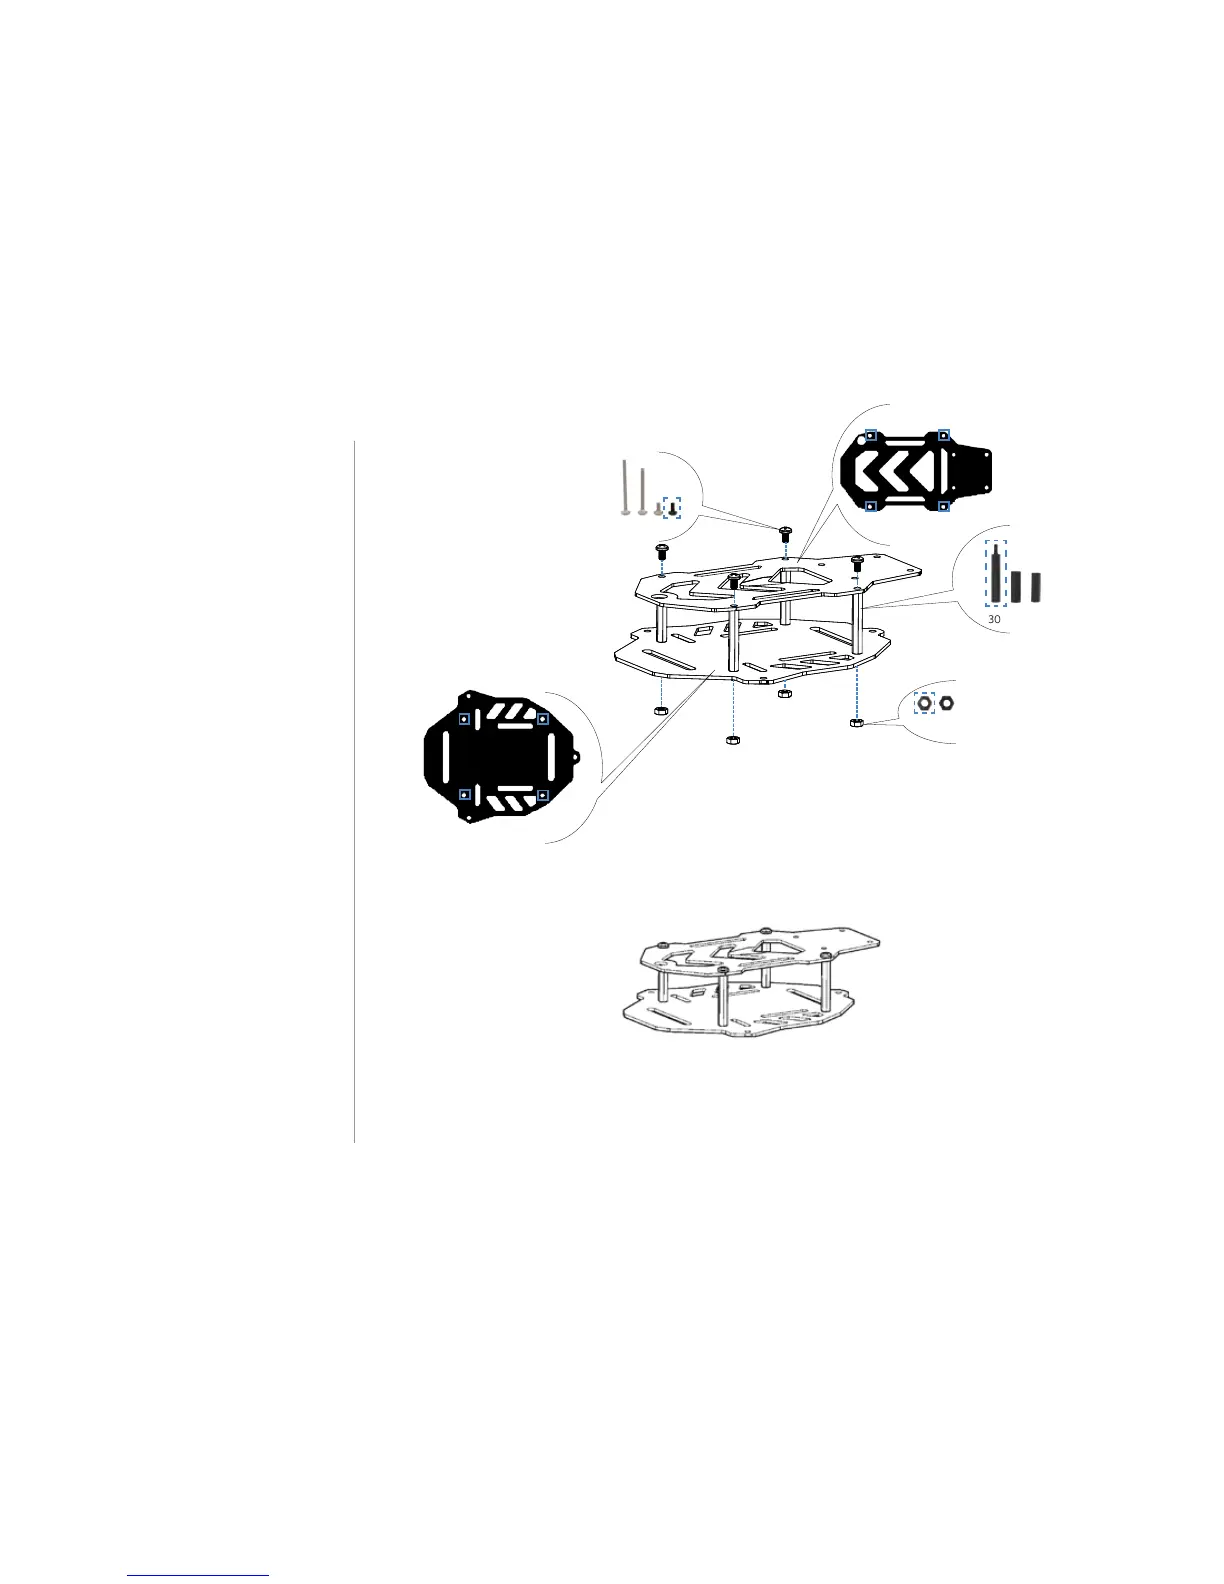
8 Assemble plates
Add a 5 mm nylon bolt to the four
holes in the accessory plate marked
below, and attach a 30 mm stando
to each one below the plate. Add
the Pixhawk plate to the ends of the
standos and secure with metal
nuts. Ensure that the arrows on the
accessory plate face towards the
wider end of the Pixhawk plate.
nylon bolts
metal nuts
30 mm spacers
accessory plate
Pixhawk plate
 Loading...