Medical Solutions Division
3M Health Care
2510 Conway Ave.
St. Paul, MN 55144 USA
Phone: 1-800-228-3957
Web: 3M.com/Medical
©3M 2021. All rights reserved. 3M and the other marks
shown are marks and/or registered marks.
Unauthorized use prohibited. Used under license in
Canada.
GL_70-2011-7962-2
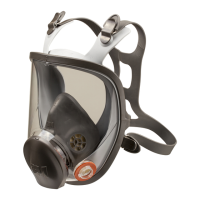
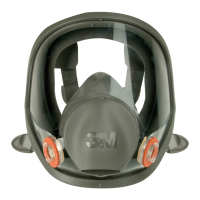
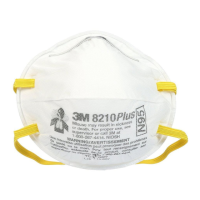
1. Place the respirator over
your mouth and nose
and nose and pull head
harness over the crown
of head.
2. Connect the bottom
straps at the back of the
neck.
3. Adjust top straps by pull-
ing on ends of straps.
4. Adjust bottom straps by
pulling on ends of straps.
Adjust the straps so the respirator is comfortable and snug, but do not overtighten.
Note: Decrease strap tension by pushing out on back side of buckles.
Note: Use of the EVF does not change donning steps.
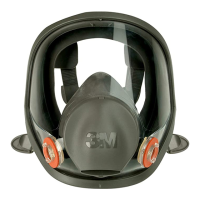
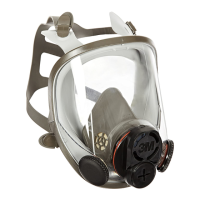
Step 4: Filter connection to facepiece
Step 5: Donning respirator & adjusting t
1. Align notch on edge of 603
adapter with facepiece
mark in order to properly
align lters.
2. Rotate lter assembly
¼ turn clockwise until it is
rmly seated. Repeat steps
1-2 for second lter.
Facepiece with properly attached
lters shown.
Note: Rotate lters counterclock-
wise to remove.
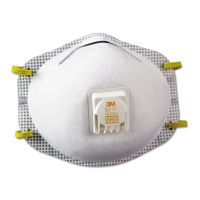
Step 6: Positive Pressure User Seal Check
Place the palm of your hand over the center of the EVF and exhale gently. If
facepiece bulges slightly and no air leaks are detected between your face and the
facepiece, a proper seal has been obtained. If faceseal air leakage is detected, repo-
sition respirator on your face and/or readjust tension of the elastic straps to eliminate
leakage. If you cannot achieve a proper seal, DO NOT enter contaminated area.
If you have questions, consult your supervisor or call 3M Technical Service at 1-800-243-4630
(USA) or 1-800-267-4414 (Canada).
Notice: These respirators are not FDA cleared for use as a medical device.