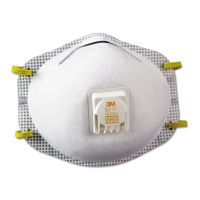
2
Installation of 3M™ Multi Use Duct Tape
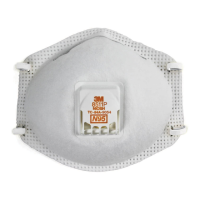
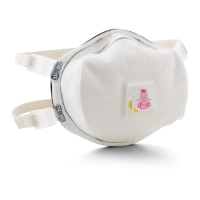
1) Ensure the inside of the exhalation valve of the respirator is free from dirt and is undamaged. It is located on the inside
of the respirator. Fig. 1.
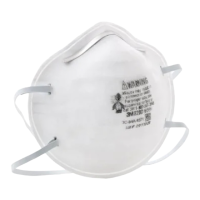
2) Cut tape to length of valve (approximately 41 mm) and attach tape to the inside of the exhalation valve, covering it
completely. Fig 2.
Seal Checks
Negative Pressure Seal Check
1) Place both hands completely over the respirator and inhale sharply.
2) A negative pressure should be felt inside the respirator. If air leaks around the nose or respirator edges, readjust the
nosepiece and straps.
3) Repeat above steps until a tight faceseal is obtained.
Positive Pressure Seal Check
1) Place both hands completely over the respirator and exhale sharply.
2) If air leaks around the nose or respirator edges, readjust the nosepiece and straps.
3) Repeat above steps until a tight faceseal is obtained.
If you CANNOT achieve a proper seal, DO NOT enter the contaminated area. See your supervisor.
Time Use Limitations
If respirator or tape become damaged, soiled, or breathing becomes difficult, leave the contaminated area immediately and
replace both products. If tape becomes delaminated and no longer sticks properly, dispose the entire respirator.
Disposal
Dispose of used product in accordance with applicable regulations.
Fig. 1
Fig. 2