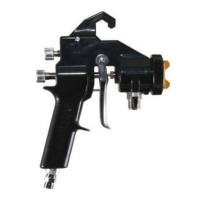
Assembly
1
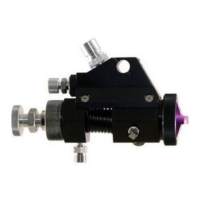
Attach the supplied air flow valve to the bottom of the gun.
2
Attach the nozzle to the spray gun with the locking collar fully connected. Note: It
is easier to install the nozzle while pulling the trigger backward toward the spray
gun handle. To remove the nozzle from the spray gun, reverse the process.
3
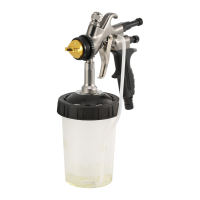
Attach 3M
™
PPS
™
Series 2.0 spray cup to nozzle. See back for directions.
4
Once the spray gun is properly assembled you may attach the air line.
For additional questions, contact your local 3M representative
or email: aadukenquiries@mmm.com.
See manual for additional use and health and safety information.
Recommended set up starting points
Fan control knob: Open 1.5 turns for HVLP nozzles, 2.5 turns for Fine Finish
nozzles from closed position
Fluid control knob: Open 4 rotations from closed position
See recommended pressure setting on Atomising Head Air Cap.
Nozzle recommendation
* Starting points only, refer to Paint Manufacture for recommendation
onfluid tip size.
2.0 1.8 1.6 1.4 1.3 1.2 0.9
High viscosity coatings • •
Sprayable fillers • •
High build primer • • •
Primer surfacer • • •
Wet on wet primer • •
Primer sealer • •
Direct gloss •
Single stage top coat •
Solvent base colour • •
Clearcoat • • •
Waterborne base coat • •
UV Primers • • •
Midcoat / Effect Coats • • •
Smart / Spot repair •
WARNING! Do not immerse spray gun or nozzles in cleaning solvents or gun washers.
*Operating Pressure Range (OPR) is the inlet pressure range for safe function of the spray gun.
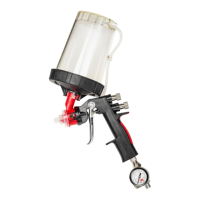
3M
™
Performance Spray Gun – Gravity
Operating Pressure Range* is between 7 psi - 37 psi (0.5 bar - 2.6 bar)