Advanced HMI 4RF SR+ SCADA Demo
Laptop Configuration and Installation
A USB flash drive containing all of the required software has been included with this demo kit. All of the
software is required to be loaded on the base station laptop.
1. From the 4RF demo kit USB flash drive, open the 4RF Advance HMI Install folder
2. Launch the setup.exe and install with default configurations
3. The program will now appear in the computers start menu
SCADA Simulation / HMI
Ensure the base station laptop is configured to the correct IP address: 172.17.200.110
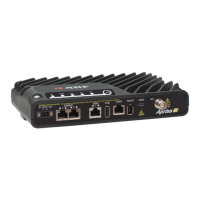
1. Ensure the base station laptop is connected to Ethernet Port 1 of the base station radio
2. Ensure the Moxa RTU is powered on and displays the following LEDs:
a. Power: orange
b. Ready: green
c. Port 1: green
3. On the base station laptop, go to Start menu > All Programs > 4RF Advanced HMI
4. Proceed with selecting the various inputs via either the laptop or the switches on the demo kit and
observe the results
5. Close the application by closing the window
Momentary Button
Turns on an off the orange
switchbox LED
Heartbeat Buttons
Turns on and off the 2sec
heartbeat LED
(blue/green)
Momentary LED
Continually polls the
heartbeat LED and
displays indicates the
state
Black switch indicator
Indicates the state of the
black latching switch
Red switch indicator
Indicates the state of the
red momentary switch