5
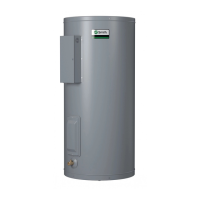
Open the electrical juncon
box or remove the lower
access panel on the water
heater, fold back the insulaon, and
remove the plasc element/
thermostat cover.
Figure 34 - Electrical Junction Box
6
With the tank drained and
power o, remove the power
wires from the element you
intend to replace.
7
Remove the bad element
using an element wrench.
8
Make sure the new element is
the correct replacement by
referring to the water heater’s
data plate for voltage and waage
informaon.
9
Clean the threads in the tank
opening with a rag. Insert the
new element equipped with a
rubber gasket. NOTE: Use a drop of
hand dishwashing liquid to lubricate
the gasket to help avoid damaging the
gasket as it is being ghtened. Tighten
with an element wrench.
Do not turn power back on
unl the tank is completely full of water.
For complete instrucons on lling the
tank, follow Step 8 in the Installaon
secon.
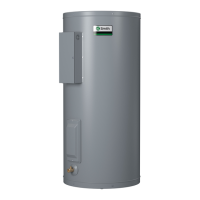
10
Rell the tank by opening the
cold water supply valve. Make
sure a hot water faucet is
open and the drain valve is closed.
Allow the hot water to run full for at
least three minutes to make sure the
tank has all the air removed and is
completely full of water. Failure to
perform this step can cause the upper
heang element to burn out. Once you
are certain the tank is completely full
of water, close the hot water faucet.
Figure 35 - Drain Valve
11
Check the newly installed
element for leaks. If a leak is
present, ghten the element
unl the leak stops. If you cannot stop
the leak, drain the tank and remove
the element. Inspect the gasket for
damage. If the gasket is damaged,
replace the gasket and re-install the
element.
12
Once the element is
successfully installed and
there are no leaks, replace the
power wires, thermostat cover,
insulaon, and access panel. Make
sure all wire connecons are ght.
Close the electrical juncon box.
13
Restore power to the water
heater. It may take two hours
for the tank to heat up.
Replacing the Thermostat
To replace the thermostat, you’ll need
the following tools and supplies:
• A non-contact circuit tester. Always
turn power OFF and check with a non-
contact circuit tester before working on
the water heater.
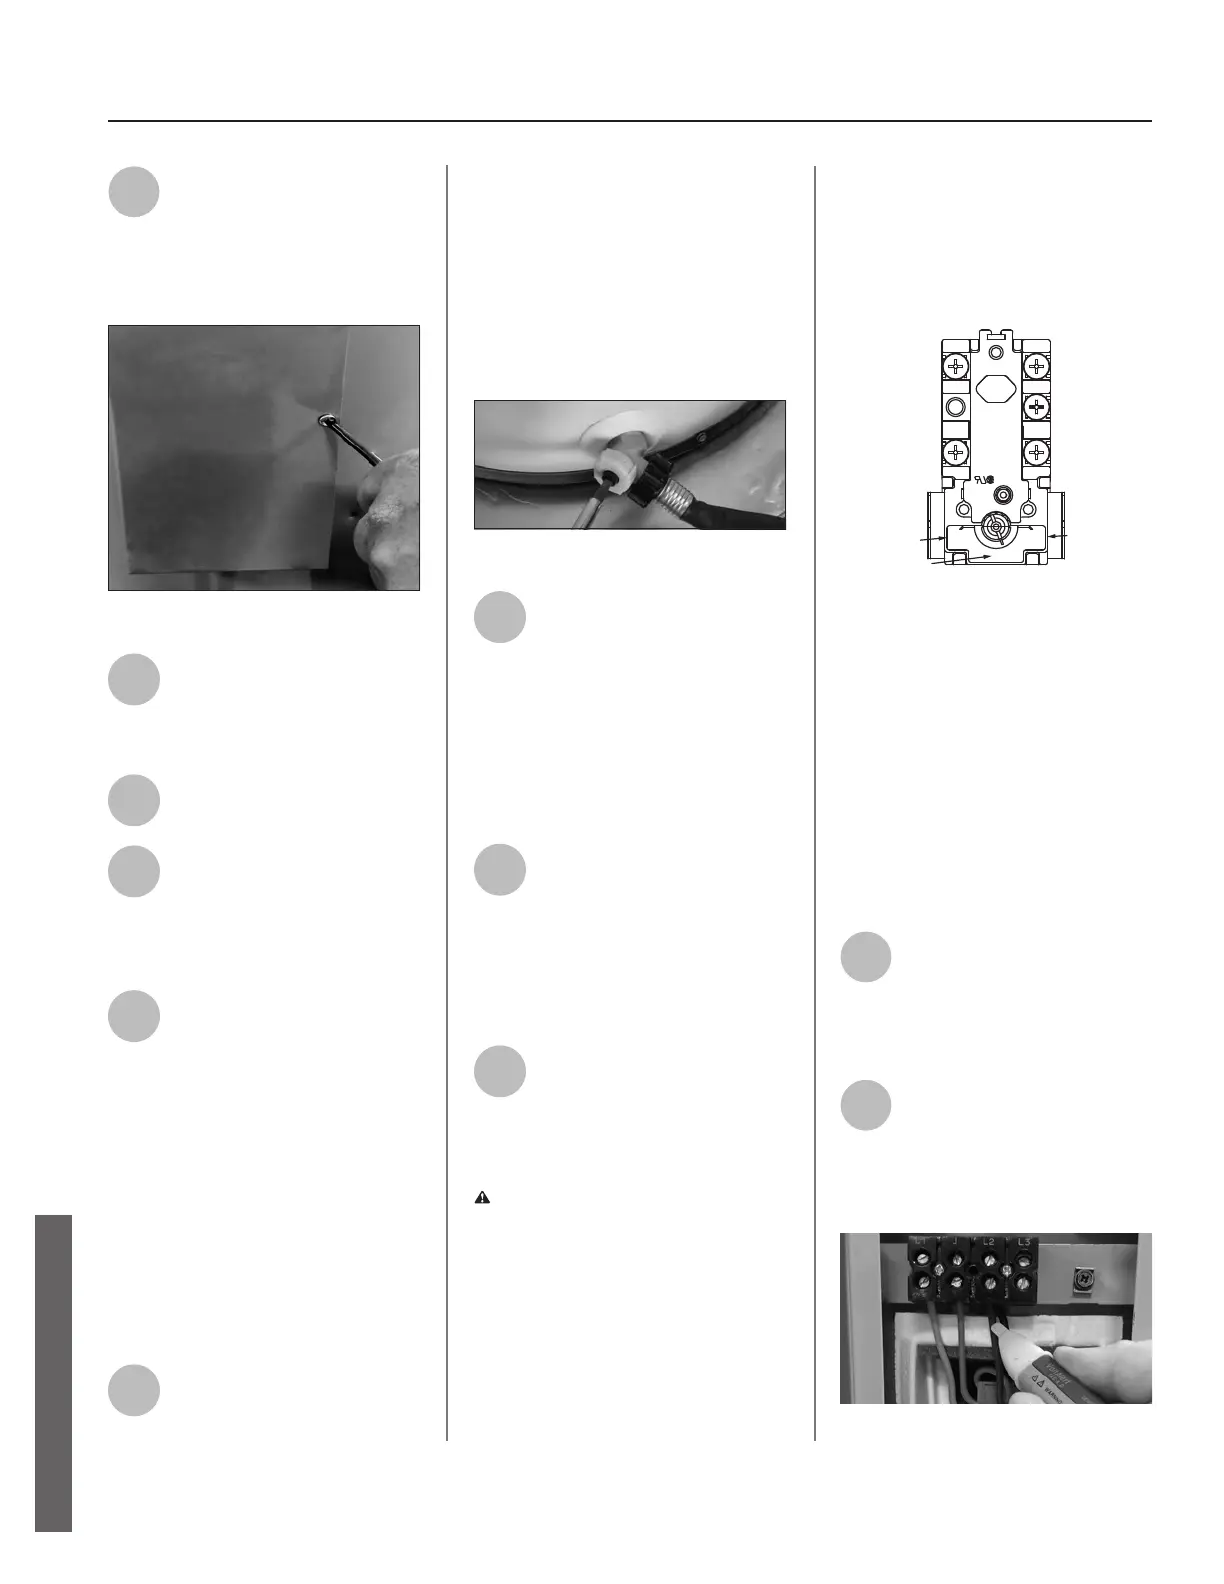
L1 L3
L4
T2 T4
L2
T1
THERM O DISC
89T
RESET
RESET
181°F
83°C
49°C
120°F
140°F
Figure 36 - Upper and Lower Thermostats
• A replacement thermostat (available
at local plumbing supplier).
• A business card to check the gap
between the thermostat and the
tank
• Tape and a permanent marker to
mark the wires
• A at blade and a Phillips screwdriver
1
Turn the power OFF at the
circuit breaker or remove
fuses.
It is not necessary to drain the
tank to replace a thermostat.
2
Open the electrical juncon
box on the water heater and
fold back the insulaon. Using
a non-contact circuit tester, check the
power wires to make certain the power
is OFF.
Figure 37 - Non-Contact Circuit Tester
26 • Commercial Electric Water Heater Use and Care Guide
MAINTENANCE
MAINTENANCE
 Loading...