Getting started
4
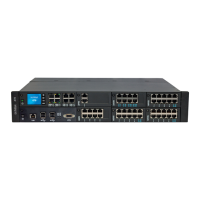
Getting started Aastra 470
syd-0419/1.0 – R1.2 – 10.2011
Connecting and powering the communication server
The communication server is powered as standard with 230VAC or 115VAC di-
rectly from the mains. The internal power supply unit is rated for the power require-
ments of a typical system expansion.
1. Set the voltage converter on the rear panel to the voltage of the connected
mains power.
Warning
PCBs may be damaged or become defective if the communication
server is operated on 230 V mains power and the voltage converter is
set to 115 V.
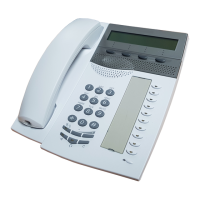
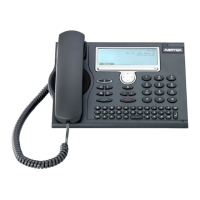
2. Add the expansion key modules to the digital system phones.
3. Connect the digital system phones to the DSI interfaces on the front panel. In
this way the system will recognise them automatically after the first startup.
4. Connect the LAN cable to one of the Ethernet interfaces on the front panel.
5. Connect the main plug to the socket on the rear panel and to the mains.
Warning
Make sure all the housing openings of the communication server are
closed during operation to ensure a controlled flow of air.
6. Start up the communication server by pressing the On/Off key on the call man-
ager card CPU1.
When the startup is finished the communication server runs in normal operating
mode. The status LED above the On/Off key is blinking slowly. DHCP is switched on
by default.
 Loading...