Getting started
5
Getting started Aastra 470
syd-0419/1.0 – R1.2 – 10.2011
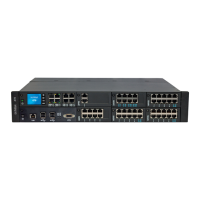
Commissioning the communication server
Search your communication server in the IP network
1. Connect your computer to the IP network and start the application Aastra Sys-
tem Search.
2. Click the Search button.
Aastra System Search lists all communication servers in the same subnet.
Tip
If your communication server is not listed, your computer is in another
subnet. If it’s not possible to connect the IP network in the same sub-
net, connect your computer either directly or via a switch with the
communication server.
Set the IP address of your communication server
1. In the Aastra System Search select your communication server from the list and
open the tab IP settings.
2. Set DHCP to Off and set the IP address of your communication server by entering
a static IP address, the according subnet mask and the IP gateway address. Click
the Save button.
The password dialog is opened.
3. Enter the default user name (admin) and the default password (33aastra) of the
communication server and quit the dialog by clicking the OK button.
A message is shown, telling you that the IP address has been succesfully
changed.
Set the sales channel
Choosing the correct Sales channel is important because it determines the country
specific settings of the communication server. If your country code is not listed, ask
your Aastra representative which sales channel you should set.
1. Click the Search button.
Your communication server is now listed with the new IP address.
2. Select your communication server from the list and click the Configure button.
The sales channel selector view (which is a WebAdmin view) is opened in your
web browser.
 Loading...