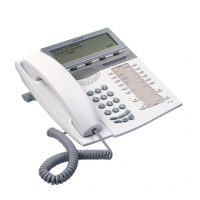
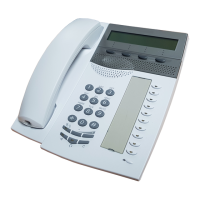
147MD Evolution – Dialog 4223 Professional
Installing Your Extension
Installing Your Extension
Your Dialog 4223 Professional is usually installed by your system
administrator.
However, this section provides you with all of the instructions for
installing your extension yourself and for maintaining it.
Installing Your Extension’s Telephone
Cords
Your extension is connected to your facility’s telephone facility
through a line cable that connects into the RJ12 female jack
labelled LINE, located on the underside of your extension.
The handset cord is connected to the RJ12 female connector
labelled HANDSET located, once again, on the underside of your
extension. This may be installed so that it comes out of either the
left or right side of your extension. In the first case, the handset
cord should be inserted in the slot made for this purpose, as
illustrated in the diagrams below.
When it is necessary to disconnect a cord, it is recommended that
you use a screwdriver to depress the release tab on the RJ12 male
connector.
 Loading...