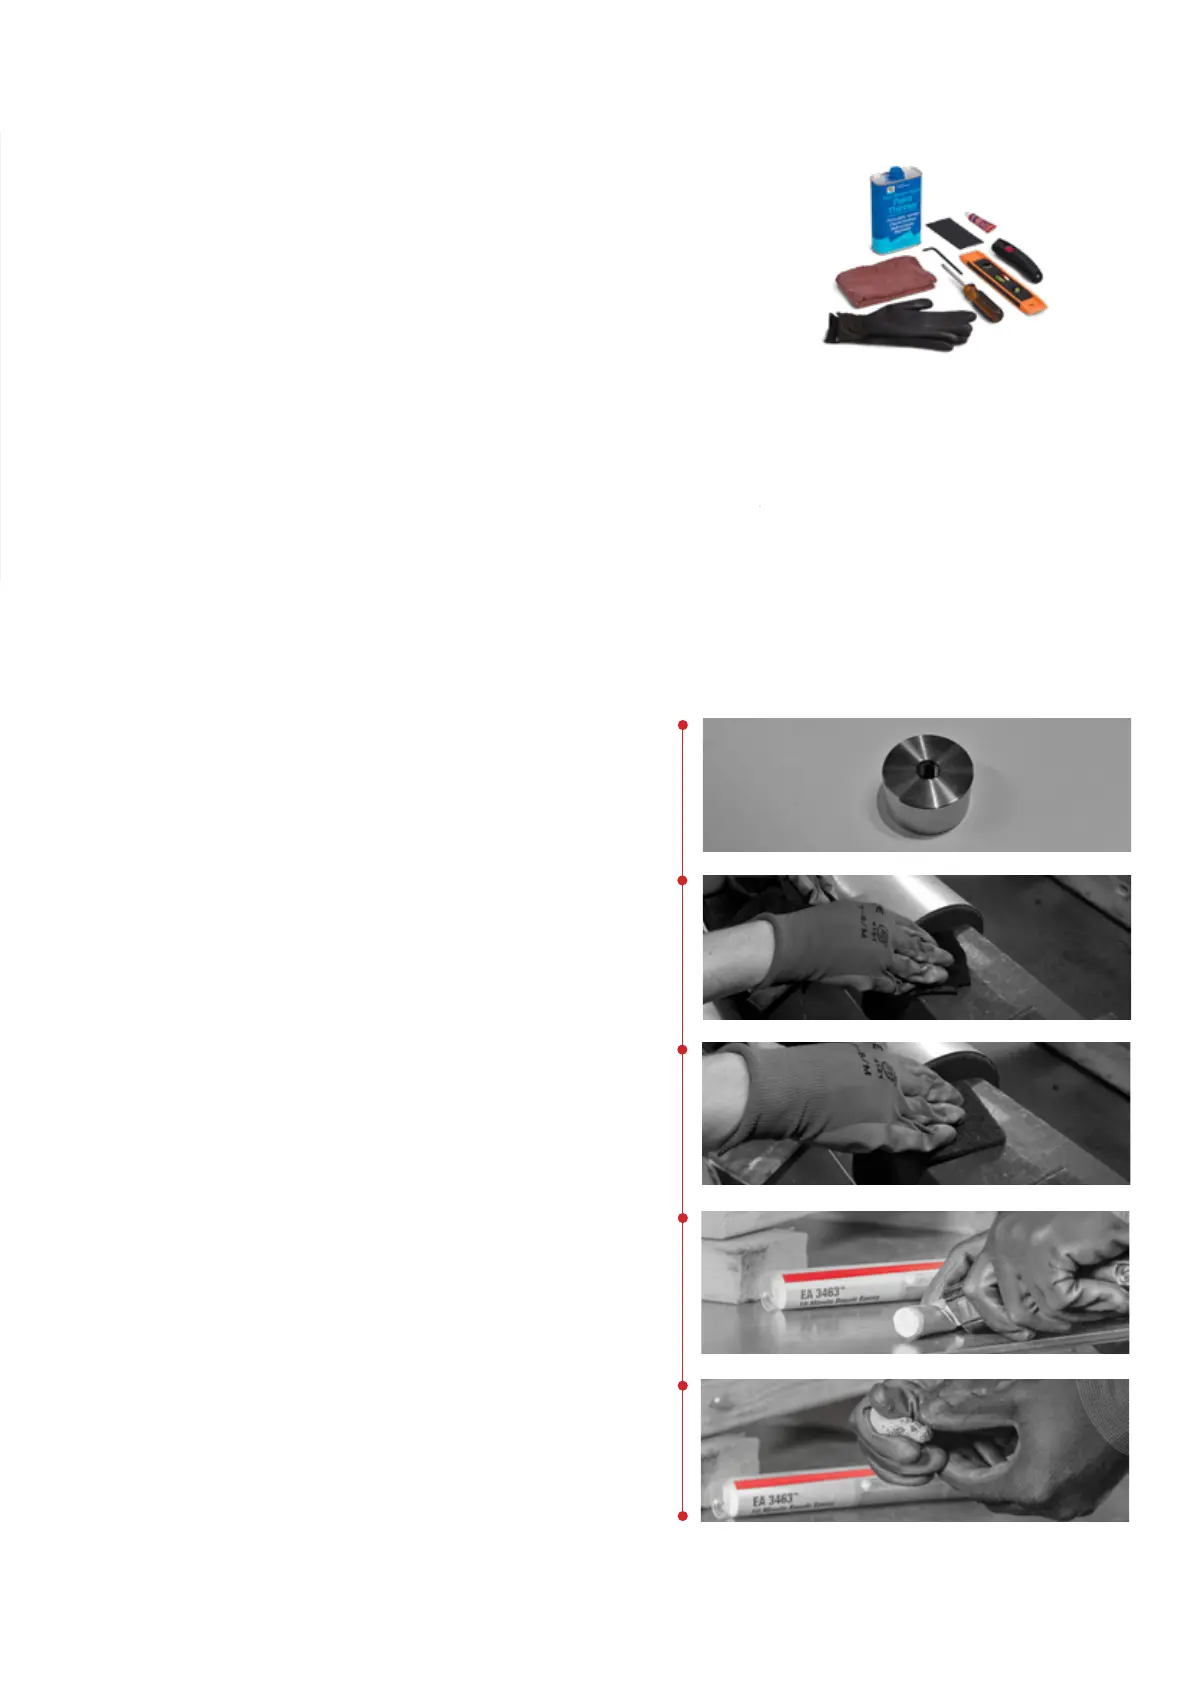
Step 1
Use solvent (i.e. paint thinner or acetone) to remove
debris and oils from mounting surface.
Installation steps
Additional items needed, but not included in the kit:
•
Degreasing agent
• Clean shop rag
• Rubber gloves
• Mechanical abrasive pad (e.g. sandpaper)
• Allen wrench (4 mm or 5/32”)
• Small Phillips head screw driver
• Leveling tool
• Cutting tool
• Loctite
TM
Blue Threadlocker
Safety and technical information on Loctite
TM
3463
adhesive putty: http://www.henkel.com
Step 2
Use sandpaper or similar abrasive material to remove
paint from mounting surface. Repeat step 1.
WARNING
Direct skin exposure to solvents and/or threadlocker
could cause discomfort or injury, including, but not
limited to, burning or skin irritation. Use appropriate
protective gloves and goggles when following these
instructions.
3
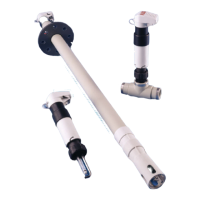
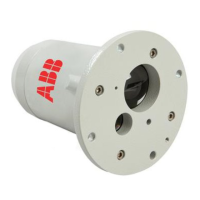
Use the receiving mount included in the kit.
Step 4
Squeeze, knead, twist and roll putty until it has a uni-
form, homogeneous color according to manufacturer’s
instructions. This should take 5–10 minutes.
Step 3
Remove putty from tube and cut out between 1/4 and
1/3 of the putty for installation of receiving mount.
CAUTION: REVIEW AND FOLLOW ALL MANUFACTUR-
ER’S INSTRUCTIONS AND SAFETY PRECAUTIONS
WHEN USING SOLVENTS.
CAUTION: REVIEW AND FOLLOW ALL MANUFACTUR-
ER’S INSTRUCTIONS AND SAFETY PRECAUTIONS
WHEN USING ADHESIVE PUTTY.