(5)
3
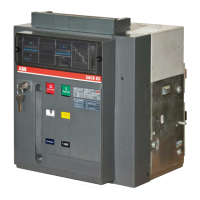
– Dismantle the front plate of the circuit breaker. – Снимите переднюю панель автоматического
выключателя.
Fig. 2 Рис. 2
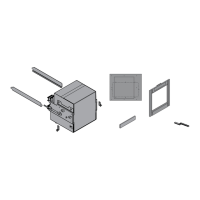
– Make a hole in the switchboard door, as
necessary.
– Прорежьте необходимый проем в дверце НКУ.
E1 — E2 — E3 — E6 / E2.2 — E4.2 — E6.2 E4/E4.2
– Vertical axis E4.2 3P
– Вертикальная ось 3-полюсного E4.2
– Vertical axis E4.2 4P
– Вертикальная ось 4-полюсного E4.2
– Position the adhesive template on the door and make sure
that the dotted line perfectly matches the aperture on the
door itself.
– Прикрепите к дверце самоклеящийся шаблон,
чтобы пунктирная линия точно совпадала
с проемом на самой дверце.
Fig. 4 Рис. 4
– Door aperture axis
– Ось проема дверцы
[mm
мм]
Emax 200
Emax2 199
Fig. 3 Рис. 3
– Circuit-breaker's bearing base
– Установочная поверхность
автоматического выключателя
– Vertical axis
– Вертикальная ось
– Vertical axis E4
– Вертикальная ось E4

 Loading...