abb
SafeLink
SF
6
Insulated Ring Main Unit
Installation and Operating Instructions
SLMIO ver 2.12 ABB Ltd, Switchgear Division, Auckland, New Zealand
Table of Figures
Figure 1: SafeLink rating label.___________________________________________ 3
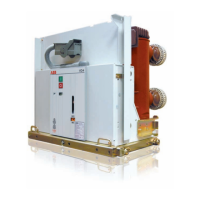
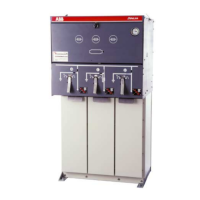
Figure 2: SafeLink general arrangement. ___________________________________ 4
Figure 3: SafeLink foundation plan. _______________________________________ 4
Figure 4: SafeLink schematic diagram; CFC configuration._____________________ 5
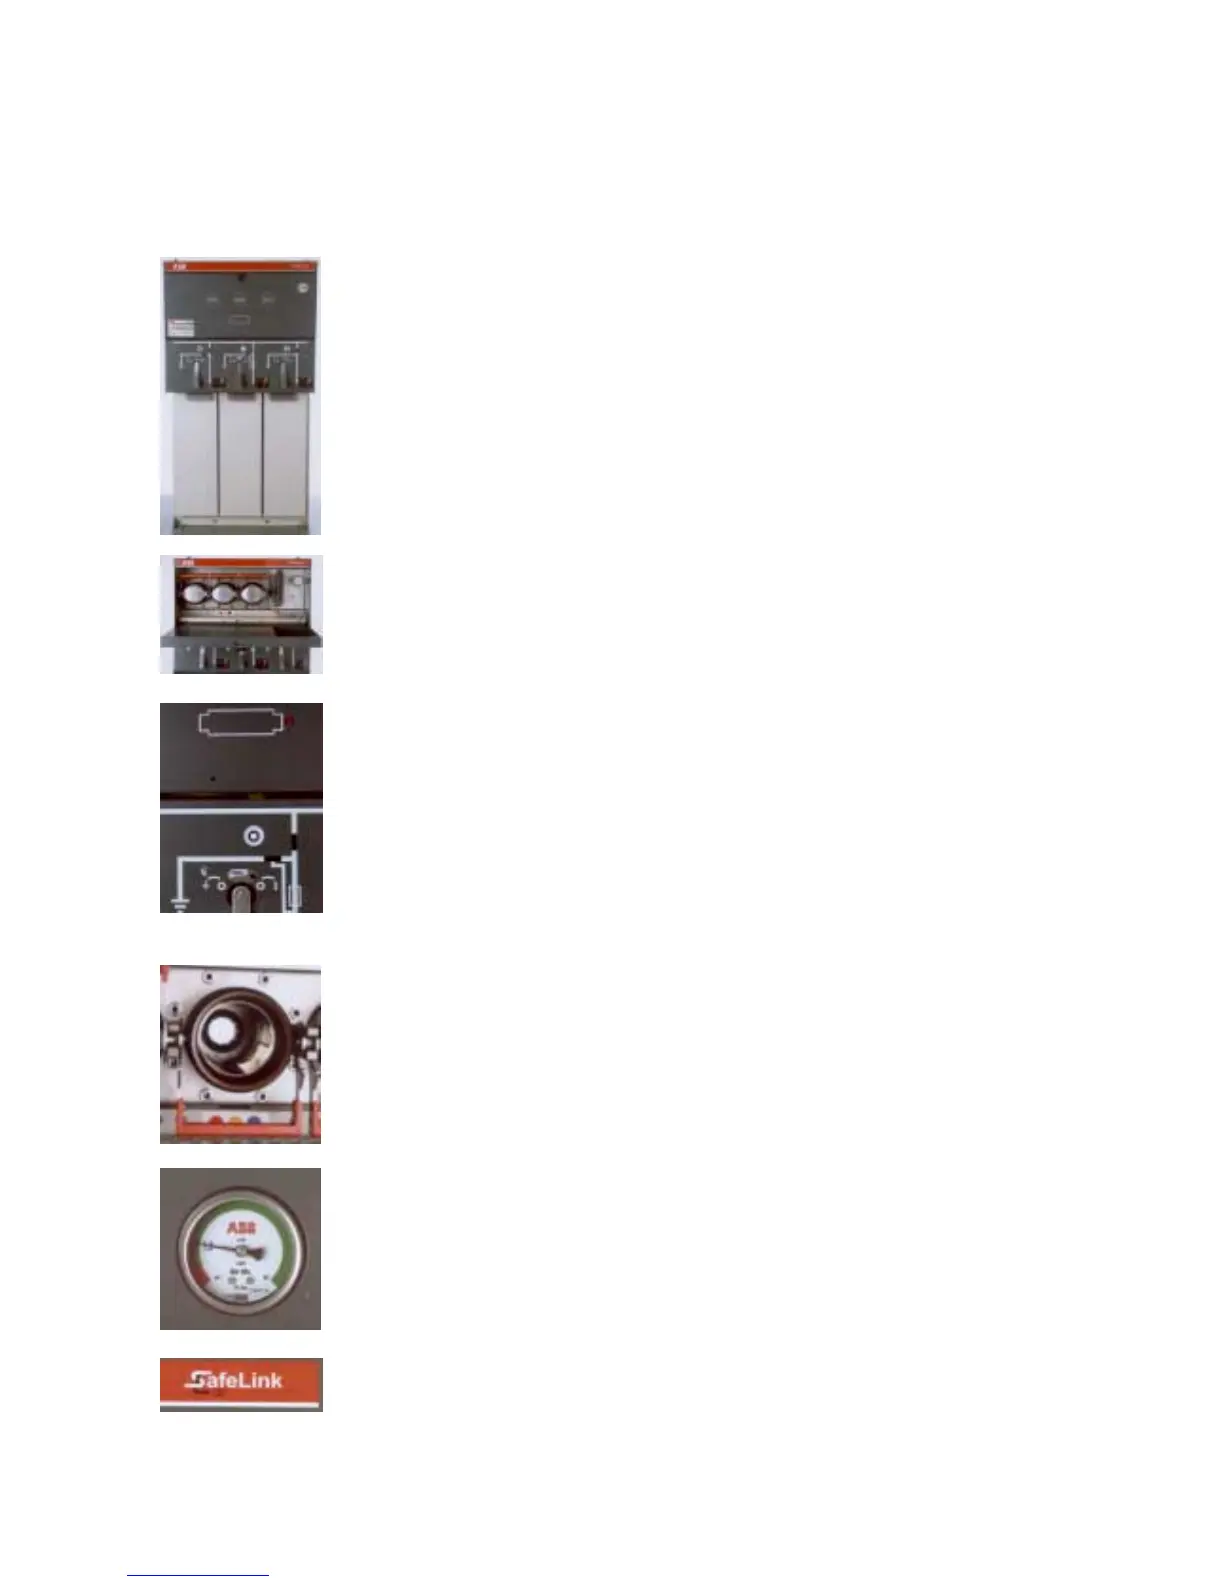
Figure 5: SafeLink gas density gauge.______________________________________ 6
Figure 6: Front of SafeLink unit showing the mimic diagram and switches in (from left
to right) the off, on, and earth positions._____________________________________ 7
Figure 7: Front of SafeLink unit showing the mimic diagram for the switch-fuse
following a fuse blow event. Note the word ‘RESET’ and the red fuse blown indicator
are displayed. _________________________________________________________ 8
Figure 8: Fuse door open and fuse canisters available. _________________________ 8
Figure 9: Central fuse assembly and fuse being withdrawn._____________________ 9
Figure 10: Fuse canister after fuse assembly and fuse have been removed. _________ 9
Figure 11: SafeLink foundation mounting plan. _____________________________ 14
Figure 12: Steps to install cabling. (a) Bolting lugs to the cable bushings; (b) Left hand
cable termination completed. ____________________________________________ 15
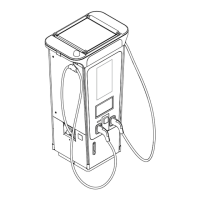
Figure 13: SafeLink unit mounted in its outdoor weather- and vandal-resistant
enclosure. ___________________________________________________________ 16
 Loading...