Do you have a question about the ABB UNO-DM-1.2-TL-PLUS and is the answer not in the manual?
Prerequisites and general rules for operating the equipment, including knowledge of chapters and functions.
Explains the meaning of Power, Alarm, and GFI LED combinations and their corresponding operating states.
Details LED insulation faults and the behavior of COMM/WLAN LEDs for status indication.
Process of commissioning the inverter using its web interface, involving wireless connection and setup.
Steps to connect the inverter to a local Wi-Fi network for initial setup via tablet or smartphone.
Accessing the inverter's internal web user interface via QR code or IP address for setup.
Guides the user through the step-by-step commissioning process for the inverter.
Setting up administrator and user accounts for access to the inverter interface.
Explains two modes for wireless connection: Station Mode and Access Point Mode.
Setting the date, time, and time zone for accurate inverter operation and logging.
Setting country standard, input mode, and meter configuration for compliance and functionality.
Process of commissioning the inverter directly via its physical display unit.
Overview of the inverter's web user interface features and capabilities.
Explains how to connect to the web user interface using various devices.
Steps to connect to the inverter via Access Point mode for direct access.
Details the login process for accessing the web user interface with credentials.
Outlines the six main sections of the web user interface for navigation.
Overview of the MAIN section, including Dashboard and Status Summary.
Details sub-menus for DC and AC side setup, and Ground Fault Interface.
How to view and filter alarm and warning events from the inverter.
Covers user management, email/password editing, and Admin Plus privileges.
Details settings for RS485 communication, including address and protocol.
Explains view and configuration of wireless channel status and modes.
Configuration for Modbus TCP communication with third-party systems.
Overview of tools for dynamic feed-in control, I/O manager, country standard, and updates.
Manages power flows for self-consumption or grid avoidance based on energy meter readings.
Manages relay activation and custom alarm conditions for external devices.
Allows modification of the grid standard within 24 hours of operation for compliance.
Launches autotest procedures according to the grid standard CEI-021 for compliance.
Describes procedures for remote and local firmware updates to maintain functionality.
Setting the date, time, and time zone for accurate inverter operation and logging.
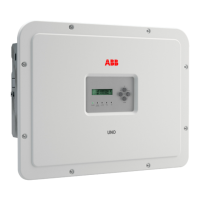
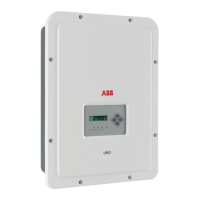
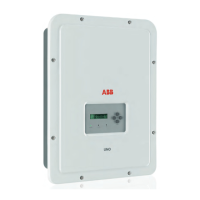
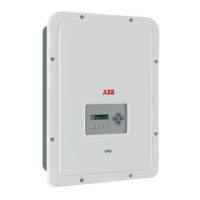
Overview of the inverter's graphic display capabilities and information shown.
Explains how the inverter displays parameters and operating status on its screen.
Provides an overview of the inverter's menu structure across System, Inverter, Display, and WLAN Logger.
Accessing System menu options like Settings, Measure, and password management.
Details how to access and modify system settings, including password.
Accessing Inverter menu options like Statistics, Settings, and Info.
Accessing statistics like Lifetime, Partial, Today, Last 7/30/365 days, User Period.
Details inverter settings such as Ustart, Input Mode, Input UV Delay, and Service.
Accessing display settings like Backlight, Contrast, and Language.
Accessing WLAN Logger settings and information for wireless connectivity.
| Model | UNO-DM-1.2-TL-PLUS |
|---|---|
| Manufacturer | ABB |
| Category | Inverter |
| Type | String Inverter |
| Rated Power | 1.2 kW |
| Starting DC Voltage | 200 V |
| Nominal AC Voltage | 230 V |
| Max. AC Power | 1.2 kW |
| Max. Output Current | 5.2 A |
| Output Frequency | 50/60 Hz |
| Efficiency | 96.5% |
| Topology | Transformerless |
| MPPT Trackers | 1 |
| Number of MPP Trackers | 1 |
| Maximum Input Current | 10 A |
| Cooling | Natural convection |
| Protection Degree | IP65 |
| Operating Temperature Range | -25°C to +60°C |
| Warranty | 5 years |
| DC Connections | MC4 |