Ap1400V Installers’ Guide Page 11 of 15
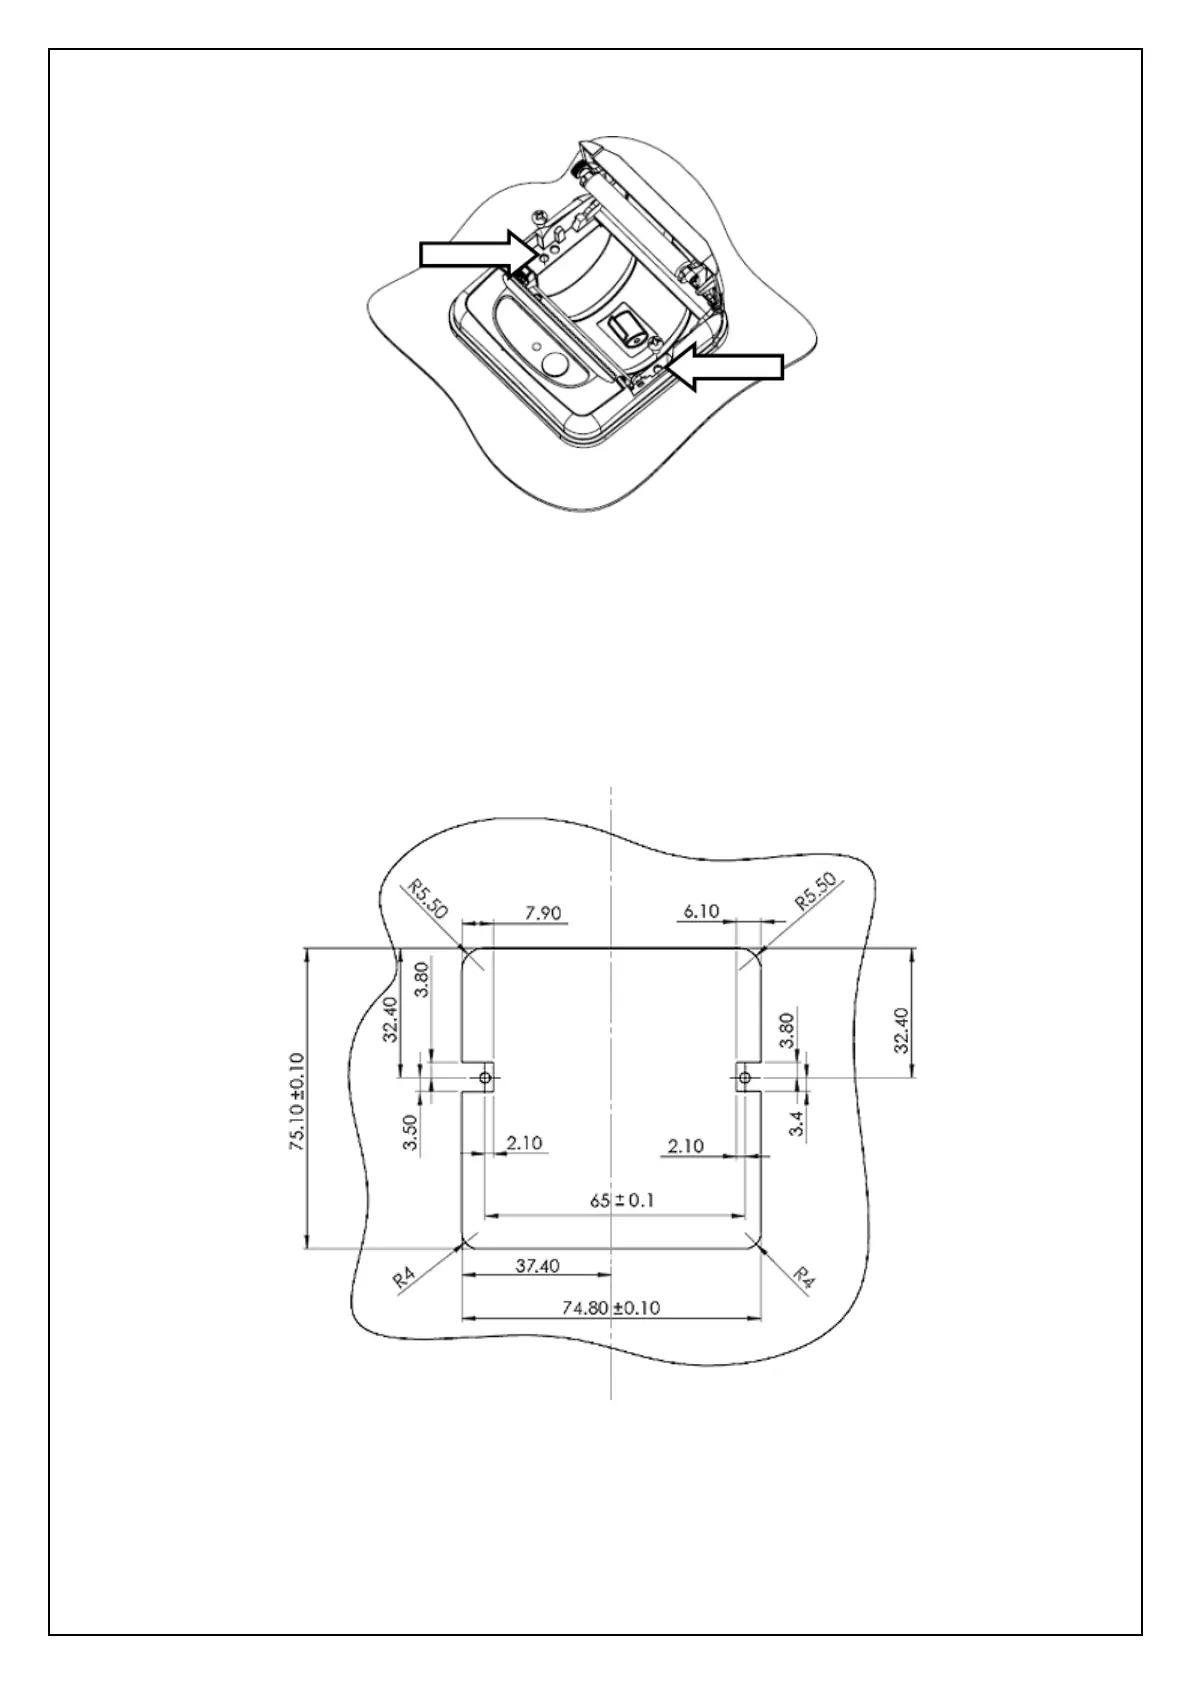
10.2 FRONT FIXING
1) Open the lid of the printer and remove the two knock-outs using a small flat-headed screwdriver.
2) Prepare the panel aperture as described below.
3) Fit the printer to the panel and fix in place using two self-tapping screws as shown above (Ø 3mm
max, included in Ap1400VKIT).
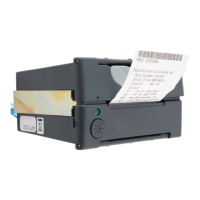
4) Fit a paper roll and close the lid, checking the screw heads clear the lid.
5) Connect power and data leads as described in the ‘Connection Guide’ in this document.