Then you can
place the device on the magnet
adhesive bond will reach its ultimate
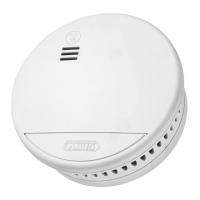
DRILLING
Drill a hole into the installation
surface with a 6 mm drill bit and
insert the supplied 6 mm wall plug
5 mm countersunk head screw through
the underside of the magnetic mount
magnetic mount when it has been
The screw must be fully screwed into
the recess provided on the magnetic
mount to ensure that the unit is held
tones, the unit will continue to
function for a maximum of 60 days
and needs to be replaced before this
60-day period has expired!
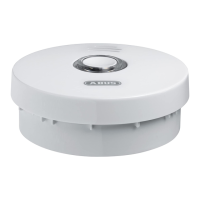
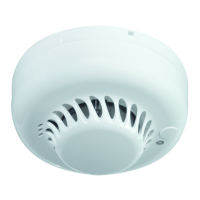
INSTALLATION
be fastened to the ceiling in two
Please note that only one side of the
magnet can attract the unit
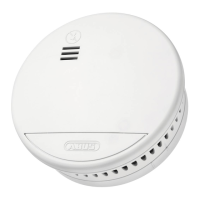
ADHESIVE MOUNTING
To mount the device using adhesion,
only the adhesive included with the
product may be used! The assembly
grease, dust and loose paintwork
information sticker and the protective
press the magnet carrying frame to
the assembly
390371_MoAnltg RM 20_D_GB_F_NL_I_11.2012.indd 18 14.11.12 13:16