8
System Configuration
Before you start:
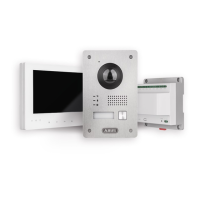
• Make sure that the video / audio distributor is connected to a router via a
network cable (the DHCP feature is enabled by default).
• Make sure the monitor and the door station are connected to the video /
audio distributor via 2-wire cable.
• Make sure all devices are turned on during activation.
Note:
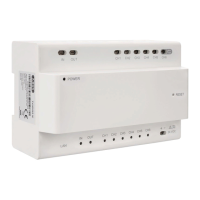
The video / audio distributor TVHS10100 does not necessarily has to be
connected to the LAN. Without the Internet, the time must be set manually
because no connection to the NTP server can be established. If no external
cameras are integrated or accessed via app, you can omit the connection to the
home network.
1) Activate device
You must first enable the device by setting a strong password before you can use
the device.
2) Select language
Select one of the available languages from the drop-down list.
3) Select device mode
You must define a monitor as the main monitor (in a multi-monitor installation,
only one monitor can be defined as the main monitor).
4) Select door station (only with main monitor)
Here you select the door station from the drop-down list
(the search may take a few seconds).
5) Select main monitor (only with additional monitors)
Here you select the main monitor from the drop-down list. All additional monitors
are connected to the main monitor.
6) Finished