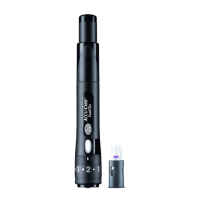
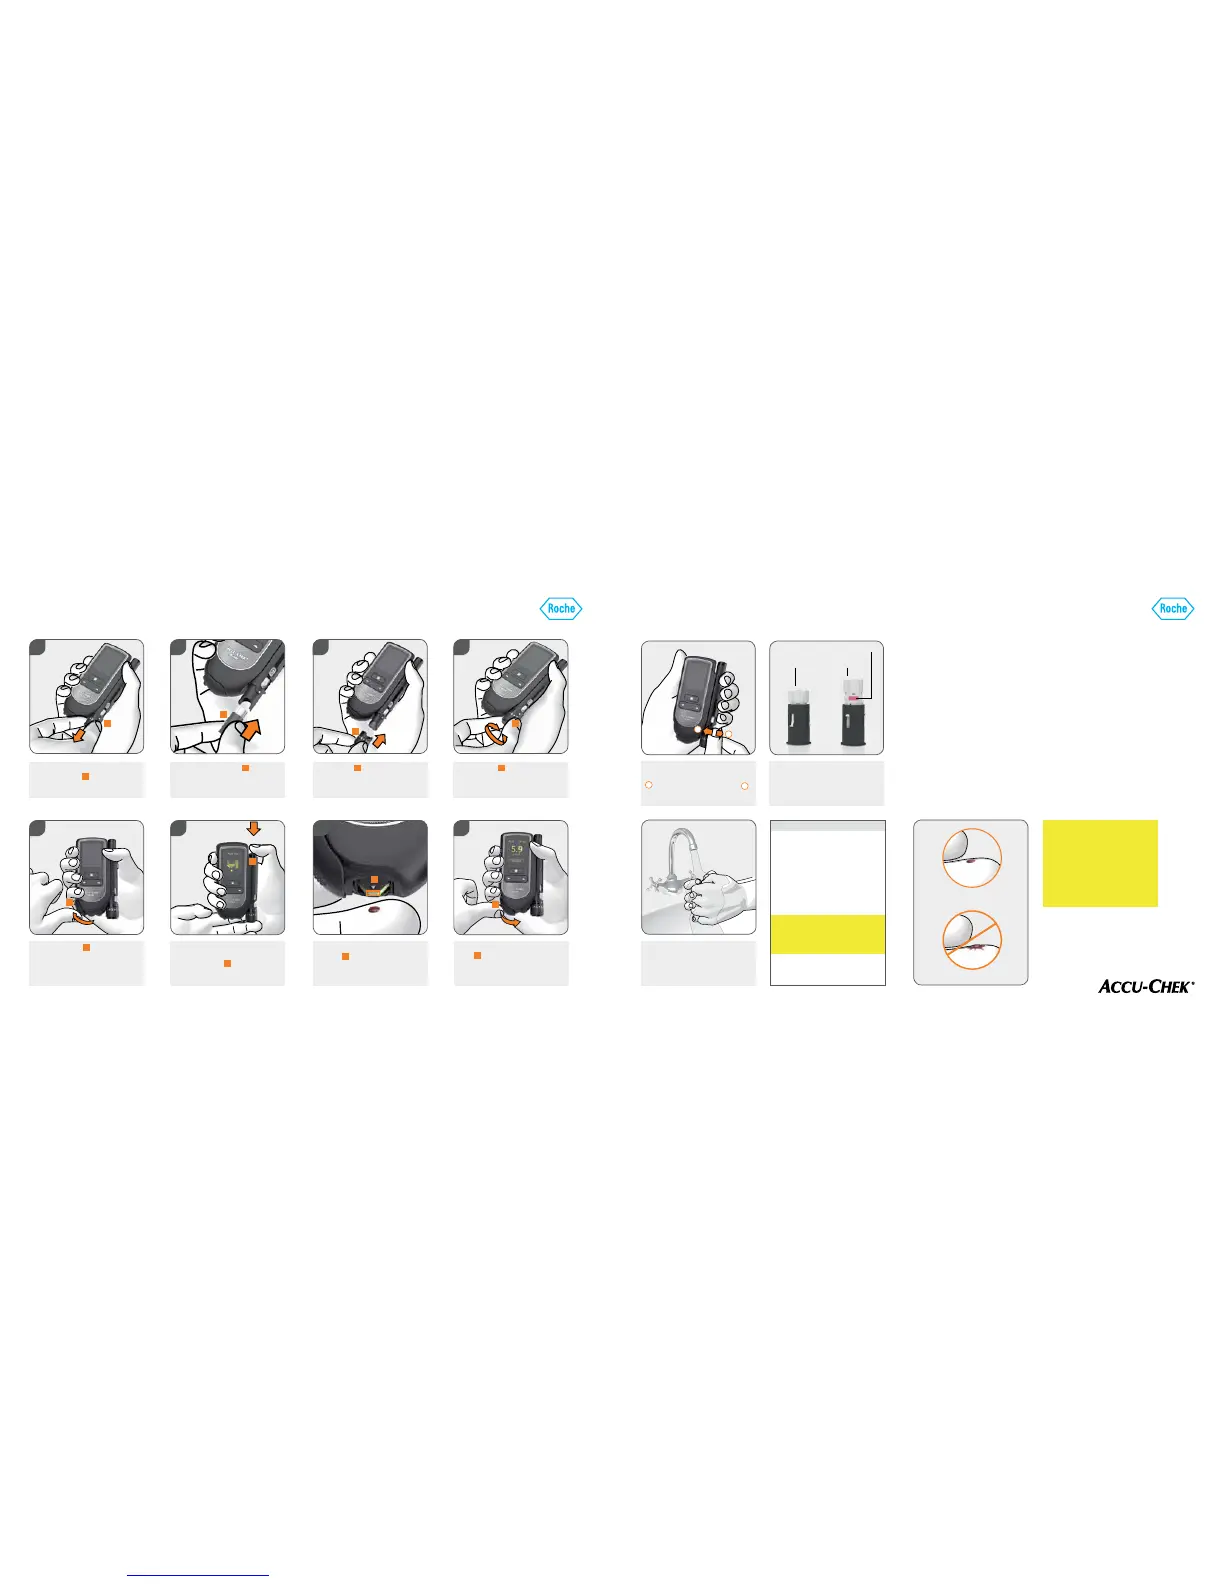
Remove the rotatable cap for setting the
penetration depth
A
.
Place the cap
C
back on again.Insert a new lancet drum
B
(white end
first). You now have 6 new and sterile
lancets at your disposal.
Rotate the cap
D
of the finger pricker
until the desired penetration depth is
level with the indicator. Start with a
medium penetration depth such as 3.
D
1.
2.
3. 4.
B
Apply the blood drop to the centre of the
test area
C
. Touch the test area gently
because the blood is immediately drawn
up when contact is made.
Read the test result and close the tip
cover
D
. The meter automatically
turns off.
Open the tip cover
A
. The meter
automatically turns on.
Press the finger pricker firmly against
the selected puncture site. Then press
the release button
B
all the way down
to obtain a blood drop.
4.
D
B
2.
Getting Started Guide - Accu-Chek
®
Mobile
3. Performing a blood glucose test
2. Preparing the lancing device
Getting Started Guide - Accu-Chek
®
Mobile
Push the lever at the side of the finger
pricker as far as it will go in direction
1
and then back again in direction
2
to load a new lancet.
You can tell that a lancet drum has been
used because it has a red line visible
on the white portion. Used lancet drums
cannot be reused.
New
lancet drum
Used
lancet drum
Red line
4. Loading a new lancet
5. What you need to know
Wash your hands with warm water
and soap. Dry your hands well before
obtaining blood.
W
When you are ready to do a
test and the meter displays
Apply drop, ensure that you apply
the blood drop to the test area
immediately. Note that liquid
can evaporate quickly from the
tiny drop of blood increasing
the concentration of glucose
signicantly.
Touch the test area gently when
applying blood. Do not press the
test area onto the nger and do
not spread the blood drop.
Use a small, fresh, well-formed blood
drop for each blood glucose test and
apply it to the centre of the test area on
the cassette.
Blood drop that is well-formed
Blood drop that has spread
6 7
 Loading...