54
Standard timing table
Mode Resolution
1 VGA 640×480 60 Hz
2 VESA 800×600 60 Hz
3 VESA 1024×768 60 Hz
4 VESA 1280×960 60 Hz
5 VESA 1280×1024 60 Hz
6 VESA 1280×720 60 Hz
7 WXGA+ 1400×900 60 Hz
8 WSXGA+ 1680×1050 60 Hz
9 UXGA 1920×1080 60 Hz
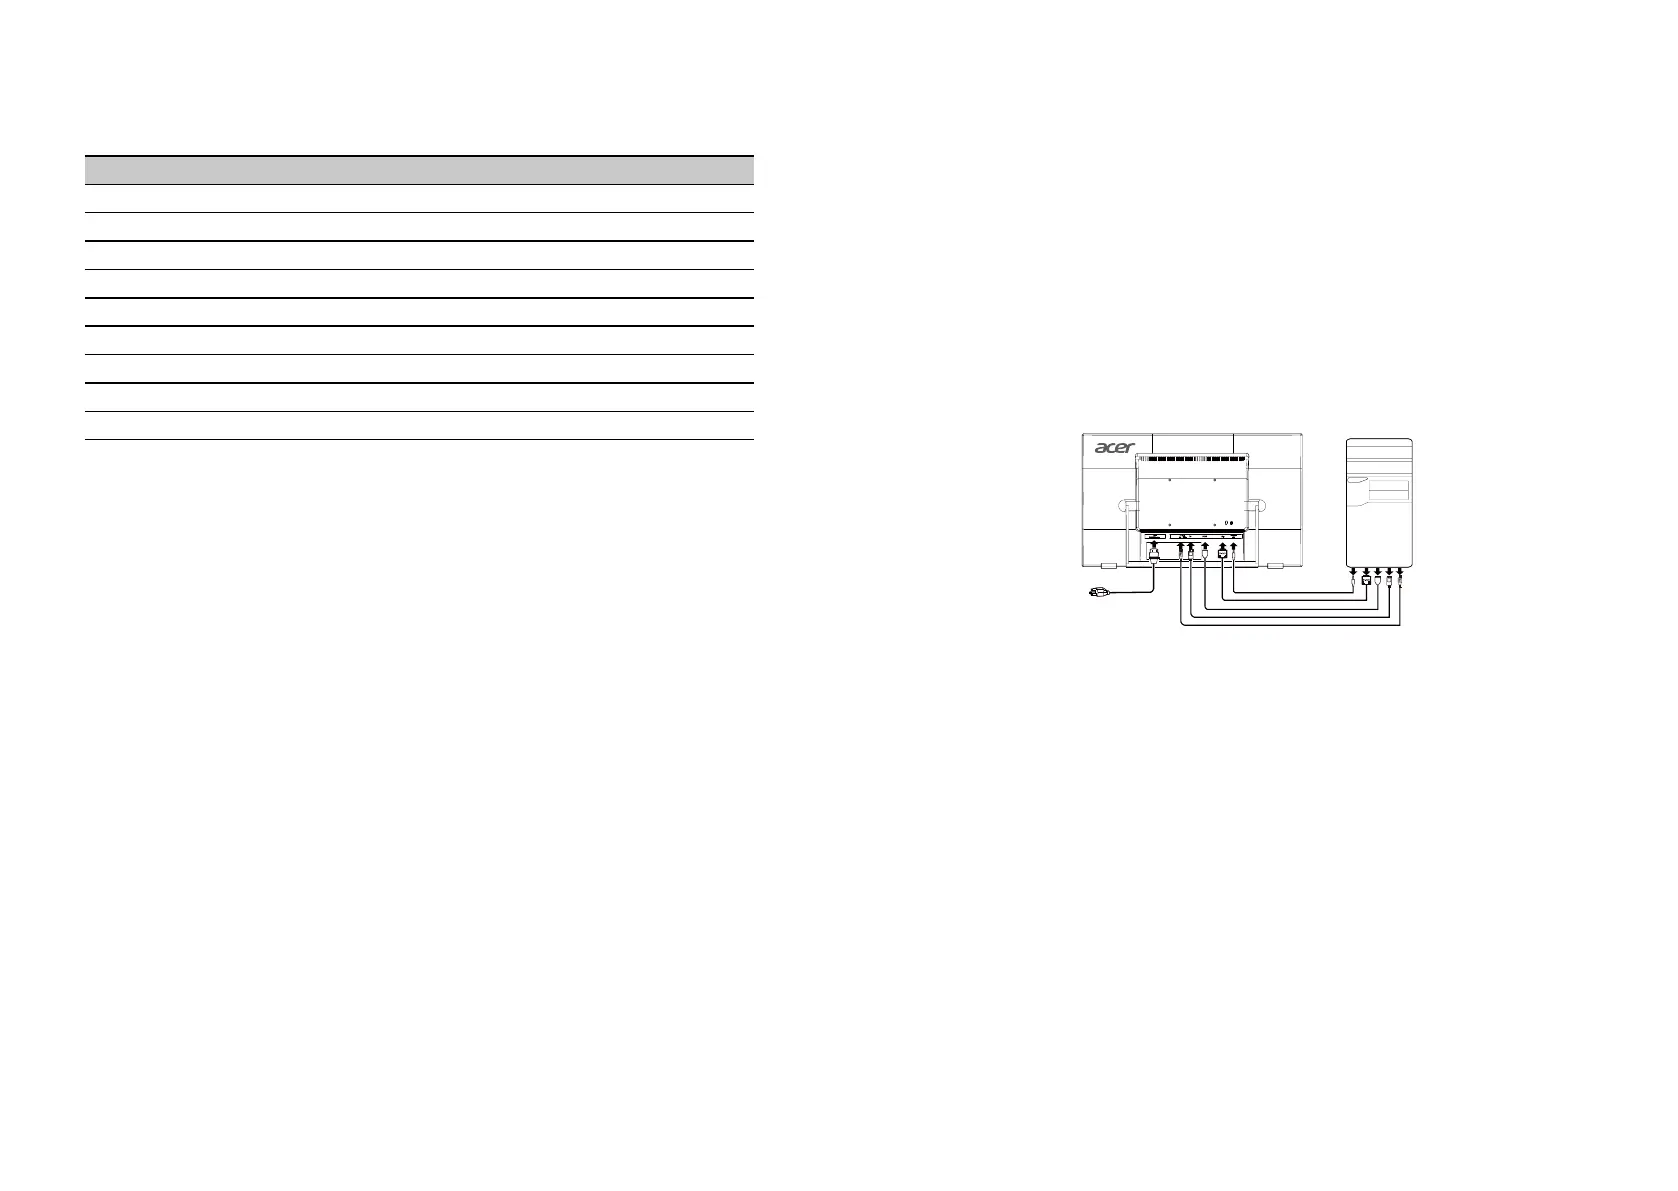
Installation
To install the monitor on your host system, please follow the steps below:
Steps
1. Turn o your computer and unplug your computer's power cord.
2. Connect the signal cable to the HDMI (optional) and/or DP(optional)inputsocketofthemo
nitor,andtheHDMI(optional) and/orDP (optional) output socket ofthe graphics card on the
computer.
3. Insert the monitor power cable into the power port at the back of the monitor.
4. Plug the power cords of your computer and your monitor into a nearby electrical outlet.
 Loading...