English
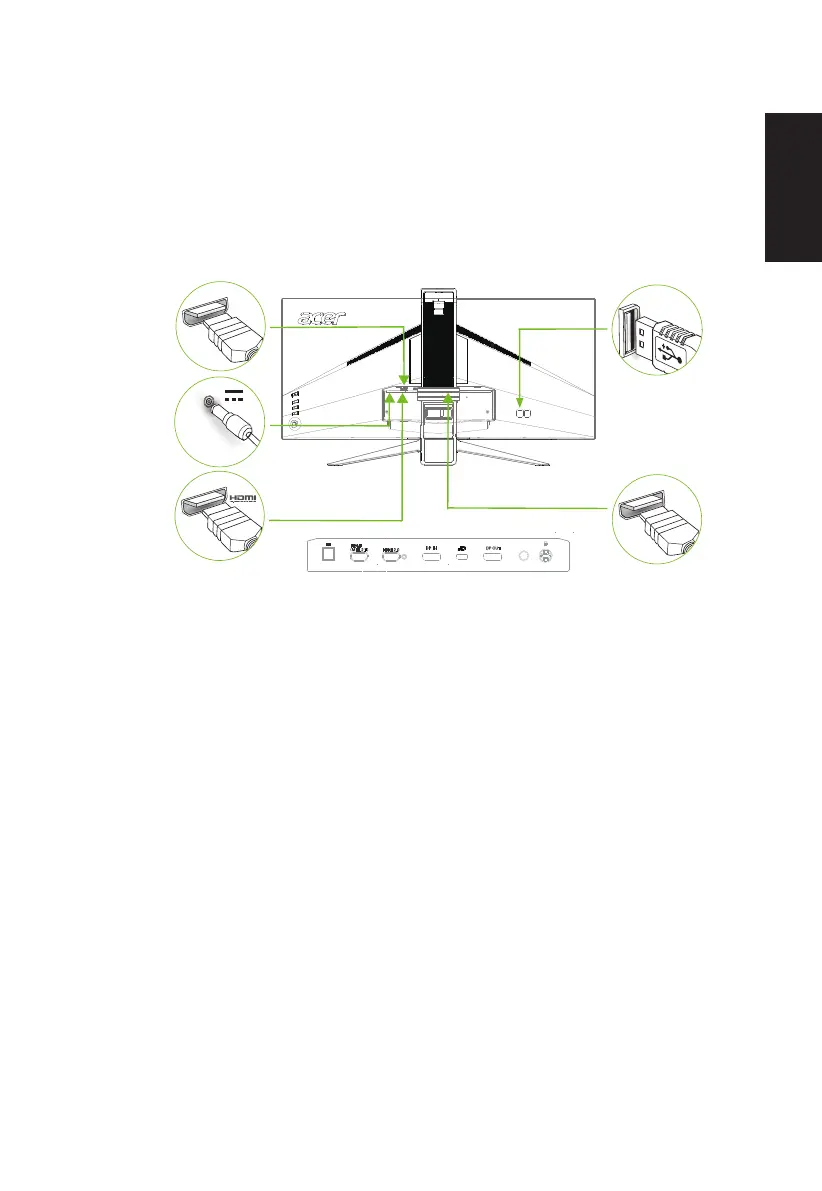
Installation
1. Turn off your computer and unplug your computer's power cord.
2. Connect the signal cable to the HDMI (optional) and /or DP (optional) and /or MHL (optional) input socket of the
monitor, and the HDMI (optional) and /or DP (optional) and /or MHL (optional) output socket of the graphics card on
the computer. Then tighten the thumbscrews on the signal cable connector.
3. USB 3.1 Type C-C Cable(Optional, USB Type C-C input models only)
Connect one end of the USB 3.1 Type C-C cable (optional) to your computer and connect the other end to your
electric devices.
4. Insert the monitor power cable into the power port at the back of the monitor.
5. Connect the power adapter and power cord to the monitor, then to a properly grounded AC outlet.
DP
USB
MHL
 Loading...