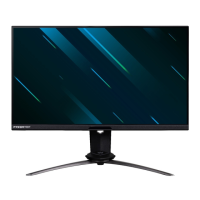
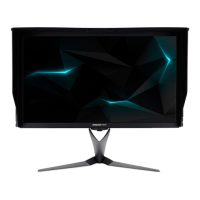
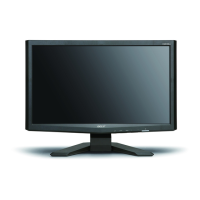
Do you have a question about the Acer X25 and is the answer not in the manual?
General warning about substitute parts, design modification, and laser safety.
Precautions for handling the LCD module to prevent damage.
Lists the necessary tools for disassembly.
Step to remove the stand-base assembly.
Steps for removing rear cover and disconnecting cables.
Procedures for disconnecting pins and removing key board and LED modules.
Instructions for removing tapes, cables, middle frame, and panel.
Steps to remove boards and disconnect cables.
Instructions to remove the main board and G-sync board.
Assembling main, G-sync, and USB boards, and preparing the mainframe.
Assembling bezel, frame, LED/sensor boards, and panel.
Connecting pins, speakers, option board, and rear cover.
Connecting final pins and assembling the stand-base.
Overview of FPGA firmware upgrade, materials, and connection setup.
Describes updating the G-SYNC module firmware.
Lists hardware and software required for FPGA firmware updates.
Instructions for flashing bitstream and installing USB Blaster driver.
Steps to run programmer and set up devices.
Instructions to open the file for burning.
Steps for initiating the FPGA burning process.
Lists materials and connections for PUC FW upgrade.
Installing the driver for the MSP430 tool.
Detailed steps for updating TI micro-controllers firmware.
Required hardware and software for micro-controller firmware updates.
Steps for updating the base board micro-controller.
Launching the software and flashing new code.
Selecting micro-controller, voltage, and communication protocol.
Selecting the correct code file for flashing.
Confirming the PUC firmware version.
Lists materials and connections for EUC KEY FW upgrade.
Launching the software and flashing new code for EUC KEY.
Selecting the code file for EUC KEY FW update.
Flashing code and troubleshooting common EUC KEY FW update errors.
Guidance on updating software if errors occur.
Lists materials and connections for G-Sync FW upgrade.
Installing the driver for the ARM-USB-TINY-H tool.
Updating Nvcygwin firmware and executing USB Drivers Tool.
Confirming driver install and obtaining FW file.
G-Sync FW burn completion, factory reset, and version check.
Troubleshooting guide for HDMI/DP mode issues.
| Screen Size | 24.5 inches |
|---|---|
| Resolution | 1920 x 1080 (Full HD) |
| Panel Type | IPS |
| Viewing Angle | 178° (H) / 178° (V) |
| Color Gamut | 99% sRGB |
| VESA Mount | 100 x 100 mm |
| Brightness | 400 nits |
| Contrast Ratio | 1000:1 |
| Connectivity | DisplayPort, HDMI |
| Ports | 2 x HDMI 2.0 |